Blog
Step by Step Urine Test Guide for Accurate Drug Screening

Setting up for a urine drug screening, every detail matters for laboratory managers and technicians across North America. Missed steps or disorganized supplies can quickly lead to compromised specimens or invalid results. This guide walks through the entire workflow, highlighting the importance of a clean collection environment and strict procedural controls to maintain specimen integrity for both clinical and forensic testing. Expect clear, concrete instructions drawn from trusted standards, supporting your team in achieving reliable, defensible outcomes every time.
Table of Contents
- Step 1: Prepare Collection Materials And Environment
- Step 2: Collect Urine Specimen Securely
- Step 3: Perform Test Using Dip Cards Or Cups
- Step 4: Verify And Interpret Test Results
- Step 5: Dispose Materials And Document Findings
Quick Summary
| Key Point | Explanation |
|---|---|
| 1. Prepare a clean collection environment | Ensure the specimen collection space is uncontaminated to maintain sample integrity and reliability. |
| 2. Use proper midstream collection technique | Instruct donors to use the midstream method to avoid initial stream contaminants, improving sample validity. |
| 3. Follow accurate testing timing | Strictly adhere to timing guidelines during testing to ensure result validity and avoid flawed interpretations. |
| 4. Document findings comprehensively | Thoroughly record all test results and conditions to create a reliable legal record and support clinical decisions. |
| 5. Dispose of materials safely | Proper disposal of biohazard waste minimizes contamination risk and complies with health regulations. |
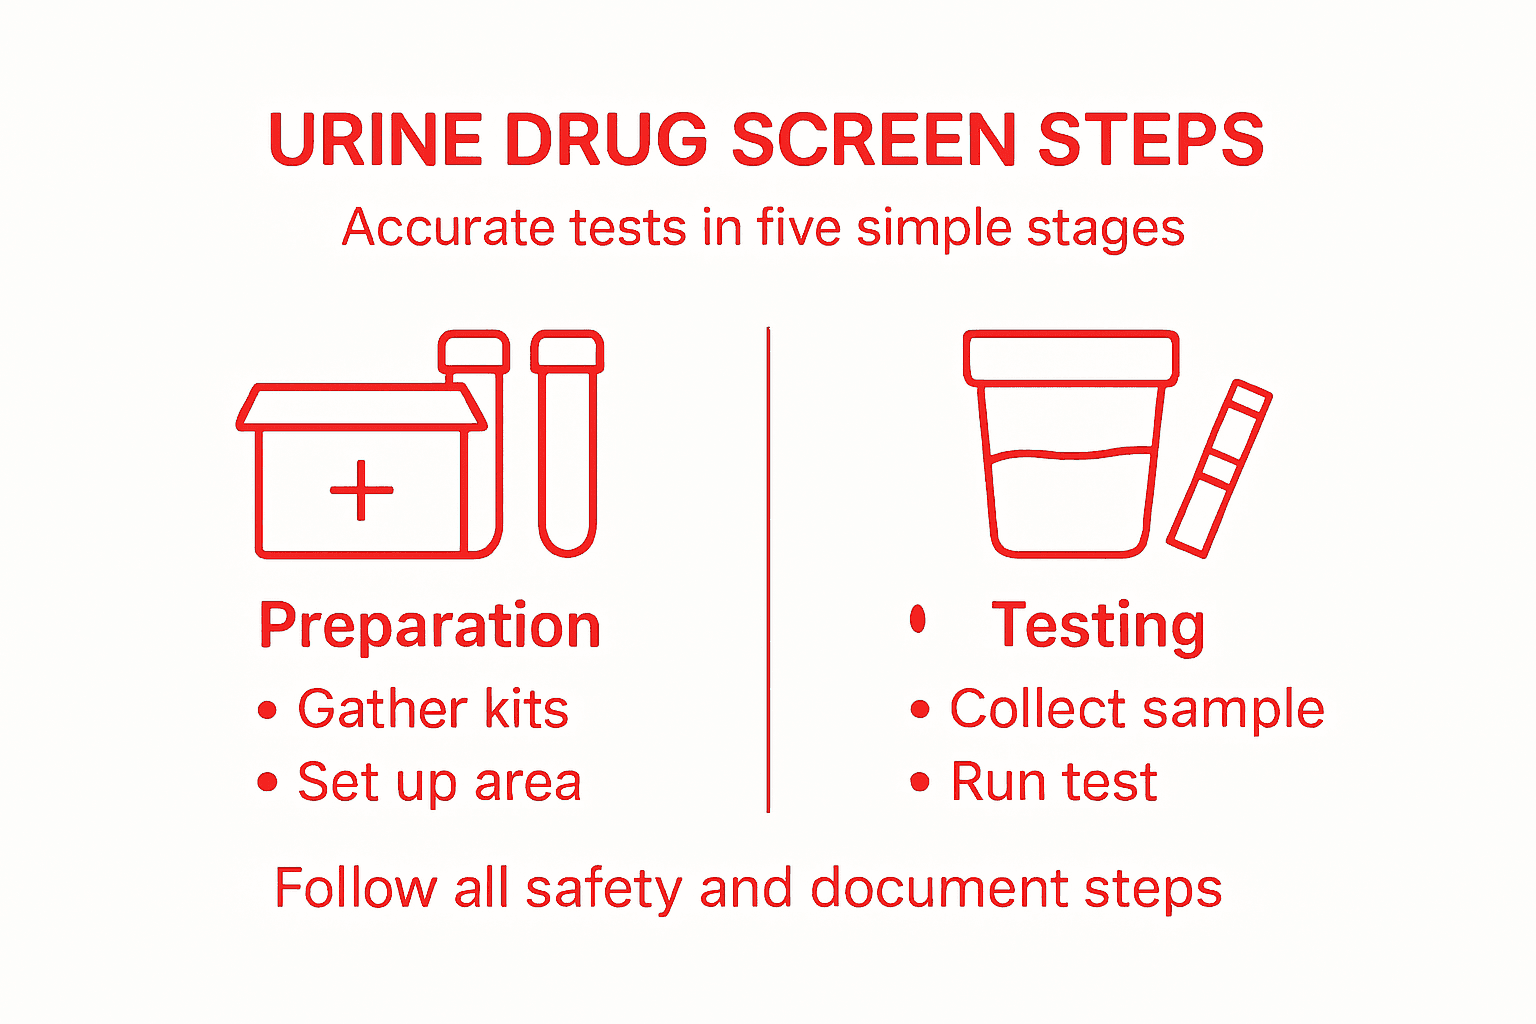
Step 1: Prepare collection materials and environment
Getting your collection setup right from the start determines whether your test results will be reliable or compromised. A well-prepared environment and the right materials prevent contamination and ensure you’re following established protocols for specimen integrity.
Start by gathering all necessary materials before the collection process begins. You’ll need urine collection cups, disposable gloves, specimen bags, and any supporting documentation or labels required by your facility. Having everything organized and within reach prevents delays and reduces the chance of contamination from fumbling around mid-collection.
Your collection environment must be clean and controlled. Designate a specific area for specimen collection, separate from regular workspace traffic if possible. This reduces the risk of external contamination and maintains the integrity of the sample. According to CLSI standards for specimen collection, clean environments are foundational to maintaining specimen quality throughout testing.
Here’s what to focus on for your collection space:
- Remove clutter and non-essential items from the collection area
- Ensure adequate lighting so you can clearly see the specimen container
- Stock the area with hand washing stations or sanitizer if collection occurs outside the lab
- Keep specimen containers sealed in their original packaging until use
- Have a disposal container ready for gloves and contaminated materials
Before any collection starts, put on fresh disposable gloves and verify that all collection cups are unopened and undamaged. Check expiration dates on any additives or preservatives in your collection kits. Review the collection kit preparation procedures specific to your testing protocols to ensure nothing is missed.
A contaminated collection environment can invalidate even a properly collected specimen, so treating preparation as seriously as the collection itself protects your lab’s credibility.
Position your collection materials at a comfortable height and distance for the donor, reducing strain and the likelihood of spills. Label all containers with the correct patient identifiers before collection begins, not after. This prevents mix-ups and ensures specimens stay properly documented throughout the testing process.
Pro tip: Pre-stage your collection stations the night before by laying out gloves, cups, bags, and labels in a logical sequence so collectors can move efficiently without searching for supplies.
Step 2: Collect urine specimen securely
This step is where accuracy begins. Proper collection technique directly impacts whether your drug screening results are valid or require retesting. A secure specimen free from contamination ensures your laboratory can proceed with confidence.
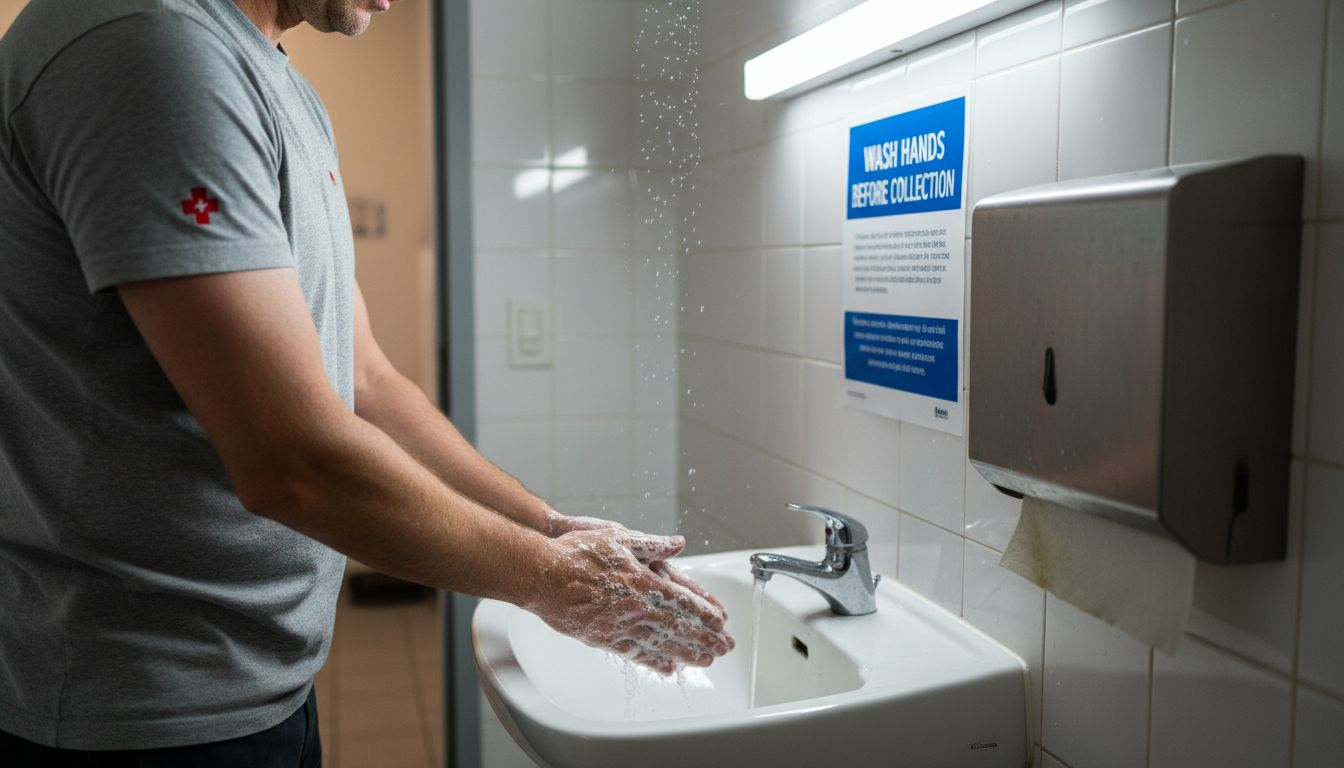
Start by having the donor wash their hands with soap and water before collection. This simple step removes surface contaminants that could compromise the sample. Have them remain standing or sitting comfortably, positioned so they can collect the specimen without spillage or external contact.
Instructing the donor on midstream collection is critical for accuracy. They should begin urinating into the toilet, stop after a few seconds, then redirect the stream into the collection container. This technique avoids the first portion of urine, which may contain bacteria or cellular debris from the urethra. According to clean-catch midstream collection procedures, this method significantly reduces contamination risk.
Here’s the secure collection process:
- Have the donor urinate the first portion into the toilet
- Position your urine specimen cup to catch the midstream flow
- Collect approximately 30 to 45 milliliters of urine
- Complete urination into the toilet
- Avoid touching the interior surfaces of the container or lid
Once collection is complete, seal the container immediately and tightly. Don’t delay this step, as exposed urine begins to deteriorate quickly and risks airborne contamination. Wipe the exterior of the cup with a clean tissue if needed, then place it in the specimen bag.
Contamination during collection is one of the leading causes of invalid results, so treating each step with precision protects the integrity of your entire testing process.
Label the specimen bag with the donor’s identification information, collection date, and time. Ensure all information matches your laboratory’s records before transport. Keep the specimen in a secure location away from temperature extremes until analysis begins.
Pro tip: Observe the collection process discreetly to confirm proper technique without making the donor uncomfortable, which catches potential issues like incomplete volume or contamination before the specimen reaches your lab.
Step 3: Perform test using dip cards or cups
Now that you have a properly collected specimen, it’s time to execute the actual drug screening test. The accuracy of this step determines whether your results are reliable and defensible in clinical or forensic settings.
Before beginning, put on fresh disposable gloves and ensure your testing area is clean and organized. Gather all materials you’ll need including the specimen container, test device, and any supporting documentation. Keep the specimen at room temperature unless your protocol specifies otherwise.
If using dip cards, remove the card from its sealed packaging immediately before testing. The card’s reagent strips are sensitive to air exposure, so minimize the time between opening and immersion. According to proper immunoassay dip card handling techniques, timing and technique directly affect result validity.
Follow these testing steps carefully:
- Open the specimen container and ensure the urine is at room temperature
- Immerse the dip card into the urine to the indicated fill line, holding it there for 2 to 3 seconds
- Remove the card and allow excess urine to drip back into the container
- Place the card on a clean, flat surface and start your timer
- Read results at the exact time specified by the manufacturer, typically 3 to 5 minutes
For test cups, remove the cup from packaging and verify the collection was adequate for testing. Most cups have integrated testing strips inside, so you simply need to cap the specimen securely and allow the test to process. The interpretation window is critical, so follow the timing instructions precisely.
Rushing the test interpretation or misreading results outside the specified timeframe invalidates even a perfectly collected specimen, making timing your most important quality control measure.
Record all test results immediately and clearly on your laboratory documentation. Include the testing method, exact time read, and any observations about the specimen appearance or test performance. Do not delay documentation, as memory of specific details fades quickly.
Pro tip: Keep a dedicated timer or clock visible during all testing procedures so you can accurately track the critical reading windows without relying on estimates or distractions.
Step 4: Verify and interpret test results
This is where your screening work becomes actionable. Test interpretation separates presumptive results from confirmed findings and determines what happens next in your clinical or forensic decision-making process.
Start by examining the test device carefully under good lighting. Look for clear band formation in the control and test regions. A control line must always appear for the result to be valid, regardless of whether drug metabolites are present. If no control line appears, the test failed and you must repeat testing with a new specimen.
Understand what positive and negative results actually mean. A negative result shows two lines (control plus test region), indicating no detected drug metabolites above the cutoff threshold. A positive result shows only the control line with no line in the test region, suggesting the presence of a substance. According to proper verification procedures for drug screening results, presumptive positive results require confirmatory testing to eliminate false positives.
Be aware of common interpretation pitfalls:
- Weak or faint lines can be difficult to read without proper lighting
- Some substances cause cross-reactivity, producing positive results for drugs not actually present
- Temperature and humidity can affect reagent strip performance
- Reading results outside the manufacturer’s timeframe leads to inaccuracy
For any positive result, document the finding clearly and plan for confirmatory testing using more specific methods like Gas Chromatography-Mass Spectrometry (GC-MS). This additional step confirms whether the initial positive is genuine or a false positive. Never report a positive result as definitive without confirmation.
A presumptive positive without confirmatory testing can damage credibility and lead to false accusations, so treating every positive as provisional until confirmed protects both your lab and the individuals being tested.
Record your interpretation with the date, time, testing method, and your initials. Include any unusual observations about the specimen or test performance. Store all documentation according to your facility’s retention requirements.
Pro tip: Create a standardized checklist for result verification so you never miss a critical interpretation step, and keep it posted at every testing station for consistent quality across your laboratory.
Step 5: Dispose materials and document findings
Proper disposal and documentation complete the drug screening cycle. These final steps protect your facility from biohazard exposure and create the legal record that supports your test results.
Begin by removing your gloves carefully to avoid contact with contaminated surfaces. Pinch the outside of one glove near the wrist, peel it downward, and turn it inside out as you remove it. Hold the removed glove in your gloved hand, then repeat with the second glove to contain all contamination inside.
Dispose of all contaminated materials in designated biohazard waste containers. This includes gloves, urine containers, absorbent materials, and any test devices. Never mix contaminated materials with regular trash. According to proper biohazard disposal procedures, segregating waste prevents cross-contamination and ensures compliance with environmental regulations.
Follow these disposal guidelines:
- Place all gloves in the designated biohazard container immediately after removal
- Deposit urine specimen containers in biohazard waste, even if empty
- Discard used test cards or cups in appropriate waste receptacles
- Never reuse or recycle any collection or testing materials
- Wash your hands thoroughly with soap and water after disposal
Now focus on comprehensive documentation of your findings. Record all relevant information while details are fresh in your memory. Include the specimen identifier, collection date and time, testing method used, result interpretation, and your signature or initials.
Your documentation should contain:
- Donor identification and specimen ID numbers
- Date and time of collection and testing
- Names of all substances tested
- Positive, negative, or invalid result for each panel
- Any unusual observations about the specimen or test performance
- Confirmatory test status if applicable
- Your name and credentials
Complete, accurate documentation transforms your screening results into defensible clinical or forensic records that withstand scrutiny and protect your laboratory’s credibility.
Store all records according to your facility’s retention policy and regulatory requirements. Many jurisdictions require records be maintained for specific timeframes, often five years or longer. Ensure records are secure and accessible only to authorized personnel.
Here’s a quick comparison of common urine drug test errors and how to prevent them:
| Error Type | What Happens | Preventive Action |
|---|---|---|
| Environmental Contamination | Specimen is exposed to foreign substances | Prepare clean, clutter-free collection area |
| Improper Collection | Sample contains initial stream or is insufficient | Instruct midstream technique and monitor volume |
| Mishandling Test Device | Timing or reading errors occur | Follow manufacturer timing instructions exactly |
| Incomplete Documentation | Critical details are missing from records | Use standardized templates and double-check entries |
Pro tip: Develop a standardized documentation template specific to your facility so every test record contains identical information categories, making it easier to audit compliance and retrieve specific results when needed.
This table summarizes the main steps in the urine drug screening workflow:
| Step | Key Focus | Critical Control |
|---|---|---|
| Collection Prep | Gather materials, prepare area | Prevent contamination |
| Urine Collection | Ensure midstream sample | Accurate donor instruction |
| Drug Testing | Use dip cards or test cups | Strict timing and technique |
| Result Interpretation | Read and record results | Confirm validity and need for confirmation |
| Disposal & Records | Safe waste management | Complete, timely documentation |
Ensure Accuracy and Confidence with Professional Urine Drug Testing Supplies
Accurate drug screening depends on following precise steps from specimen collection to result interpretation. The article highlights key challenges like preventing contamination, secure midstream collection, and adhering to strict timing for dip card tests. If you are seeking reliable, FDA-approved products to support these critical steps, RapidTestCup offers a comprehensive range of high-quality urine specimen cups, dip cards, and all necessary collection accessories designed to maintain specimen integrity and simplify procedures.
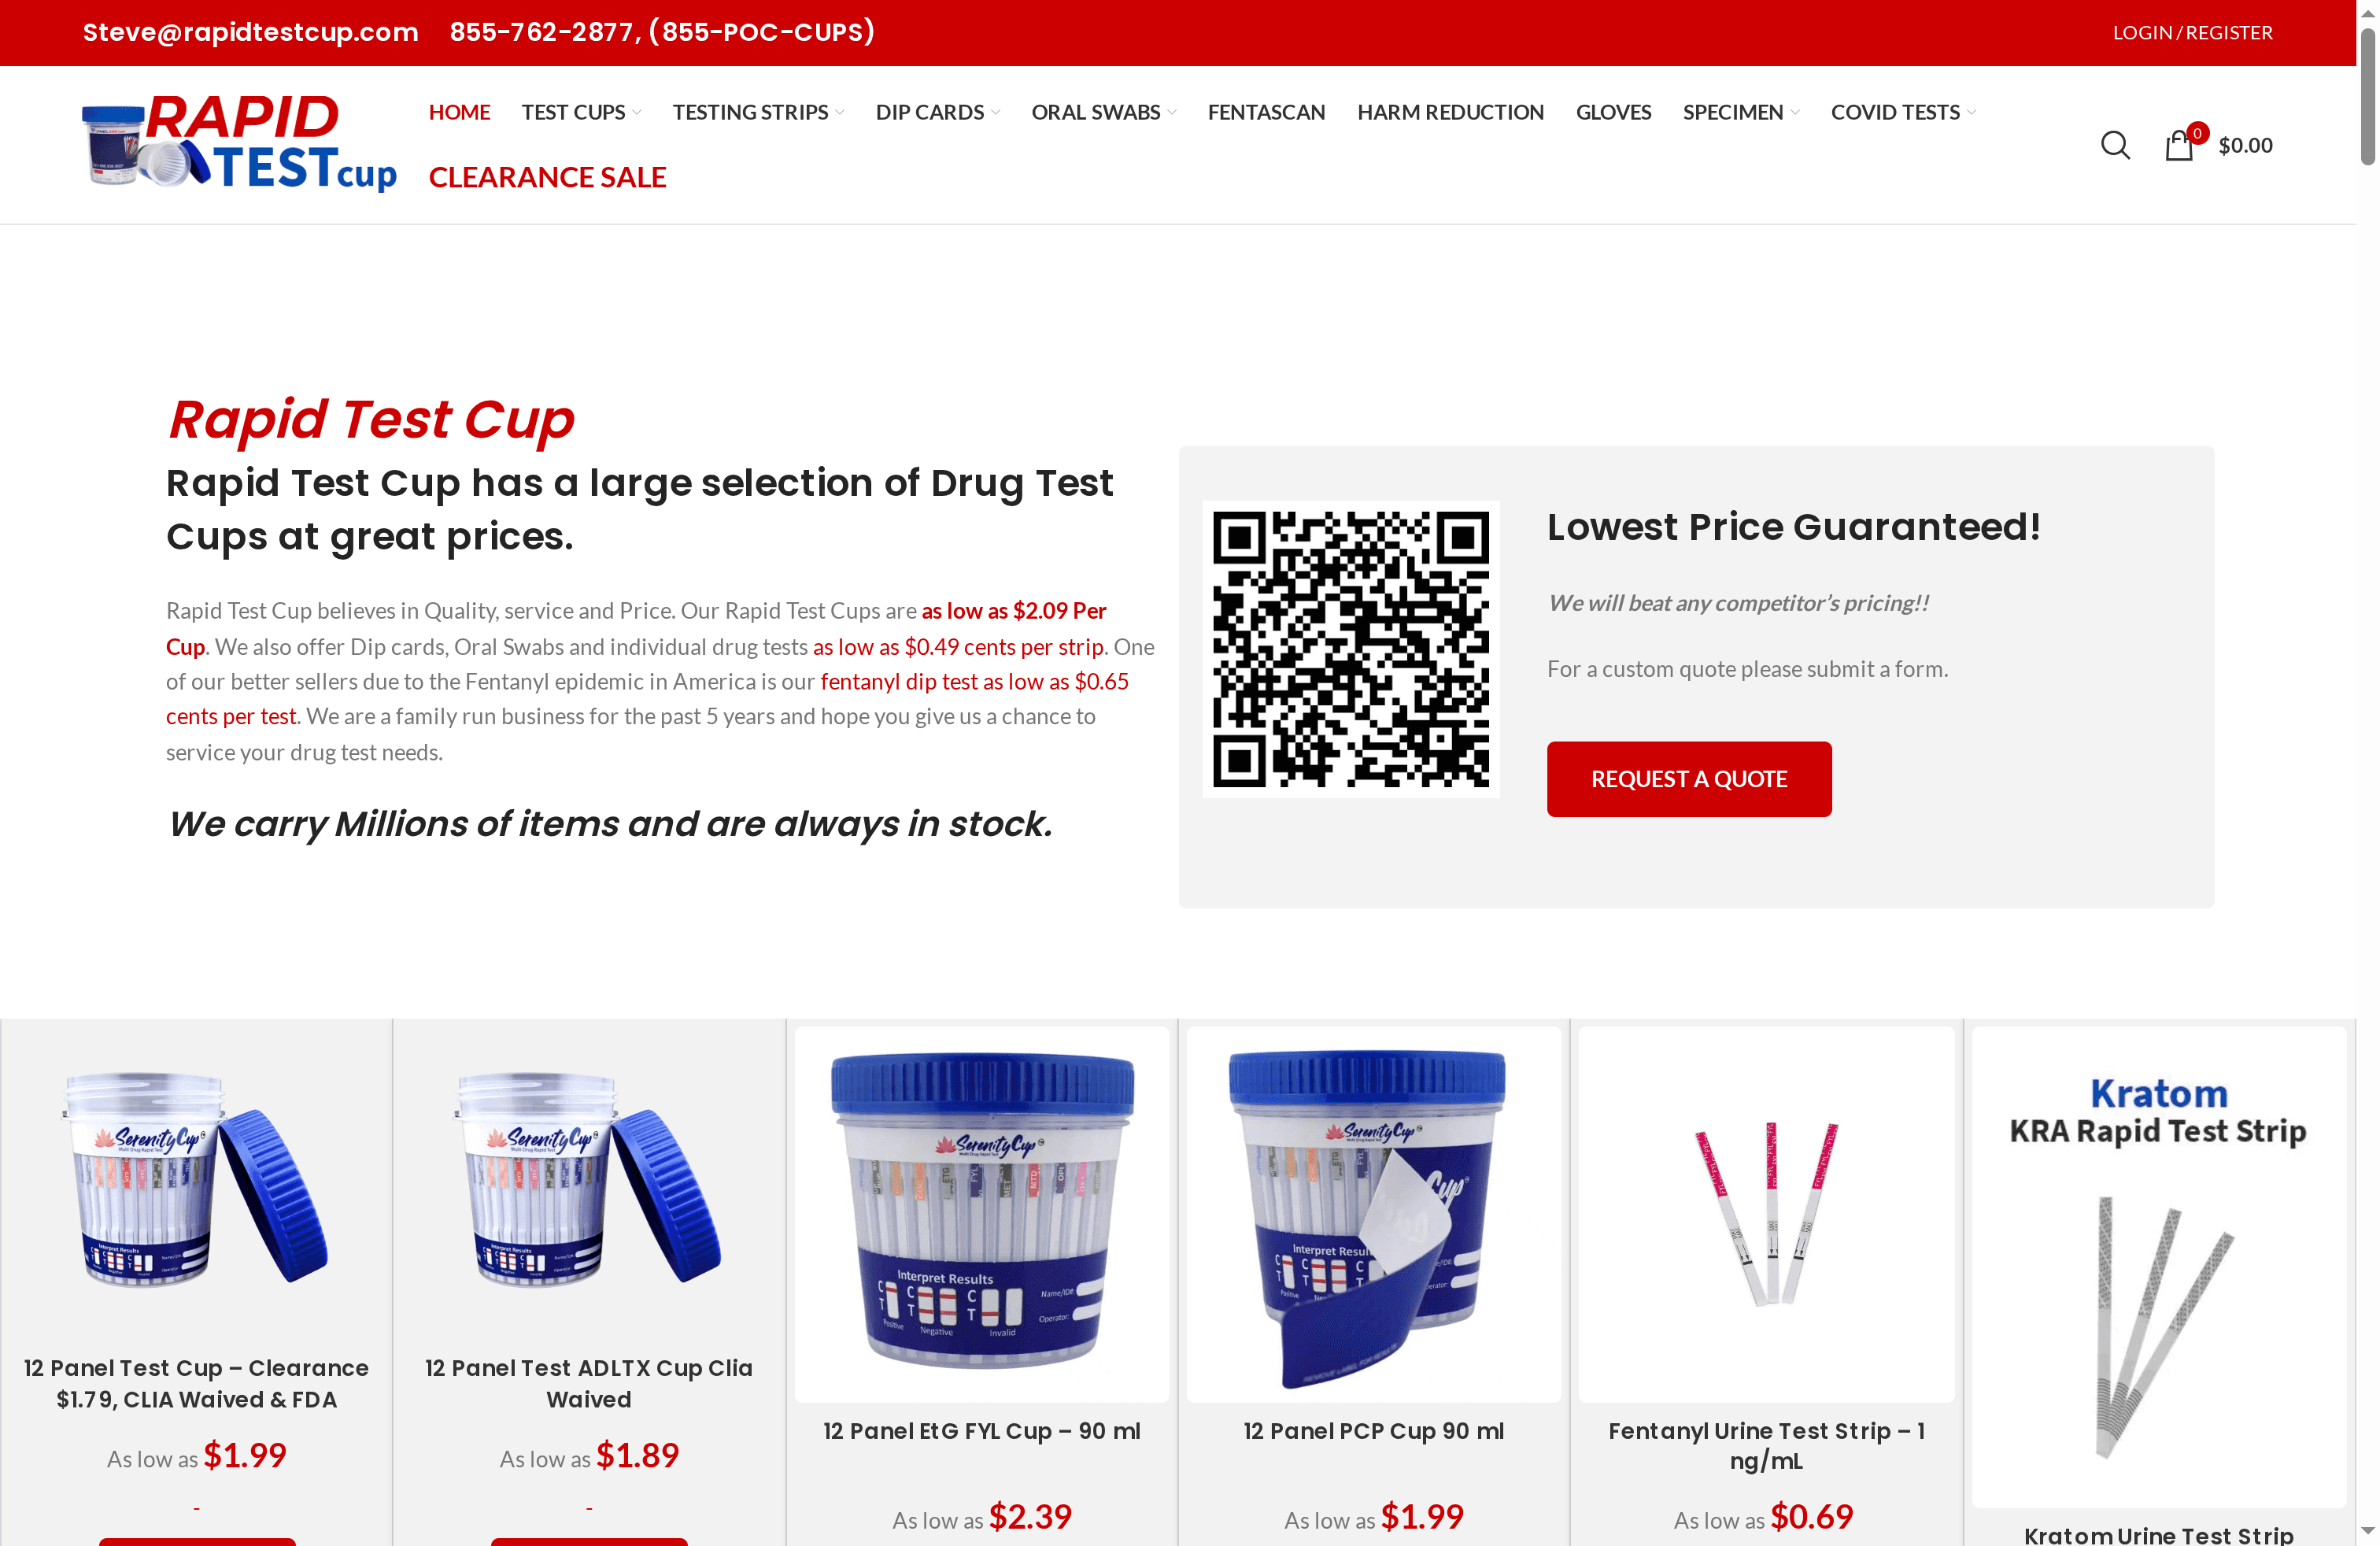
Unlock consistency and confidence in your drug screening process with our affordable, CLIA waived test kits shipped quickly to your location. Browse our collection of drug test cups and dip cards tailored for professional labs and clinics. Act now to equip your team with trusted tools that reduce errors and ensure compliance. Visit RapidTestCup today and elevate your testing accuracy to the next level.
Frequently Asked Questions
What materials do I need for a urine drug screening test?
To perform a urine drug screening test, gather materials like urine collection cups, disposable gloves, specimen bags, and necessary documentation. Ensure everything is organized and within reach to minimize contamination risks and delays during the process.
How do I ensure that the urine specimen is collected accurately?
Accurately collect a urine specimen by instructing the donor to use the midstream collection technique. This means they should begin urinating into the toilet, stop after a few seconds, and then redirect the stream into the collection cup, which helps reduce contamination from initial urine.
What steps should I follow during the testing phase of a urine sample?
During the testing phase, follow these steps: open the specimen container, immerse the dip card or test cup as directed, and time the reading as specified by the manufacturer. Document the results immediately after reading to maintain accuracy.
How do I interpret the results of a urine drug test?
Interpret urine drug test results by checking for the appearance of control and test lines on the device. A control line must always appear for a valid result; if no control line is visible, retest with a new specimen.
What should I do with contaminated materials after performing the test?
Dispose of contaminated materials, including gloves and urine containers, in designated biohazard waste containers immediately after use. Follow safe disposal guidelines to prevent cross-contamination and adhere to environmental regulations.
How important is documentation after the urine drug screening test?
Documentation is crucial as it provides a legal record of the test results and details. Ensure you record all relevant information, including specimen identifiers, testing methods, and result interpretations, promptly to support your findings.