Blog
On-Site Drug Testing Guide for Effective Results

Securing accurate and reliable drug testing is a daily concern for healthcare administrators running substance abuse treatment centers. The smallest oversight in preparation can compromise specimen integrity, patient privacy, and ultimately, your program’s reputation. By prioritizing a “private collection area” and safeguarding every step from water sources to expiration dates, you provide not just compliance, but true confidence in every result your facility reports.
Table of Contents
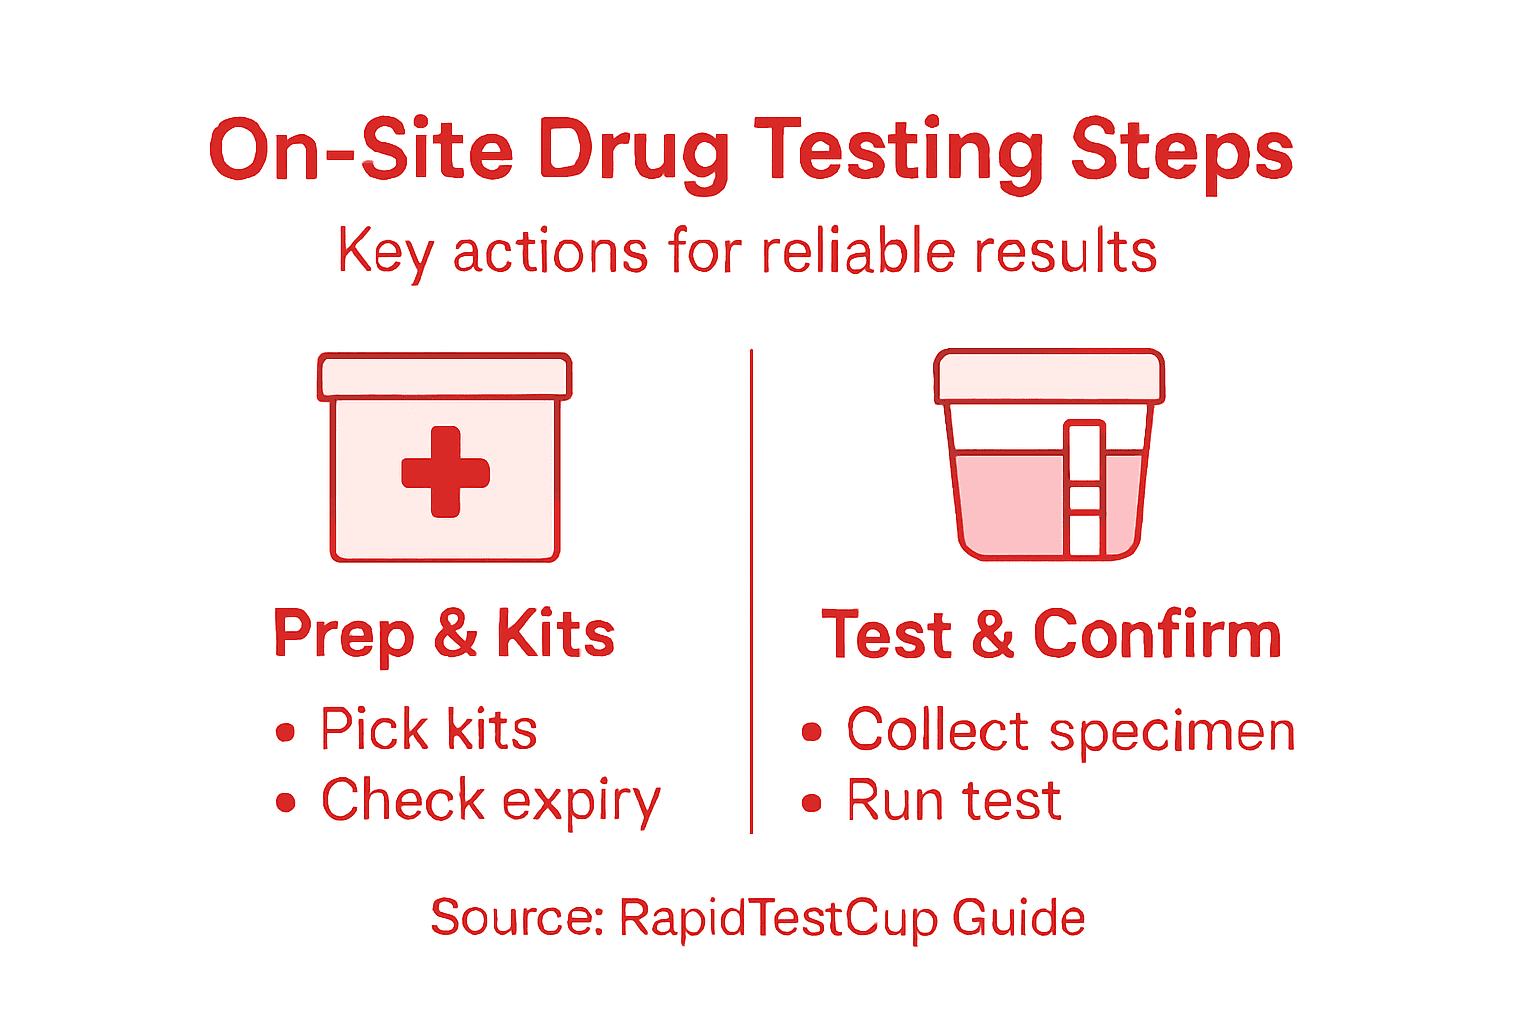
- Step 1: Prepare Testing Area And Gather Supplies
- Step 2: Select And Organize Test Kits For Use
- Step 3: Collect Specimens Following Safety Protocols
- Step 4: Conduct Drug Testing Accurately
- Step 5: Verify And Document Test Results
Quick Summary
| Key Point | Explanation |
|---|---|
| 1. Secure a Private Testing Area | Designate a restricted space for specimen collection to ensure privacy and prevent unauthorized access during tests. |
| 2. Organize Test Kits Efficiently | Sort and label drug test kits by type and expiration date to ensure that staff can easily locate and use them without errors. |
| 3. Follow Collection Safety Protocols | Ensure trained staff conduct direct observations during specimen collection while maintaining donor privacy to prevent tampering. |
| 4. Document Every Step Accurately | Maintain thorough records of test results and chain of custody to create a reliable legal paper trail in case of disputes. |
| 5. Conduct Regular Inventory Checks | Perform weekly assessments of testing supplies to monitor expiration dates and quantities, preventing last-minute scrambling for resources. |
Step 1: Prepare testing area and gather supplies
Creating the right testing environment directly impacts the accuracy of your results and the integrity of specimens. Think of this step as building the foundation for every test that follows. You’ll need a clean, secure space and all essential supplies within reach before donors arrive.
Start by designating a private collection area that limits access to authorized personnel only. This prevents unauthorized individuals from being present during specimen collection, which protects both donor privacy and test validity. The space doesn’t need to be large, but it must be restricted and monitored.
Next, address one of the most critical details: water sources. According to guidance on onsite testing procedures, you must secure water access to prevent tampering with specimens. This means ensuring toilet water is colored blue and removing any soap, cleaning agents, or potential contaminants from the area. These details matter because donors sometimes attempt to dilute or adulterate samples.
Gather your testing supplies before the process begins:
- Appropriate drug test kits for your testing panel
- Collection containers and specimen cups
- Gloves, hand sanitizer, and cleaning supplies
- Temperature strips if needed for specimen validation
- Paperwork, consent forms, and documentation materials
- Biohazard disposal bags and sharps containers
Securing the testing environment prevents specimen adulteration and ensures every result is defensible and legally sound.
Inspect the space for any gaps in security. Check that doors lock, windows are covered if needed, and that no unauthorized materials are stored in the collection area. Your treatment center’s reputation depends on maintaining strict testing protocols from the moment a donor enters the room.
When preparing supplies, verify that all drug testing kits are unexpired and properly stored. Check that you have sufficient quantities for your daily testing volume plus backup supplies. Running out mid-day creates scheduling problems and compromises your testing program’s efficiency.
Pro tip: Create a checklist of all preparation tasks and run through it before each testing session, ensuring nothing is overlooked and your area meets regulatory standards every single time.
Step 2: Select and organize test kits for use
Choosing the right test kits and organizing them properly ensures you can conduct accurate testing without delays. Your selection directly affects the reliability of results and your ability to serve all patients consistently. This step requires matching your kits to your treatment center’s specific testing protocols.
Start by identifying which substances your program needs to screen for. Different treatment populations may require different testing panels, and your selection should reflect your patient demographics and clinical priorities. Once you know what you’re testing for, you can choose the appropriate kit types.
Drug analysis methods include presumptive screening tests and confirmatory tests, each serving different purposes. Presumptive tests like colorimetric assays provide quick initial results, while confirmatory tests offer substance-specific accuracy. Understand which method your facility uses so you select compatible kits.
Here’s a quick reference for common drug test kit types and their primary uses:
| Test Kit Type | Screening Method | Typical Use Case | Accuracy Level |
|---|---|---|---|
| Colorimetric Assay | Presumptive | Initial onsite screening | Moderate |
| Immunoassay Strip | Presumptive | Rapid broad substance check | Moderate to High |
| GC/MS Confirmatory | Confirmatory | Legal/clinical confirmation | Very High |
| LC/MS Confirmatory | Confirmatory | Detection of specific drugs | Very High |
Organize your kits systematically:
- Sort kits by testing panel so staff can locate them quickly
- Arrange kits in chronological order by expiration date, with earliest dates in front
- Store kits in a cool, dry location away from direct sunlight
- Keep instruction sheets visible and accessible near each kit type
- Maintain a backup supply of your most frequently used panels
Organizing kits by expiration date prevents using expired tests that could produce unreliable results and damage your program’s credibility.
Check expiration dates on every kit before your testing session begins. Expired reagents lose potency and can yield false results, which undermines patient care and creates serious compliance issues. Mark expired kits for disposal according to your facility’s hazardous waste protocols.
Label storage containers clearly with kit type, panel information, and expiration dates. Your staff should be able to grab the correct kit in seconds without confusion. When multiple staff members work different shifts, clear labeling prevents selection errors and ensures consistency across all testing sessions.
Verify that your kits maintain reagent integrity by storing them away from heat sources, moisture, and light exposure. Proper storage extends shelf life and guarantees reliable results when you actually use them.
Pro tip: Conduct a weekly inventory check to verify kit quantities, confirm expiration dates, and flag low stock items before they run out, keeping your program running smoothly without last-minute scrambling.
Step 3: Collect specimens following safety protocols
Proper specimen collection is where theory meets practice. Your collectors’ actions directly determine whether results are valid, defensible, and usable for clinical decisions. This step requires trained staff, clear procedures, and unwavering attention to detail.
Start by ensuring your collection staff are trained on safety protocols and chain of custody procedures. Untrained collectors create problems that compound throughout the entire testing process. Every person handling specimens must understand their responsibility in maintaining specimen integrity.
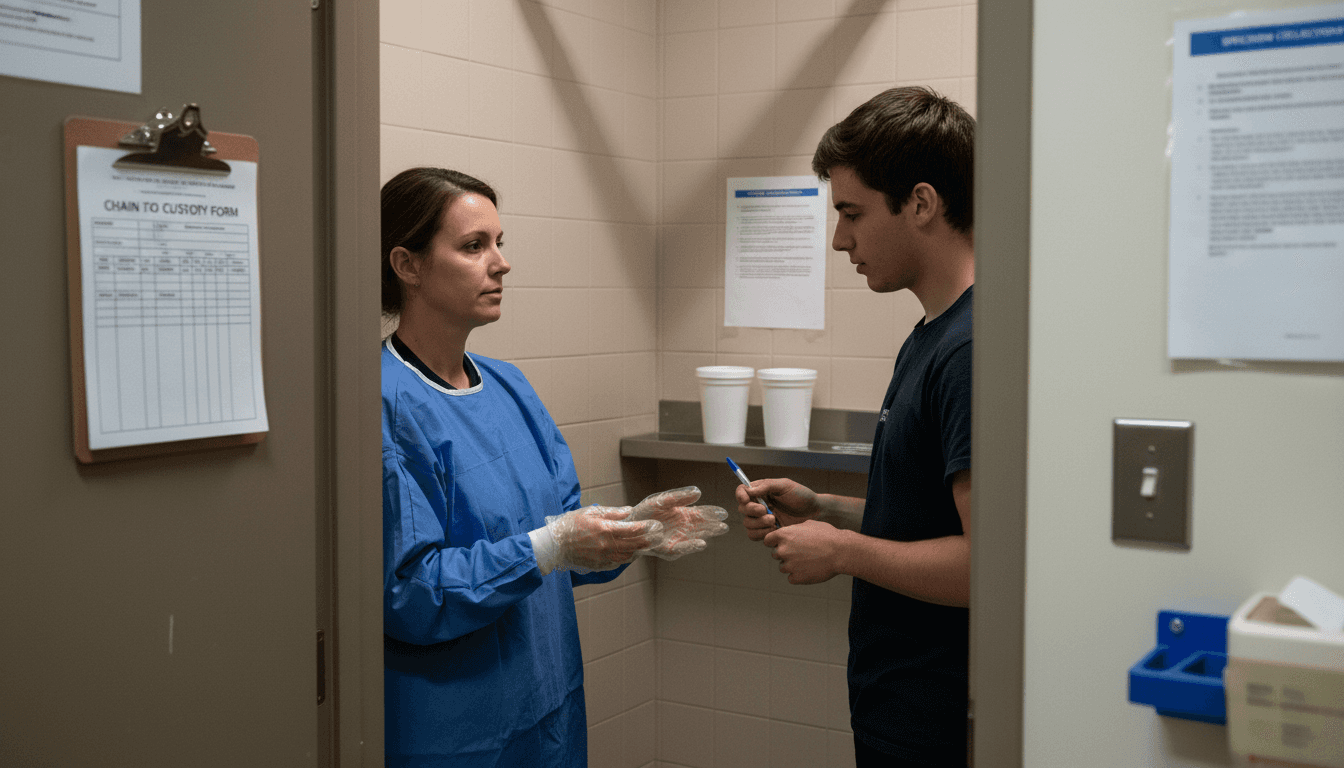
Implement direct observation during specimen collection to prevent adulteration or tampering. This means a trained observer watches the collection process without being intrusive. Specimen collection protocols require maintaining privacy while preventing substitution, which creates a delicate balance your staff must master.
Follow these collection essentials:
- Require donors to empty pockets and remove jackets to prevent concealment
- Use personal protective equipment including gloves and hand sanitizer
- Label specimens immediately with donor identification and collection time
- Document all collection details in writing before the donor leaves
- Secure the specimen in a sealed container with tamper-evident features
- Maintain unbroken chain of custody from collection through storage
Every specimen is only as trustworthy as the documentation that follows it from the moment it leaves the donor’s body.
Ask donors to provide specimens in your designated collection area with controlled water access and no unauthorized materials present. They should wash their hands before and after the collection process. Your staff should observe without intruding on privacy, a skill that takes practice but matters tremendously.
Document the collection thoroughly. Record the donor’s name, collection date and time, specimen type, collector name, and any observations about the specimen’s appearance or unusual circumstances. This documentation becomes critical if results are ever challenged or if legal proceedings occur.
Store collected specimens in a secure location immediately after collection. Use universal precautions including appropriate personal protective equipment throughout the process. Never leave specimens unattended or accessible to unauthorized personnel.
Pro tip: Create a simple checklist for your collectors that covers each step of the collection process, reducing errors and ensuring consistent procedures every single time regardless of staff experience level.
Step 4: Conduct drug testing accurately
Accurate testing separates effective treatment programs from those that create confusion and liability. The difference between a valid result and an invalid one often comes down to following procedures precisely. This step requires attention to detail, proper technique, and understanding what your tests actually measure.
Begin by reading the instructions for your specific test kit before you start. Different kits have different requirements for timing, temperature, reagent application, and result interpretation. Never assume two kits work the same way even if they test for the same substance.
Accurate drug testing requires performing screening tests followed by confirmatory tests to definitively identify substances. Screening tests like colorimetric assays provide quick results but can produce false positives. Confirmatory tests using chromatographic or spectrometric methods give you the certainty needed for clinical decisions.
The table below summarizes key differences between screening and confirmatory drug tests:
| Attribute | Screening Tests | Confirmatory Tests |
|---|---|---|
| Speed of Results | Fast (minutes) | Slower (hours to days) |
| Specificity | Limited | Very specific |
| False Positive Risk | Possible | Rare |
| Clinical Decision Value | Preliminary | Final/definitive |
Execute these testing steps:
- Prepare the specimen at room temperature unless kit instructions specify otherwise
- Apply the specimen to the test device using the exact amount specified
- Observe the testing device for the full reaction time without interruption
- Compare results only against the kit’s designated color chart at the exact time specified
- Record results immediately and legibly on the specimen documentation
- Never rely on memory to recall what you observed
A test result is only valid if you followed every single step exactly as written, and you documented what you saw with precision.
Understand the detection window for your tests. Different substances remain detectable for different timeframes depending on the person’s metabolism, body composition, and frequency of use. Educate your staff on these limitations so they interpret results correctly in clinical context.
Maintain quality control checks throughout your testing process. Use positive and negative control samples regularly to verify your test kits and procedures work properly. If controls produce unexpected results, your entire testing batch becomes questionable.
Follow standardized procedures consistently. When multiple staff members conduct tests, variations in technique create inconsistent results. Everyone must perform the same actions in the same order every single time. ASAM guidelines emphasize the importance of validated testing methods and adherence to standardized procedures for maintaining accuracy.
Pro tip: Create a laminated quick-reference card for each test kit type that shows the exact steps, timing, and result interpretation, ensuring your staff follows identical procedures regardless of shift or experience.
Step 5: Verify and document test results
Documentation transforms test results from observations into defensible clinical records. What you write down matters as much as the test itself. This step creates the paper trail that protects your program, your staff, and your patients.
Start by reviewing the chain of custody immediately after testing concludes. Verify that every person who touched the specimen is documented with their name, title, date, and time. Any gaps or unclear handoffs create questions about result validity later.
Verify the test result against the kit instructions one more time. Compare what you observed to the color chart or result indicator at the exact timeframe specified. Verification of test results involves reviewing analytical methods and ensuring results are interpreted accurately in clinical context, which means double-checking your observation against objective standards.
Document these essential details:
- Patient or donor name and identification number
- Specific substance panel tested (five-panel, ten-panel, custom panel)
- Test date, time, and location of collection
- Name and credentials of the person who conducted the test
- The exact result for each substance tested
- Any observations about specimen appearance or unusual circumstances
- Confirmation of chain of custody completion
Documentation completed in the moment is far more reliable than notes written hours later from memory.
Record results legibly and permanently. Use pen, not pencil, so entries cannot be altered. If you make an error, draw a single line through it, initial and date the correction, then write the correct information nearby. Never use white-out or erasers, which create questions about authenticity.
For positive results, many programs require confirmatory testing before notifying the patient. Document whether confirmatory testing was ordered and when results are expected. This prevents misunderstandings and gives you time to verify surprising results.
Store all documentation securely and confidentially. Proper recordkeeping is essential for regulatory compliance and quality assurance, protecting both patient privacy and your program’s integrity. Keep original documents in locked files with access restricted to authorized personnel only.
Maintain records for the timeframe your state or accrediting body requires. Some jurisdictions mandate retention for five to seven years. Understand your specific requirements to avoid legal complications.
Pro tip: Create a standardized result documentation form that your staff completes immediately after testing, ensuring consistent information capture and reducing the chance that important details get forgotten.
Elevate Your On-Site Drug Testing Accuracy and Compliance Today
Ensuring accurate, reliable, and legally defensible drug test results starts with having the right tools and supplies at hand. From secure specimen collection to proper drug test kit selection and storage, every detail matters in preventing specimen adulteration and maintaining a perfect chain of custody. Professionals like you who follow these critical steps need access to high-quality, FDA-approved, CLIA waived testing kits and comprehensive specimen collection supplies that guarantee confidence and compliance.
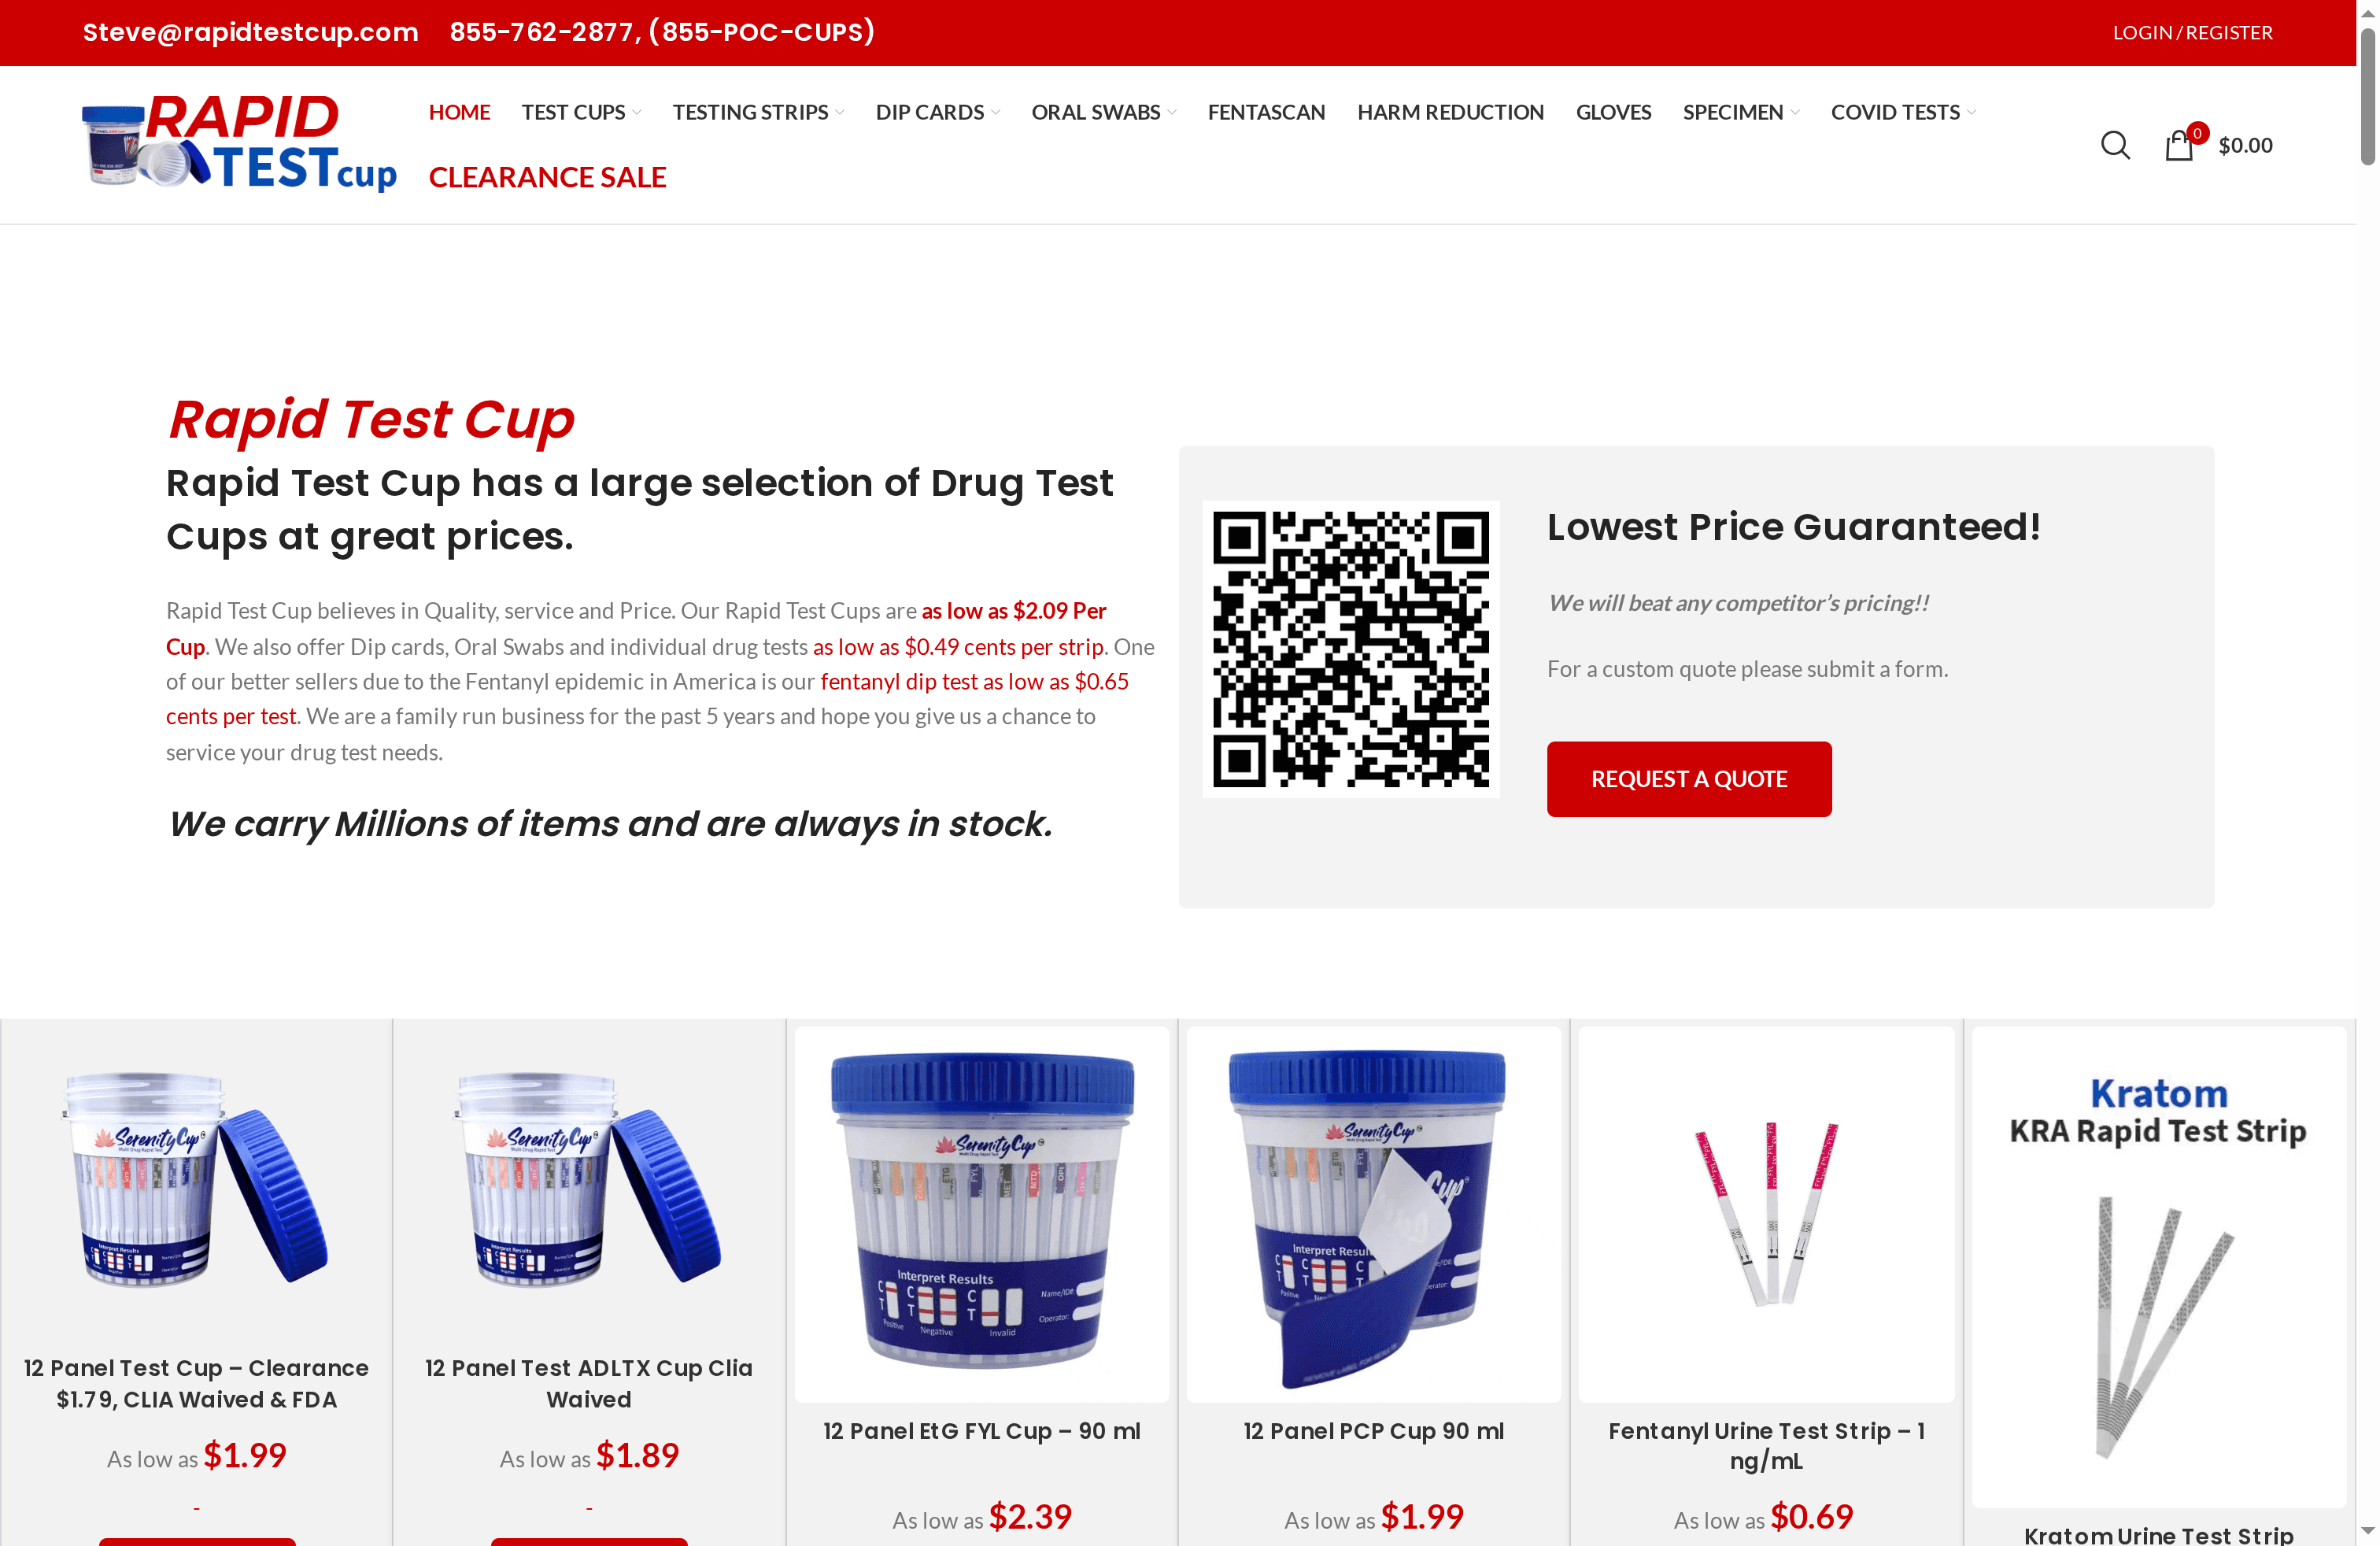
Discover how RapidTestCup supports your mission by offering an extensive range of drug test cups, urine test strips, and collection accessories designed for forensic, clinical, and treatment environments. Take advantage of our affordable bulk pricing and quick shipping to never run out of essential supplies. Get the products that empower your staff to follow strict protocols with ease and ensure every test you perform is accurate and legally sound. Visit RapidTestCup now and secure your testing success.
Frequently Asked Questions
What supplies do I need for on-site drug testing?
To conduct on-site drug testing effectively, gather clean specimen cups, drug test kits, gloves, hand sanitizer, and chains of custody documentation. Ensure you also have biohazard disposal bags and a secured area for specimen collection.
How do I create a secure testing environment for drug testing?
Designate a private collection area with restricted access to authorized personnel only. Monitor the area, remove any potential contaminants, and ensure water sources are secured to prevent tampering with specimens.
What steps should I follow for accurate specimen collection?
Ensure trained staff observe the collection process while maintaining donor privacy. Require donors to empty pockets, label specimens immediately, and document all details to maintain a proper chain of custody and prevent adulteration.
How can I ensure accurate testing results?
Carefully follow the specific instructions for each drug test kit, as each may have unique requirements. Conduct both screening and confirmatory tests to validate results, and document everything legibly to maintain reliability and credibility.
What should I do if a test result is positive?
Document the results immediately and verify against the kit instructions. Order confirmatory testing for any positive result to ensure clarity and accuracy before notifying the patient.