

Blog
Quality Control Steps for Labs: A Practical U.S. Guide


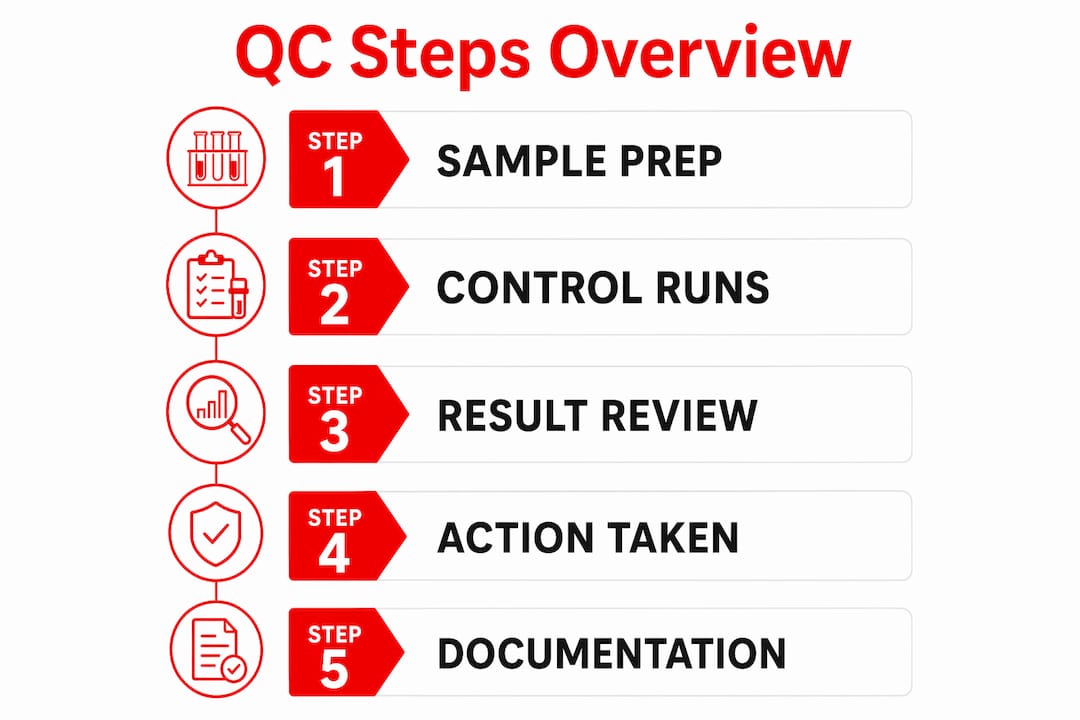
Run an Initial Demonstration of Capability (IDC) before reporting any patient or forensic result. From there, the core quality control steps for labs follow a tight sequence:
- Verify calibration traceability before each analytical run
- Run matrix-matched controls with every batch, at concentrations near clinical cutoffs
- Apply predefined acceptance limits (warning and control) and act when either is breached
- Log every failure and open a CAPA record before resuming testing
- Enroll in external proficiency testing (PT/EQA) and respond to unsatisfactory results in writing
- Govern the whole system with a documented QMS built on the Plan-Do-Check-Act (PDCA) cycle, aligned to CLIA/IQCP requirements and ISO/IEC 17025 or ISO 15189 where applicable
Rapidtestcup supplies CLIA-waived, FDA-approved test cups, dip cards, urine strips, and specimen collection accessories for labs that need reliable materials to anchor these steps.
Table of Contents
- What Are the Step-by-Step Quality Control Steps for Labs?
- How Do You Choose QC Materials That Actually Match Your Test Matrix?
- How Often Should You Run Controls, and When Do You Act?
- What Documentation and Training Records Does Your Lab Actually Need?
- How Do You Keep Equipment Calibrated and Maintained?
- Why Does Proficiency Testing Matter, and How Do You Respond to Failures?
- How Do You Investigate a QC Failure and Build a Defensible CAPA?
- Your 90-Day QC Implementation Checklist and SOP Headings
- Where to Source QC Materials and Test Supplies in the U.S.
- Key Takeaways
- What Most Labs Get Wrong About Quality Control
- Rapidtestcup Supplies the Test Cups and Specimen Materials Your QC Program Depends On
- Authoritative References and Standards for Your QMS File
What Are the Step-by-Step Quality Control Steps for Labs?
A four-phase sequence keeps drug-testing workflows reproducible and defensible.
-
Plan. Define test objectives, select methods, and perform a formal risk assessment covering pre-analytic, analytic, and post-analytic phases. Under CLIA, this is the foundation of an Individualized Quality Control Plan (IQCP), which lets you tailor QC frequency to your specific testing environment after evaluating five components: specimen, test system, reagent, environment, and testing personnel.
-
IDC — Initial Demonstration of Capability. Before any new analyst reports results, document that the person and the method together produce results within acceptable limits. Record personnel name, method, pass/fail criteria, and date. No IDC on file means no defensible result.
-
Do. Run QC materials with every batch. Check that calibrations are current, reagent lots are within expiry, and all steps follow the written SOP. Document everything at the time of testing, not retroactively.
-
Check. Plot results on a Levey-Jennings control chart. Review charts weekly for trends (six consecutive points moving in one direction) and shifts (six consecutive points on one side of the mean). The ISO PDCA framework treats this monitoring step as the engine of continual improvement.
-
Act. When a control limit is exceeded, stop releasing results, preserve the evidence, and open a CAPA record. Verify the corrective action works before resuming routine testing.
An implementation timeline is recommended to organize completing IDC for all analysts, drafting SOPs, verifying equipment calibration, running QC with each batch, building control charts, enrolling in a PT program, conducting management review, closing CAPAs, and confirming PT enrollment, following good lab practice guidelines.
Pro Tip: Schedule QC runs at the start of each batch, not the end. Catching a control failure before patient results are released saves the time and legal exposure of a retroactive hold.
How Do You Choose QC Materials That Actually Match Your Test Matrix?
Choosing the wrong control material is one of the most common ways a QC program produces data that looks fine on paper but misses real problems. Matrix-matched controls — materials that mimic the actual specimen type — are the standard expectation.

| Selection Criterion | Practical Check |
|---|---|
| Matrix match | Urine controls for urine-based immunoassay cups; oral fluid controls for oral swab panels |
| Analyte concentration | At least one level near the clinical cutoff; a second level above or below adds sensitivity |
| Stability and storage | Confirm shelf life at your storage temperature; log expiry dates on receipt |
| Traceability | Request a Certificate of Analysis (COA) from the vendor; retain it with the lot record |
| Adulterant/temperature checks | For forensic samples, include controls that verify creatinine, pH, and specific gravity ranges |
Assayed vs. unassayed controls: Assayed controls carry manufacturer-stated target ranges, which simplifies acceptance criteria. Unassayed controls are less expensive but require you to establish your own ranges by running the material at least 20 times across multiple days before use. Either approach is defensible if documented.
Lot-to-lot verification matters every time a new lot arrives. Run the new lot in parallel with the current lot for at least one analytical run, compare results, and document the comparison before switching.
Pro Tip: For forensic urine panels, always include a control that tests positive for at least one analyte at the cutoff concentration. A “negative-only” QC program cannot confirm your assay is detecting what it should.
How Often Should You Run Controls, and When Do You Act?
Warning limits and control limits serve different purposes. Exceeding a warning limit triggers investigation and heightened monitoring. Exceeding a control limit requires suspension of testing and documented corrective action before any results are released.
| Scenario | Recommended QC Frequency |
|---|---|
| Point-of-care urine strips | Each new lot; at minimum once per shift when in continuous use |
| Multi-panel test cups (e.g., 12-panel) | Each batch or each 20 specimens, whichever comes first |
| Confirmatory GC-MS/LC-MS workflows | Each analytical run; bracketing controls at start and end |
| After maintenance or reagent lot change | One full QC run before releasing patient results |
| After failed PT event | Full QC run plus root-cause documentation before resuming |
Under CLIA’s IQCP framework, frequency can be adjusted based on your risk assessment — but never below the manufacturer’s minimum specification.
Control chart alert rules to act on immediately:
- Any single point outside ±3 SD (control limit breach)
- Two consecutive points outside ±2 SD on the same side
- Six consecutive points trending in one direction
When a limit is exceeded, hold results, document the event in the QC log, and do not release until the root cause is identified and corrected.
What Documentation and Training Records Does Your Lab Actually Need?
A laboratory quality manual built on CLSI’s Quality System Essentials provides the framework. The minimum SOP headings every drug-testing lab should maintain:
- Specimen collection and chain-of-custody procedures
- QC plan: materials, frequency, acceptance criteria, and corrective actions
- IDC protocol: personnel, method, pass/fail criteria, and sign-off
- Calibration and equipment maintenance schedule
- Result review, approval, and reporting
- CAPA procedure: problem identification through verification
- Records retention and document control
IDC records must show: analyst name, test system, date performed, acceptance criteria used, observed results, and the laboratory director’s signature approving the analyst for independent reporting.
Training and competency: CLIA and CAP both require documented competency assessment at six months for new employees and annually thereafter. Assessment methods include direct observation, blind sample testing, and written or oral examination. Retain all records for a minimum of two years; forensic labs should consult their accrediting body for longer retention requirements.
Records retention minimums to keep on file: QC logs (two years), COAs (life of the lot plus two years), PT results (two years), corrective action files (two years), and training records (duration of employment plus two years). ASQ guidance is clear that documentation without leadership review produces shelf-ware, not improvement.
How Do You Keep Equipment Calibrated and Maintained?
Calibration and maintenance are not the same thing, and conflating them is a common audit finding. Calibration establishes metrological traceability — an unbroken chain of measurements back to a reference standard. Maintenance keeps the instrument operating within the conditions that make calibration valid.
Minimum maintenance log fields:
- Equipment ID and serial number
- Date and time of service
- Task performed (cleaning, temperature check, pipette calibration, centrifuge service)
- Lot numbers and COAs for any consumables used
- Technician name and supervisor sign-off
- Next scheduled service date
Daily tasks: temperature logs for refrigerators and freezers storing reagents and controls. Weekly tasks: centrifuge function check, pipette volume verification. Monthly tasks: full instrument function verification per manufacturer protocol.
Pro Tip: Set calendar reminders in your LIMS or a shared calendar for every scheduled maintenance event. A missed maintenance log entry is as damaging in an audit as a missed maintenance task.
Why Does Proficiency Testing Matter, and How Do You Respond to Failures?
PT/EQA provides independent, external verification that your lab’s results are comparable to peer laboratories. For CLIA-certified labs, PT participation is a regulatory requirement for moderate- and high-complexity testing. For metrological traceability and benchmarking, it is the only mechanism that catches systematic bias your internal controls cannot detect.
Enrollment and response checklist:
- Identify an approved PT provider for each test category (e.g., CAP, COLA, AAFP for CLIA-regulated tests).
- Enroll before the lab begins routine patient reporting for a new test.
- Treat PT samples exactly as patient samples — same analyst rotation, same SOP, no special handling.
- Document results and submit by the provider’s deadline.
- On receipt of a graded report, review all results against the provider’s acceptability criteria.
- For any unsatisfactory result: stop routine reporting for that analyte, open a CAPA, identify root cause, correct, verify, and document before resuming.
- Retain all PT reports and CAPA records for a minimum of two years.
Add PT event dates to your annual QA calendar at the start of each year so scheduling conflicts don’t cause missed submissions.
How Do You Investigate a QC Failure and Build a Defensible CAPA?
A defensible CAPA record requires more than repeating the test. Repeating alone is not corrective action.
- Stop. Hold all results from the affected batch. Do not release.
- Preserve evidence. Retain the failed control material, reagent lot, and instrument printout.
- Collect data. Review the control chart, reagent lot records, calibration log, and analyst notes for the run.
- Hypothesize root cause. Common categories: control material failure (expired, improperly stored), calibration drift, reagent lot change, operator error, or instrument malfunction.
- Test the hypothesis. Rerun with a fresh control from a different vial. If the new control passes, the original vial is suspect. If it fails again, the issue is systemic.
- Document the CAPA. Record: problem description, root cause, corrective action taken, preventive action to avoid recurrence, responsible person, and verification date.
- Verify effectiveness. Run QC again after correction. Only release results when controls pass.
When to notify stakeholders: If affected patient or forensic results were already released, notify the ordering clinician or agency promptly and annotate the original report. For forensic samples, consult your chain-of-custody documentation and legal counsel before amending records.
Pro Tip: Keep a CAPA log as a running document, not a collection of separate files. Trending CAPA entries over time reveals systemic issues — the same root cause appearing three times in six months is a process problem, not a series of isolated events.
Your 90-Day QC Implementation Checklist and SOP Headings
Day 0 (before first patient result):
- [ ] Draft and director-sign the QC Plan and all core SOPs
- [ ] Complete IDC for every active analyst
- [ ] Verify calibration traceability for all instruments
- [ ] Confirm control materials are matrix-matched, within expiry, and COAs are on file
Days 0–30:
- [ ] Run QC with every batch; log all results
- [ ] Build Levey-Jennings charts for each analyte
- [ ] Enroll in a PT program; confirm first event date
- [ ] Train all staff on QC SOP; document competency assessments
Days 31–60:
- [ ] Review control charts for trends and shifts; document findings
- [ ] Complete first lot-to-lot verification for any new reagent or control lot
- [ ] Conduct first internal audit of QC logs and maintenance records
- [ ] Open and close at least one CAPA to verify the process works
Days 61–90:
- [ ] Receive and review first PT report; respond to any unsatisfactory results
- [ ] Conduct management review: QC performance, open CAPAs, training gaps
- [ ] Update IQCP risk assessment with findings from the first 60 days
- [ ] Confirm records retention schedule is in place and files are organized
Sample SOP heading list: Specimen Collection and Acceptance; QC Plan and Acceptance Criteria; IDC Protocol; Calibration and Traceability; Equipment Maintenance; Result Review and Reporting; CAPA Procedure; Records Retention and Document Control; PT Enrollment and Response.
Labs that follow a structured drug testing checklist from day one reduce the risk of audit findings during the first accreditation cycle.
Where to Source QC Materials and Test Supplies in the U.S.
Vendor selection is a quality decision, not just a purchasing one. Every supplier of test cups, control materials, or specimen supplies should meet these criteria before you place an order.
Buying checklist:
- COA available for every lot, on request or automatically on shipment
- Lot traceability: lot number on outer packaging and individual units
- Storage and expiration information clearly stated on labeling
- CLIA-waived or FDA-cleared status documented for the intended use
- Bulk ordering options with consistent lot availability
- Responsive customer support for technical and compliance questions
Shipment receipt verification:
- Check outer packaging for damage or temperature excursion indicators
- Confirm lot number on the packing slip matches the product label
- Verify expiration date allows sufficient shelf life for planned use
- Retain the COA and packing documentation with the lot record
Rapidtestcup offers multi-panel drug test cups, urine dip cards, fentanyl strips, adulterant detection kits, and specimen collection supplies with CLIA-waived and FDA-approved options, bulk pricing, and COA support. For procurement workflow support, HaiPhai’s solutions can complement your vendor management process.
Pro Tip: Order enough of a single lot to cover at least one full PT cycle. Lot changes mid-cycle require parallel verification runs and add workload. Buying in bulk from a consistent supplier reduces that burden.
Key Takeaways
A compliant drug-testing QC program requires IDC, matrix-matched controls with defined acceptance limits, documented CAPA for every failure, and active PT enrollment — all governed by a written QMS aligned to CLIA/IQCP and PDCA principles.
| Point | Details |
|---|---|
| Start with IDC | Document every analyst’s capability before they report patient or forensic results. |
| Match controls to matrix | Use urine-matrix controls for urine panels; include adulterant checks for forensic samples. |
| Act on control limits | Exceeding a control limit requires suspended testing and a documented CAPA before resuming. |
| Enroll in PT early | PT participation is a CLIA requirement for moderate- and high-complexity tests; enroll before routine reporting begins. |
| Source from Rapidtestcup | CLIA-waived, FDA-approved test cups, strips, and specimen supplies with bulk pricing and COA support. |
What Most Labs Get Wrong About Quality Control
The most persistent QC failure isn’t a missed control run. It’s treating QC as a documentation exercise rather than an operational signal. Labs that run controls, log the numbers, and move on without reviewing trends are producing paperwork, not quality assurance. A shift on a Levey-Jennings chart that goes unnoticed for two weeks represents potentially hundreds of results released under degraded conditions.
The second blind spot is leadership disengagement. ASQ’s quality management guidance is direct: without management review and sustained follow-up, documented procedures become shelf-ware. The laboratory director’s signature on a QCP is not the end of their responsibility. Weekly chart reviews, monthly CAPA status checks, and annual QMS reviews are operational commitments, not administrative formalities.
For forensic labs specifically, chain-of-custody integrity and adulteration detection are QC issues, not just collection issues. A specimen that arrives with a broken seal or an out-of-range temperature indicator is a QC event. Treat it as one.
Rapidtestcup Supplies the Test Cups and Specimen Materials Your QC Program Depends On
Labs that have their QC procedures in order still need a reliable supply of test cups, control-compatible specimen materials, and collection accessories that arrive on time, with documentation.
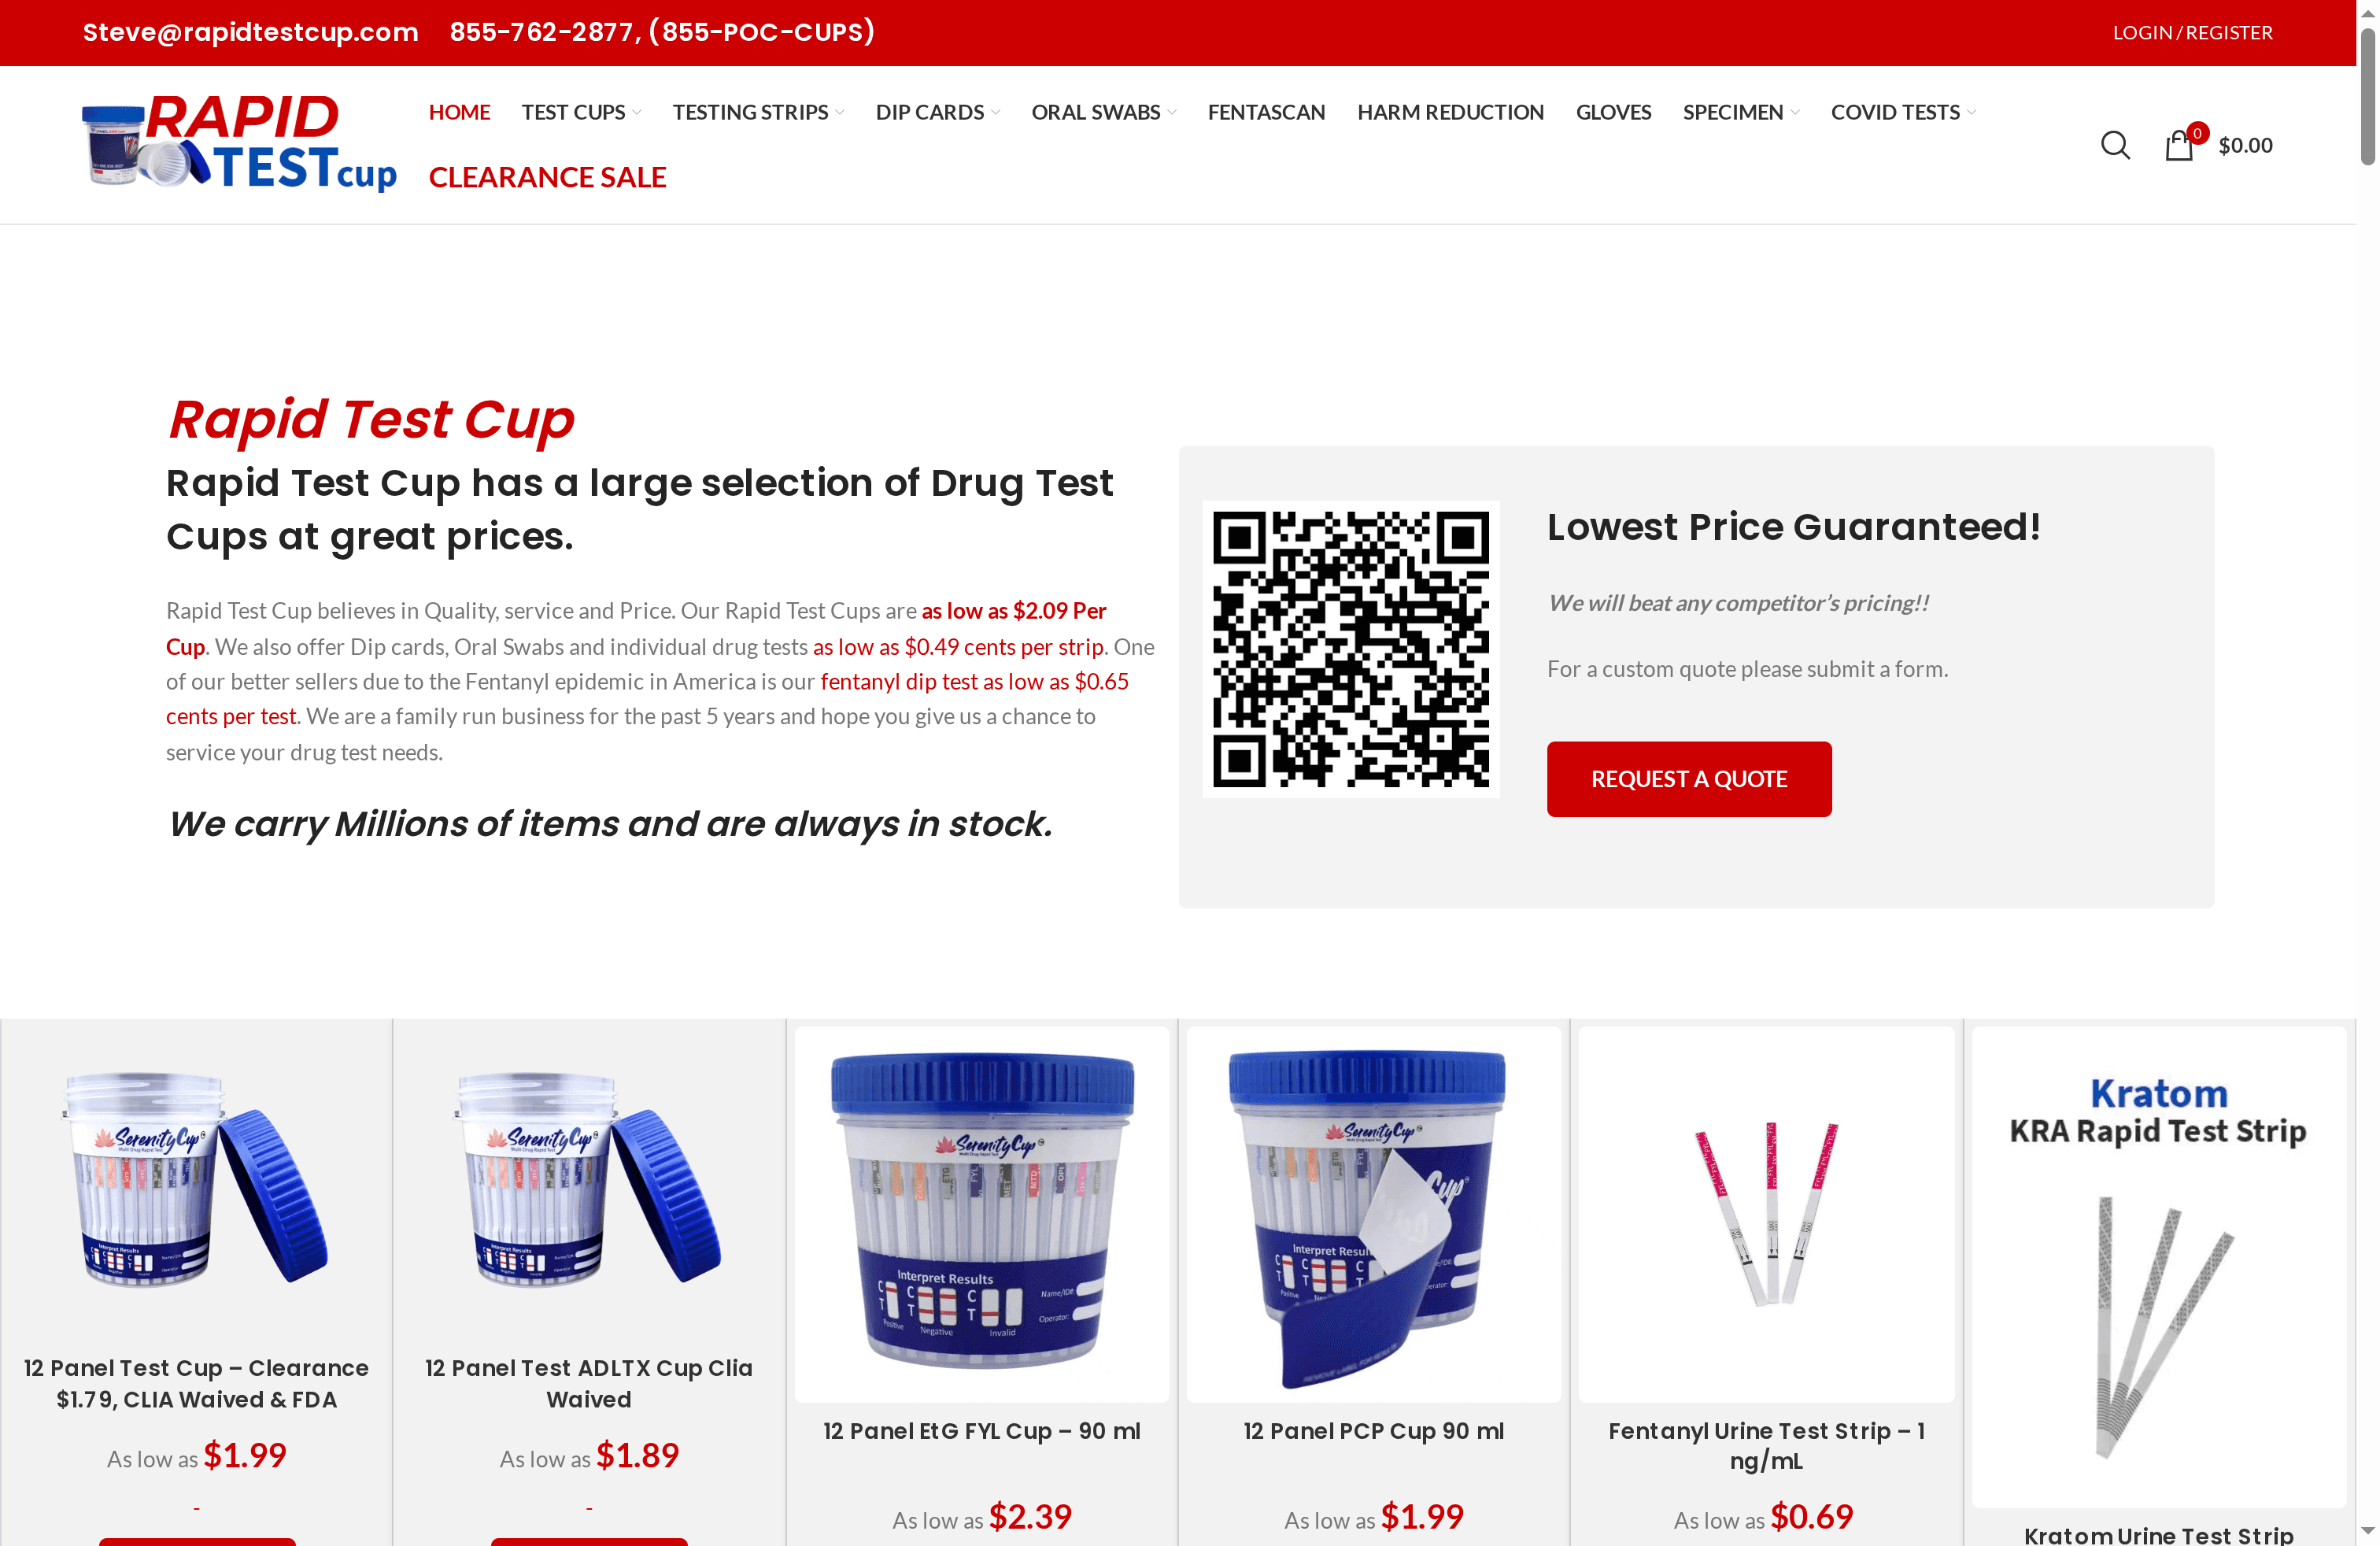
Rapidtestcup stocks multi-panel urine test cups, including the 22-panel cup with adulterant detection for forensic workflows, alongside fentanyl strips, ETG strips, and urine specimen cups for chain-of-custody collection. All products carry CLIA-waived or FDA-approved status. Bulk pricing is available, and COA documentation is supported. When you’re ready to stock your lab, browse the full drug testing product catalog and request a quote for your volume.
Authoritative References and Standards for Your QMS File
Keep these documents in your QMS library and reference them when developing or updating your QC plan.
Core U.S. regulatory and guidance documents:
- CLIA IQCP Workbook (CMS) — risk assessment, QCP, and QA templates
- CDC IQCP Layout Guide — step-by-step IQCP development
- EPA QA/QC Lab Guidance — IDC, calibration traceability, and control limit definitions
- APHL Laboratory Quality Manual Guide — CLSI QSE framework for building a quality manual
- Eurachem Guide to Quality in Analytical Chemistry — method validation, measurement uncertainty, and traceability
- COLA/LabFlorida QA Plans Guide — practical QA plan writing and CAPA documentation
- ISO 9001:2015 Process Approach — PDCA cycle and risk-based thinking
| Document | Primary Use | Attach to QMS? |
|---|---|---|
| CLIA IQCP Workbook | Risk assessment and QCP template | Yes |
| CDC IQCP Layout Guide | IQCP development walkthrough | Yes |
| Eurachem QA/QC Guide | Method validation and traceability | Yes |
| APHL Quality Manual Guide | QMS structure and CLSI QSEs | Yes |
| COLA QA Plans Guide | CAPA documentation and QA plan writing | Yes |
Suggested reading order for labs implementing QC for the first time: Start with the CDC IQCP Layout Guide to understand the regulatory framework, then work through the CLIA IQCP Workbook to complete your risk assessment and QCP. Use the APHL Quality Manual Guide to build your SOP library. Add the Eurachem guide once your internal QC is running and you are ready to address method validation and traceability in depth.