Blog
Guide to Preparing Test Samples for Lab Professionals


TL;DR:
- Sample preparation is essential for reliable laboratory analysis, involving five mandatory steps to prevent errors and bias. Proper method selection, specimen handling, and QC checks ensure data accuracy and reproducibility in testing results. Investing in disciplined prep protocols and quality tools leads to trustworthy outcomes and minimizes costly mistakes.
Sample preparation is the systematic process of transforming raw specimens into clean, instrument-ready forms for reliable laboratory analysis. Every accurate drug test, mechanical assay, or clinical panel depends on what happens before the instrument ever runs. This guide to preparing test samples covers the five-step standard workflow, method selection criteria, specimen handling best practices, and troubleshooting strategies that lab technicians and health professionals need in 2026. Follow these sample preparation guidelines and your results will be reproducible, defensible, and compliant with ASTM and ISO standards.
What is the guide to preparing test samples and why does it matter?
Sample preparation errors propagate bias and corrupt calibration curves, which means data integrity is established before the instrument ever runs. No amount of instrument recalibration fixes a poorly prepared sample. The preparation phase transforms a complex biological, environmental, or physical specimen into a clean, analyte-ready solution that the instrument can actually read.
The standard analytical workflow consists of five mandatory steps: representative sampling, homogenization, extraction, cleanup, and concentration or dilution. Skipping any one of these steps causes systematic errors that affect the entire analysis. That is not a recoverable situation. Understanding each step is the foundation of every reliable lab result.
What are the essential steps in test sample preparation?
The five steps below are not optional. Each one removes a specific source of error that the next step cannot fix.
1. Representative sampling
Representative sampling means collecting a subset that accurately reflects the bulk material. A urine specimen drawn from the top of a poorly mixed container, a soil core taken only from the surface, or a tissue biopsy from the edge of a lesion will all produce skewed data. The sample must mirror the whole.
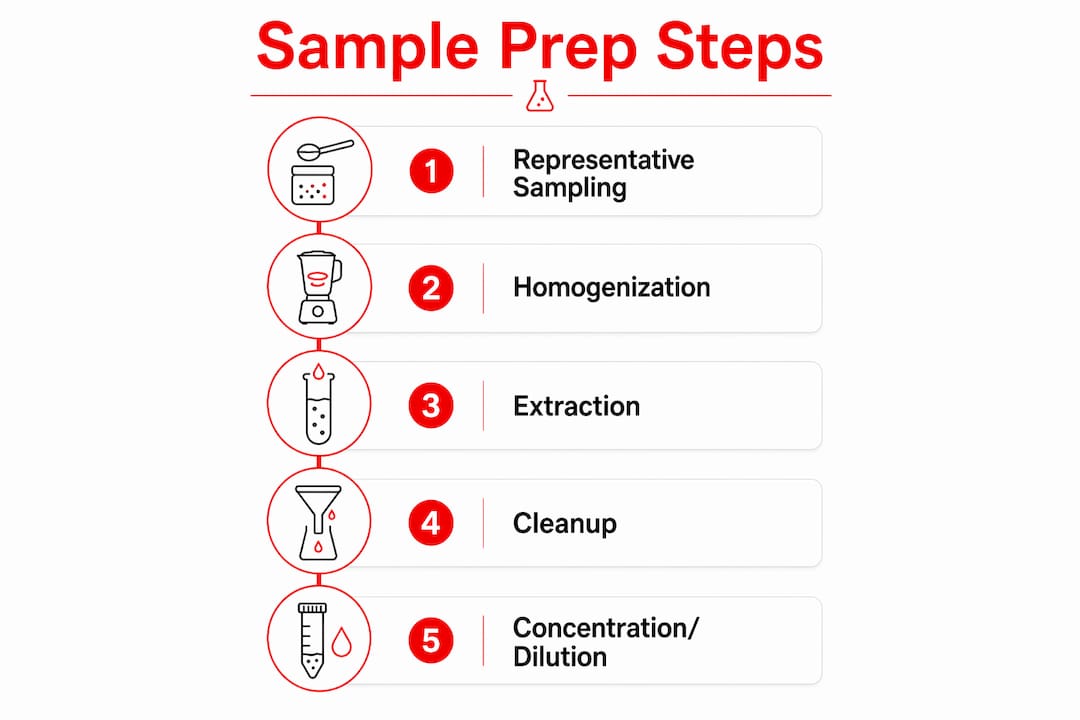
2. Homogenization
Homogenization creates uniform analyte distribution throughout the sample. For blood, this means thorough inversion of the collection tube. For soil, it means grinding and blending. For tissue, it means mechanical disruption. Skipping homogenization creates systematic bias that no later recalibration can correct. This is the most common source of error in labs that rush the pre-analytical phase.
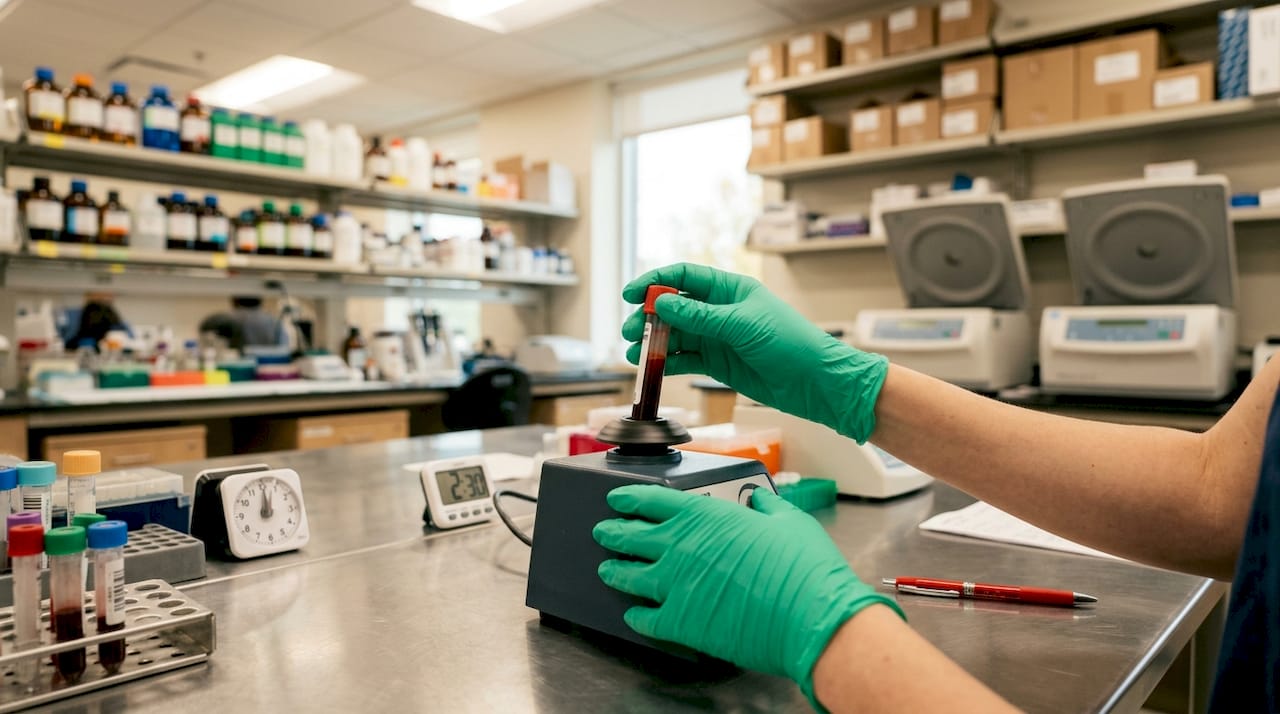
3. Extraction
Extraction isolates the target analyte from the sample matrix. Liquid-liquid extraction works well for organic compounds in aqueous matrices. Solid-phase extraction handles trace analytes in complex biological fluids like urine or plasma. The extraction method must match both the analyte chemistry and the matrix. Choosing the wrong technique here means the analyte never reaches the instrument.
4. Cleanup and purification
Cleanup removes co-extracted interferences that would suppress the signal, damage the column, or produce false positives. Protein precipitation is standard for plasma samples. Dispersive solid-phase extraction handles pigments and lipids in food matrices. Each cleanup step trades some analyte recovery for a cleaner extract. The goal is the best possible balance between the two.
5. Concentration or dilution
The final step adjusts analyte concentration to fall within the instrument’s detection range. Evaporation and reconstitution concentrate trace analytes. Dilution brings high-concentration samples into the linear range. For urine drug testing, a dilute-and-shoot approach works for many panels, but trace fentanyl detection at 1 ng/mL requires concentration steps first.
Pro Tip: Never skip a step to save time. A 10-minute shortcut in homogenization can invalidate an entire analytical batch, requiring a full re-run that costs hours and resources.
How do you select the right sample preparation method?
Over 49 established sample preparation methods exist, with parameters ranging from ambient temperature to 200°C and processing times from minutes to hours. That range reflects how different sample matrices and analytes actually are. Selecting the wrong method wastes time, damages instruments, and produces unreliable data.
The four factors that drive method selection are:
- Sample matrix: Urine, blood, soil, tissue, and polymer each require different approaches. Urine is relatively clean; tissue requires mechanical disruption before any extraction.
- Target analyte: Volatile compounds need headspace techniques. Polar drugs in urine work well with direct immunoassay. Trace metals require acid digestion.
- Detection limits: Trace analysis at parts-per-trillion levels demands rigorous cleanup and concentration. Screening at standard cutoff levels can tolerate faster, simpler methods.
- Equipment availability: Solid-phase extraction requires cartridges and a manifold. Protein precipitation needs only a centrifuge. Match the method to what your lab actually has.
The table below summarizes common method categories by key parameters.
| Method category | Typical matrix | Processing time | Complexity |
|---|---|---|---|
| Dilute and shoot | Urine, aqueous | 2–5 minutes | Low |
| Protein precipitation | Plasma, serum | 10–20 minutes | Low |
| Liquid-liquid extraction | Urine, water | 30–60 minutes | Medium |
| Solid-phase extraction | Plasma, tissue | 60–120 minutes | High |
| Acid digestion | Soil, tissue, metals | 2–8 hours | High |
Validated method selection requires running small validation batches with spikes, blanks, and replicates before committing to routine testing. A spike recovery between 80% and 120% is the standard acceptance criterion for most regulatory frameworks. Running five spiked samples before a new method goes live takes less time than investigating a failed batch after the fact.
Pro Tip: When choosing between a rapid method and a rigorous cleanup, ask what the consequence of a false result is. For a workplace screening panel, speed matters. For a forensic confirmation, data quality is non-negotiable.
What are best practices for specimen handling and preparation?
Specimen integrity starts the moment collection begins. Poor handling before the lab even processes the sample is a leading cause of degraded results.
The following practices protect sample integrity at every stage:
- Use sterile, single-use collection containers. Reused containers introduce cross-contamination even after washing.
- Label specimens immediately at the point of collection. Mislabeled samples are the most common pre-analytical error in clinical labs.
- Store specimens at the correct temperature without delay. Urine held at room temperature for more than two hours degrades analyte concentrations measurably.
- Document every variable: collection time, environmental conditions, tool type, and any deviation from protocol.
Documentation of cutting angles, tool types, and environmental conditions reduces variance and improves reproducibility for physical test specimens. Minor deviations during handling cause significant result variance. This principle applies equally to tensile test coupons and urine specimens. The record is part of the result.
For physical testing specimens, ASTM and ISO standards specify exact dimensions, surface finishes, and conditioning requirements. Tensile test specimens require standardized dimensions and environmental conditioning to prevent moisture absorption and inaccurate results. A specimen conditioned at 23°C and 50% relative humidity for 24 hours before testing will produce reproducible data. One pulled straight from a humid storage room will not.
You can review a detailed laboratory drug testing checklist that covers required preparation steps and quality controls for reliable lab testing.
Pro Tip: Record specimen dimensions to the nearest 0.01 mm before every mechanical test. Dimensional variance is a silent source of result scatter that looks like material variability but is actually measurement error.
How do you troubleshoot sample preparation problems?
Inconsistent replicates are the clearest sign of a preparation problem. When two aliquots from the same sample produce results that differ by more than your method’s accepted precision range, the instrument is not the first place to look.
The table below maps common failure modes to their causes and fixes.
| Failure mode | Root cause | Mitigation |
|---|---|---|
| High replicate variance | Incomplete homogenization | Extend mixing time; verify technique |
| Low analyte recovery | Incorrect spin filter use | Pre-rinse membrane; re-spin inverted |
| Matrix suppression | Insufficient cleanup | Add protein precipitation or SPE step |
| Calibration curve drift | Contaminated blank | Replace reagents; clean glassware |
| False positives | Cross-contamination | Use dedicated tools per sample type |
Technicians often fail to re-spin spin filters inverted to recover retained analytes, which critically impacts recovery rates for limited-volume samples. The correct technique is to pre-rinse the membrane, centrifuge for 10–30 minutes, then re-spin the filter inverted to push retained analyte back into the collection tube. Skipping the inverted spin can cost a significant portion of the analyte in a low-volume specimen.
Quality control checks at each preparation stage catch errors before they reach the instrument. Run a method blank with every batch to detect reagent contamination. Run a spiked control at the cutoff concentration to verify recovery. Document every QC result. Training staff to treat QC failures as diagnostic information rather than inconveniences is what separates high-performing labs from average ones.
For specimen collection methods specific to medical and diagnostic testing, standardized procedures reduce the pre-analytical variables that cause most troubleshooting headaches.
Pro Tip: When a batch fails QC, work backward through the five preparation steps before touching the instrument. Nine times out of ten, the problem is in the prep, not the hardware.
Key takeaways
Reliable laboratory results depend on rigorous sample preparation at every step, from collection through concentration, before the instrument ever runs.
| Point | Details |
|---|---|
| Five-step workflow is mandatory | Sampling, homogenization, extraction, cleanup, and concentration each prevent specific errors. |
| Method selection drives accuracy | Match the preparation method to your matrix, analyte, and detection limit requirements. |
| Documentation reduces variance | Record every variable, including tool type, conditions, and dimensions, to support reproducibility. |
| QC checks catch prep errors early | Run blanks and spiked controls with every batch to identify failures before they corrupt results. |
| Spin filter technique matters | Pre-rinse, centrifuge, then re-spin inverted to maximize analyte recovery from limited samples. |
What I’ve learned from watching labs skip the basics
Sample preparation is where most lab errors are born, and where most labs underinvest their attention. I’ve seen facilities spend tens of thousands of dollars on mass spectrometers and then assign sample prep to the least experienced technician on the team. The instrument cannot fix what the prep broke. Data quality is limited by specimen integrity regardless of how sophisticated the downstream hardware is.
The misconception I encounter most often is that a better instrument will solve a reproducibility problem. It will not. If homogenization is inconsistent, the bias is baked into every aliquot before the sample ever touches the autosampler. Recalibrating the instrument is like adjusting a recipe after you’ve already burned the ingredients.
What actually works is treating preparation as a discipline with the same rigor as instrument operation. That means written SOPs for every matrix, documented training records for every technician, and a culture where QC failures trigger root-cause analysis rather than a shrug. The labs I’ve seen produce the most defensible data are not the ones with the newest equipment. They are the ones where the technician running the prep takes as much pride in that work as the analyst reading the output.
In 2026, with CLIA-waived point-of-care testing expanding into more clinical settings, the pressure to cut preparation steps is real. Resist it. A fast result that is wrong is worse than a delayed result that is right.
— Justin
Rapidtestcup products built for reliable sample workflows
Accurate drug testing starts with the right collection and testing tools, not just the right technique. Rapidtestcup supplies CLIA-waived, FDA-approved drug test cups, dip cards, urine test strips, and specimen collection supplies designed for labs, clinics, substance abuse programs, and law enforcement.
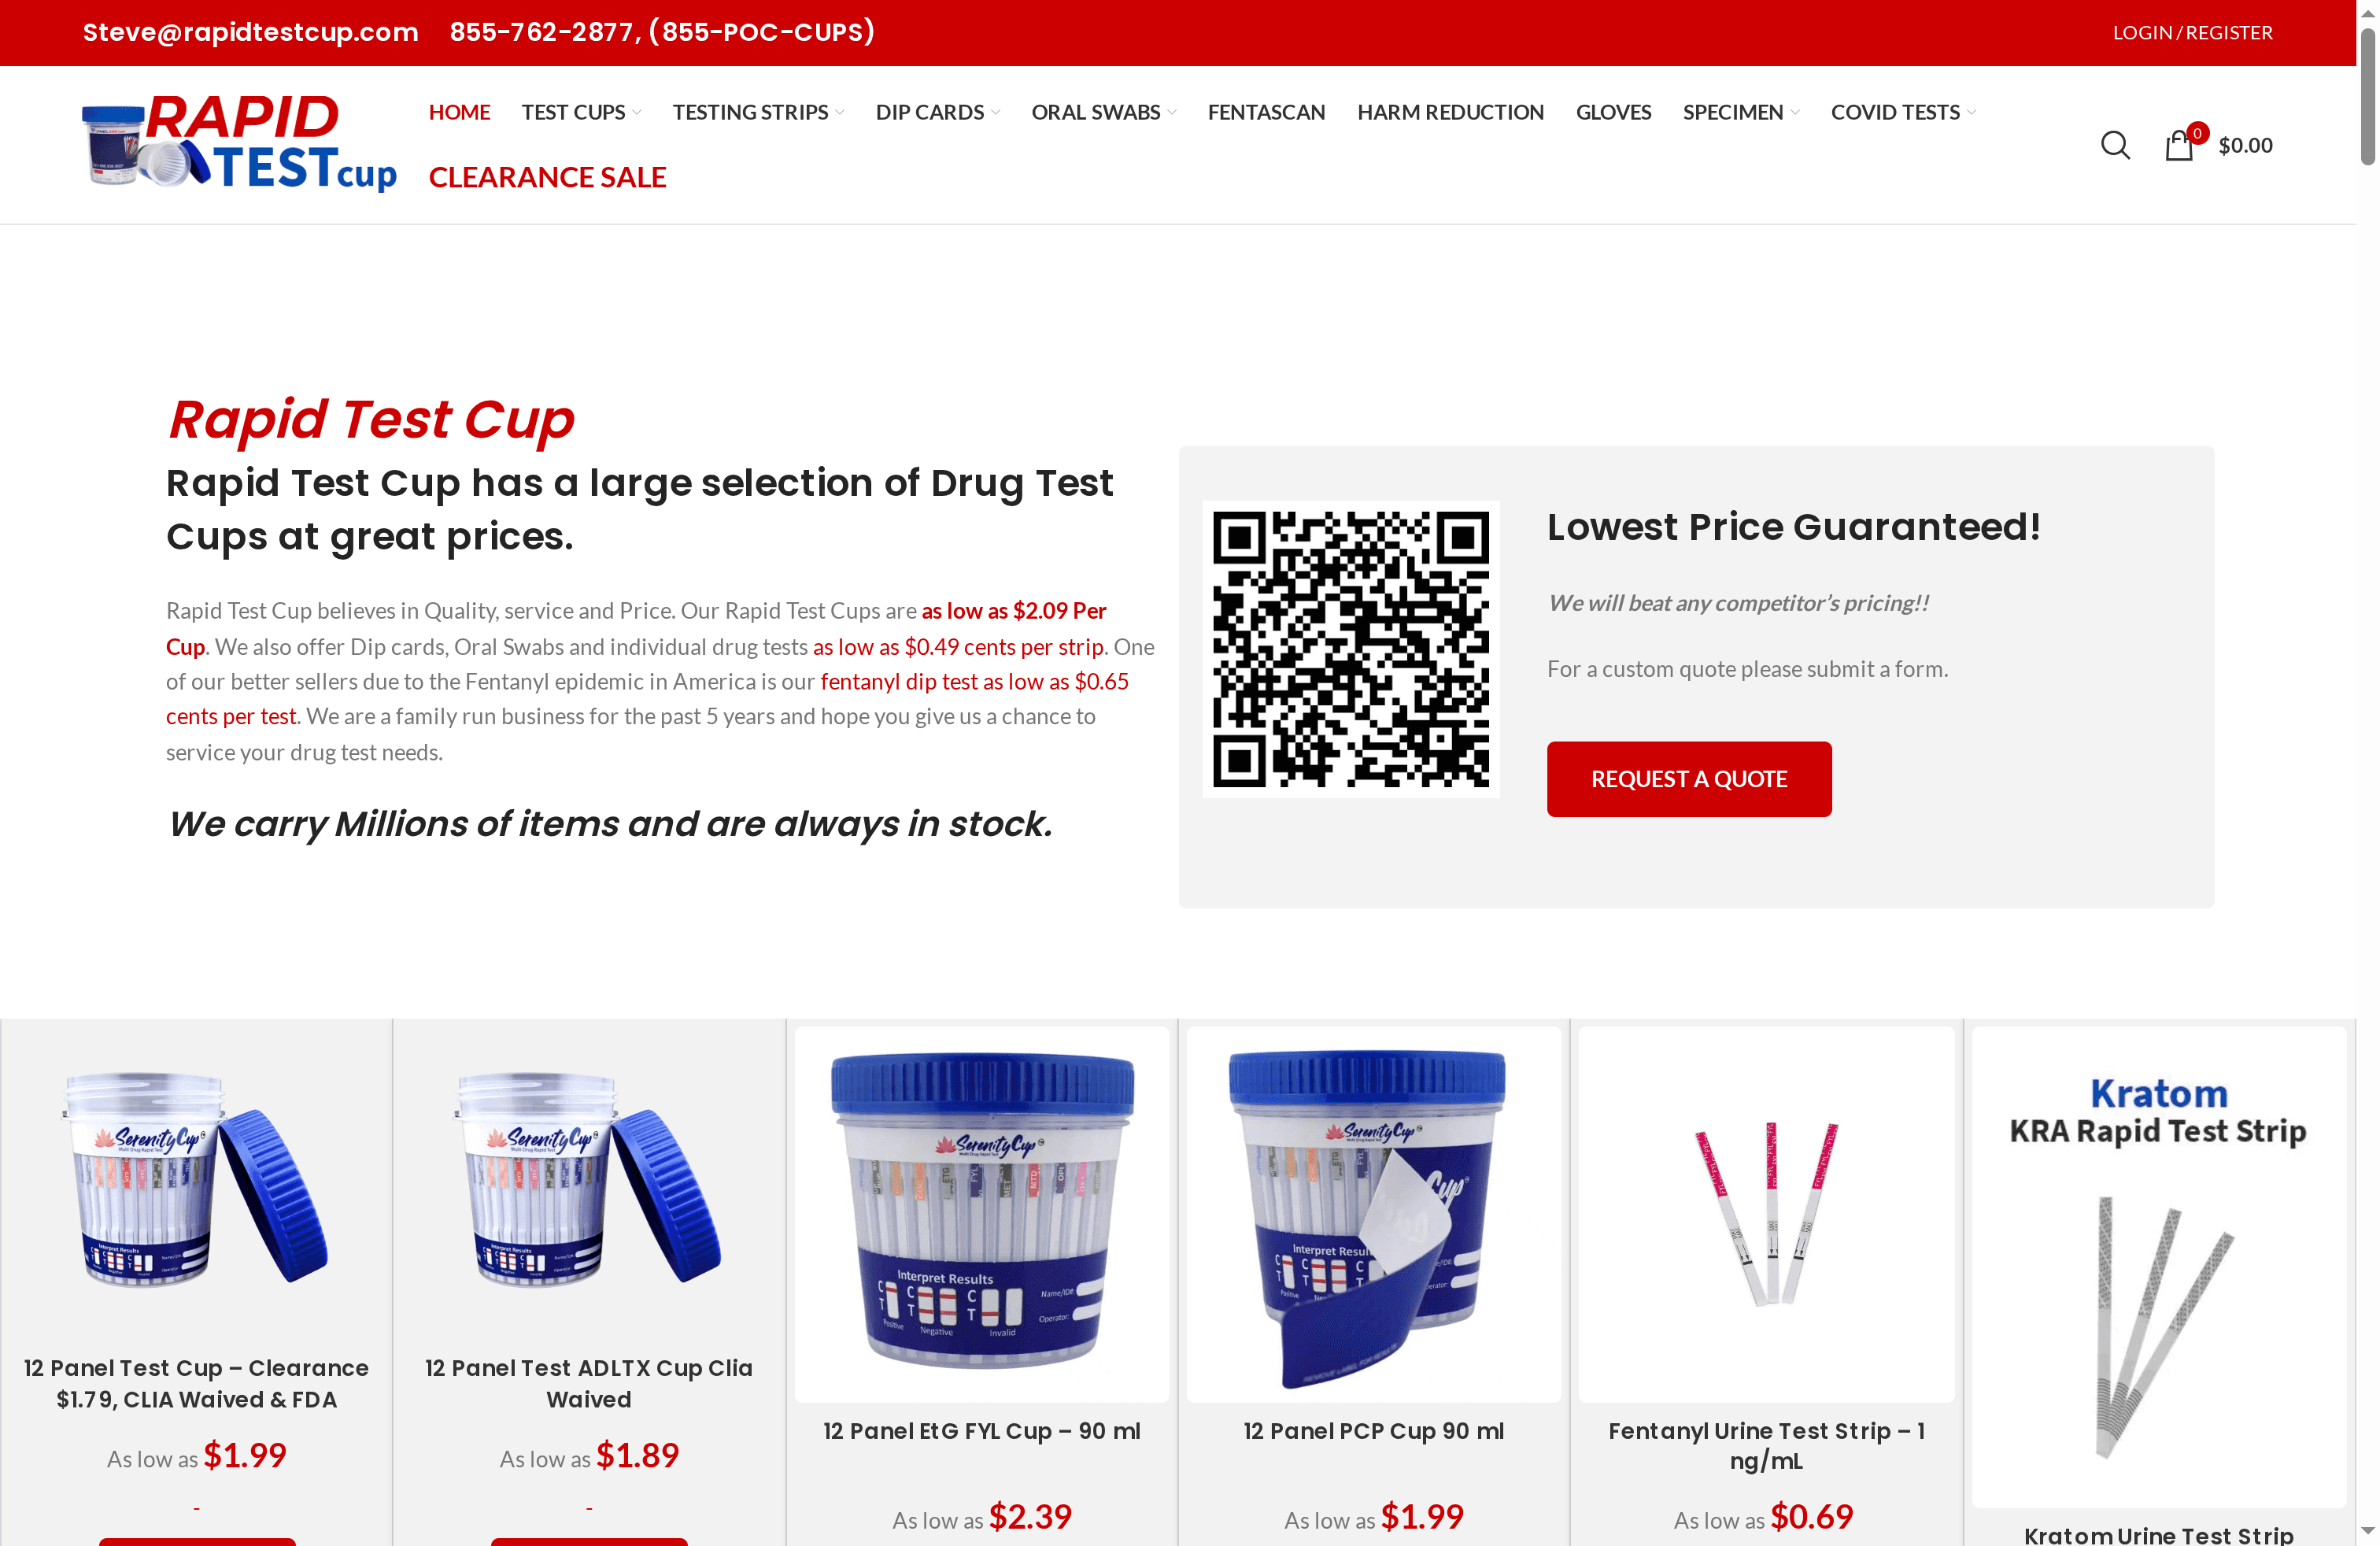
Every product in the Rapidtestcup catalog is built to support standardized collection workflows, reduce contamination risk, and deliver results that hold up to professional scrutiny. The top drug testing products for labs include multi-panel cups with built-in adulteration checks, so your sample integrity verification happens at the point of collection. Bulk pricing and fast shipping mean your lab stays stocked without overpaying.
FAQ
What is sample preparation in laboratory testing?
Sample preparation is the process of transforming a raw specimen into a clean, analyte-ready form suitable for instrument analysis. The standard workflow includes five steps: representative sampling, homogenization, extraction, cleanup, and concentration or dilution.
Why does homogenization matter so much?
Homogenization creates uniform analyte distribution throughout the sample. Skipping it creates systematic bias that no recalibration can correct, making it the most common source of analytical error in laboratory workflows.
How do I choose the right sample preparation method?
Match the method to your sample matrix, target analyte, required detection limits, and available equipment. Validated method selection also requires running small validation batches with spikes and blanks before routine use.
What causes inconsistent replicate results?
Inconsistent replicates most often point to incomplete homogenization or incorrect spin filter technique. Work backward through the five preparation steps before investigating the instrument.
How do I prevent contamination during specimen handling?
Use sterile, single-use collection containers, label specimens immediately, store at the correct temperature without delay, and document every handling variable. These steps align with ASTM and ISO specimen handling requirements for reproducible results.