Blog
Sample Handling Procedures for Clinical Lab Professionals


TL;DR:
- Sample handling procedures involve standardized methods to preserve specimens’ integrity for accurate analysis. Proper collection, labeling at the point of origin, validated containers, and real-time temperature monitoring are essential for reliable results. Consistent documentation and strict adherence to protocols prevent costly errors and ensure sample quality throughout the process.
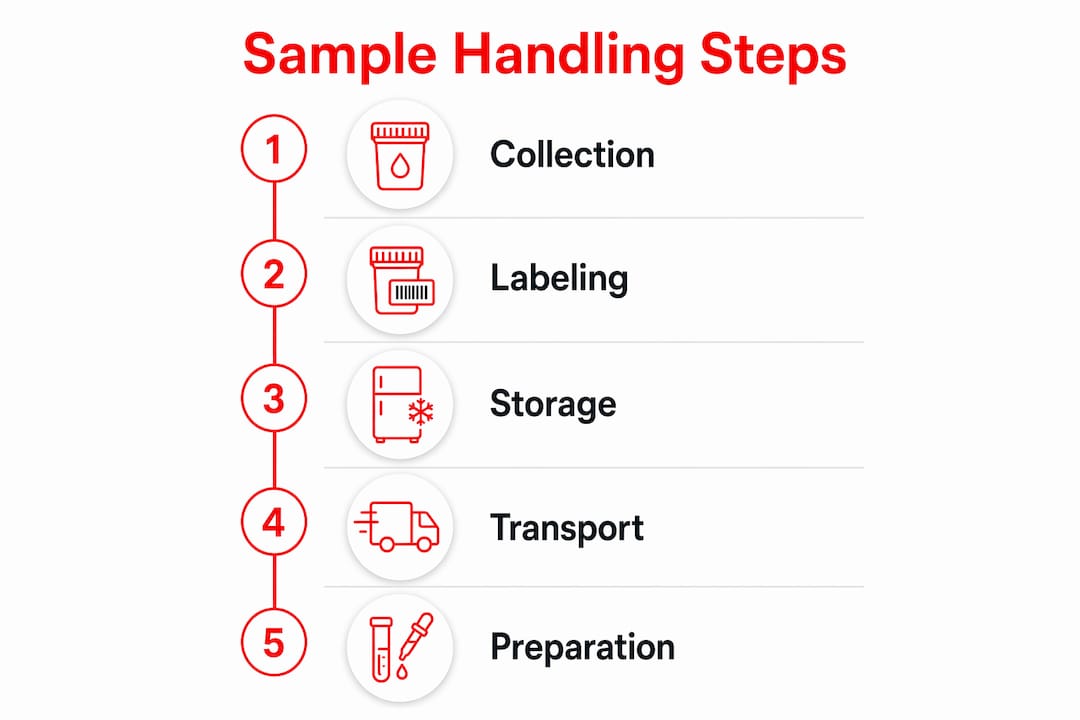
Sample handling procedures are defined as the standardized methods used to collect, label, store, transport, and prepare biological or chemical specimens so they remain intact for accurate laboratory analysis. Specimen integrity is the single biggest variable between a reliable result and a costly error. Regulatory bodies including the Clinical and Laboratory Standards Institute (CLSI) and the FDA set the baseline requirements that clinical labs must follow. This guide covers every phase of the process, from the moment a specimen is collected to the point it enters analysis, with practical steps, quality control checkpoints, and common pitfalls to avoid.
What are the right tools for sample handling procedures?
The right equipment prevents contamination before a single specimen is collected. Every container, label, and storage unit in your workflow must be validated for its specific sample type. Using the wrong tube or an unqualified storage chamber introduces error at the source, and no downstream correction can fix it.
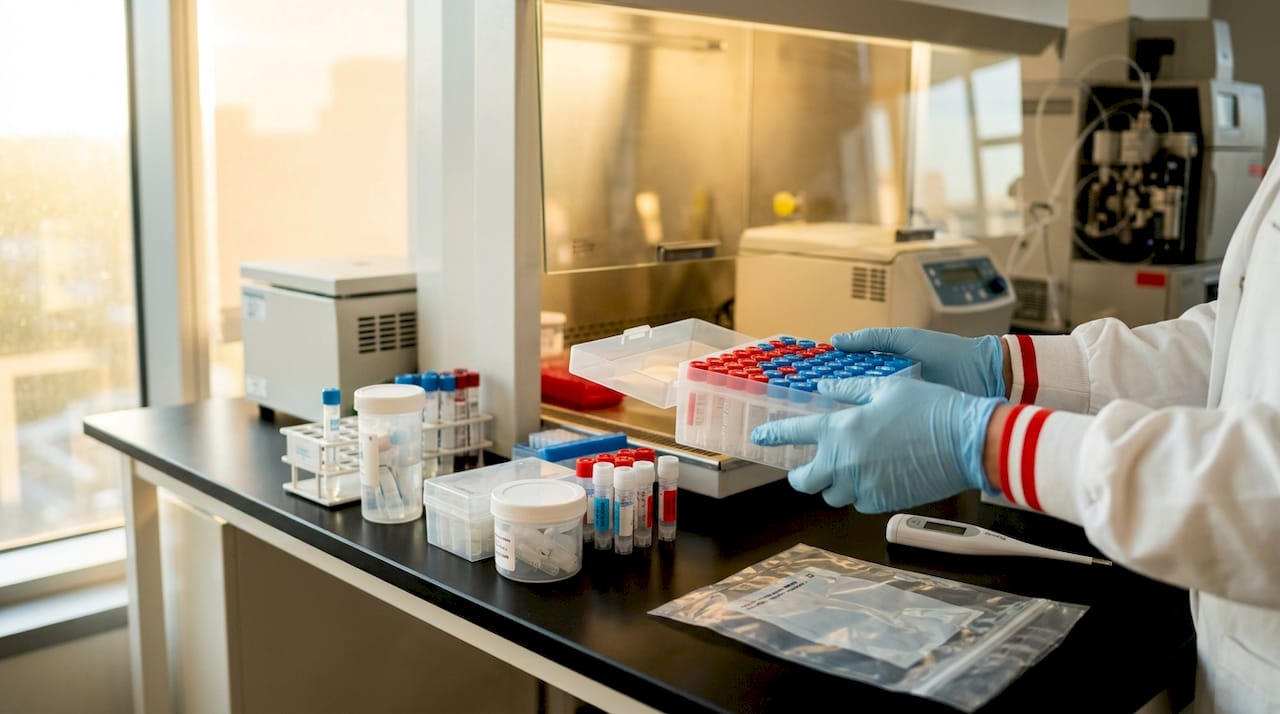
Previously used containers may harbor microscopic residues that cause analytical uncertainty. New, sterile, validated containers are the only acceptable choice for critical samples. The table below shows the most common container types and their primary applications.
| Container type | Best use | Key feature |
|---|---|---|
| Cryovials (polypropylene, rated for ultra-low temps) | Long-term biological storage at -80°C or below | Resistant to cracking at extreme cold |
| Centrifuge tubes (70–80% fill max) | Short-term biological processing | Graduated markings for fill control |
| Vacutainer tubes | Blood collection | Additive-specific color coding |
| Amber glass vials | Light-sensitive chemical samples | Blocks UV degradation |
| Sterile swab kits | Microbial and forensic collection | Pre-moistened, individually wrapped |
Temperature-controlled storage chambers must meet IQ/OQ/PQ qualification standards. Personal protective equipment (PPE) including nitrile gloves, face shields, and lab coats is non-negotiable. Transport kits with insulated packaging and temperature indicators complete the minimum equipment list for any clinical setting.
Pro Tip: Never substitute standard polypropylene centrifuge tubes for ultra-low temperature storage. Standard tubes crack at -80°C, causing total sample loss.
What are the best practices for sample collection and labeling?
Accurate collection starts before the specimen is taken. Patient preparation, site selection, and technique all affect what ends up in the tube. A single contamination event at this stage can invalidate an entire batch of results.
Follow these steps for every collection event:
- Verify patient identity using two independent identifiers before any collection begins.
- Prepare the collection site by cleaning with the appropriate antiseptic and allowing it to dry fully.
- Don PPE including fresh gloves for each patient encounter.
- Collect the specimen using the correct technique for the sample type, whether venipuncture, swab, or urine collection.
- Transfer immediately into the validated container without touching the interior surfaces.
- Seal the container and inspect for leaks before moving to labeling.
- Label at the point of collection, not at the bench later.
Proper labeling includes the source, date and time of collection, collector ID, and precise sample identification. Labels must be durable enough to survive refrigeration, freezing, and transport without smearing or peeling. Where chain of custody is required, such as in forensic drug testing, every transfer must be documented with a signature and timestamp.
- Use pre-printed barcoded labels where possible to eliminate transcription errors.
- Write on the label before attaching it to the container, not after.
- Never label a container before filling it.
Pro Tip: Review specimen collection methods specific to your sample type before each new collection protocol. Technique details vary significantly between urine, blood, and swab specimens.
Handling with bare fingers transfers contaminants and can destroy critical microscopic features in forensic or failure analysis samples. Use tweezers or forceps when direct contact with the specimen surface must be avoided.
How should samples be stored and transported to maintain integrity?
Temperature is the most critical variable in effective sample preservation. Every sample type has a defined storage range, and deviating from it even briefly can degrade analytes beyond recovery. The three standard ranges in clinical labs are refrigerated (2–8°C), frozen (-20°C or -80°C), and cryogenic (liquid nitrogen at -196°C).
- Refrigerated samples: store at 2–8°C for short-term stability; use calibrated refrigerators with continuous monitoring.
- Frozen samples: use -20°C for most biological specimens; reserve -80°C for long-term storage of proteins, nucleic acids, and cell lines.
- Cryogenic storage: required for live cell lines and some specialized biological materials.
Aqueous samples expand about 9% when frozen. Fill centrifuge tubes only 70–80% of capacity to prevent caps and seams from failing during freezing. Overfilling is one of the most common and preventable causes of sample loss in clinical labs.
Temperature and humidity monitoring must include real-time alert systems that notify staff immediately of excursions. Logs requiring manual checking are insufficient for GMP compliance and create gaps in the chain of evidence.
Qualified temperature-controlled chambers require IQ/OQ/PQ protocols and temperature mapping for different load configurations. A chamber may hold temperature when half-loaded but fail due to thermal gradients when fully loaded. This is a detail that standard monitoring alone will not reveal.
Pro Tip: Avoid freeze-thaw cycles at all costs. Each cycle degrades biological analytes and introduces variability. Aliquot samples into single-use volumes before freezing so each portion is thawed only once.
For transport, use insulated containers with validated temperature indicators. Seal all specimens in secondary leak-proof bags. Mark packages containing hazardous biological material according to IATA and DOT regulations before shipping.
What are the sample processing guidelines before laboratory analysis?
Sample preparation is where most pre-analytical errors occur. Skipping or shortcutting steps like homogenization, centrifugation, or cleanup does not save time. It introduces systemic errors that cannot be corrected after analysis runs.
The table below compares common preparation techniques and their recommended applications.
| Technique | Sample type | Purpose |
|---|---|---|
| Centrifugation | Blood, urine, cell suspensions | Separates cells, debris, and plasma |
| Homogenization | Tissue, solid food, environmental | Creates uniform distribution of analytes |
| Dilution | High-concentration chemical samples | Brings analyte within detection range |
| Filtration | Environmental water, complex matrices | Removes particulates before analysis |
| Liquid-liquid extraction | Biological fluids, forensic samples | Isolates target compounds from matrix |
For ICP-MS analysis specifically, samples must be free of particulates and diluted to 200 ppm total dissolved solids or below to prevent nebulizer clogging. Nebulizer replacement costs approximately $600, making thorough sample prep a direct cost-control measure, not just a quality issue.
Quality control within sample processing requires method blanks and matrix-matched spikes to verify that analytical methods remain fit for each day’s testing. Running a blank confirms the process itself is not introducing contamination. Running a spike confirms the method can detect and quantify the target analyte at the expected level.
- Prepare all reagents fresh on the day of analysis when stability is limited.
- Document every preparation step, including reagent lot numbers and preparation times.
- Reject and reprocess any sample showing visible particulates, hemolysis, or turbidity before it enters the instrument.
Pro Tip: Build your quality control workflow around the principle that every batch tells a story. If your blanks or spikes fail, the batch fails. No exceptions.
For cryopreservation of cell lines, the optimal cooling rate is approximately 1°C per minute. Freezing too rapidly causes intracellular ice crystals. Freezing too slowly causes dehydration damage. Isopropanol-based controlled-rate containers are the standard tool for achieving this rate reliably.
Key Takeaways
Effective sample handling requires validated containers, real-time temperature monitoring, complete labeling at the point of collection, and documented quality control at every processing step.
| Point | Details |
|---|---|
| Use validated containers only | New, sterile containers prevent contamination that reused vessels cannot eliminate. |
| Fill tubes to 70–80% capacity | Aqueous samples expand 9% when frozen; overfilling causes container failure. |
| Label at the point of collection | Include source, date, time, and collector ID to prevent data loss or misidentification. |
| Monitor temperature in real time | Automated alert systems are required for GMP compliance; manual log checks are not sufficient. |
| Run method blanks and spikes | Quality control checks confirm the analytical method is fit for purpose on every testing day. |
What I’ve learned from watching labs skip the basics
The most expensive mistakes in laboratory sample management are not equipment failures. They are process failures that happen when experienced technicians skip steps they have done a thousand times. Overconfidence is the real contamination risk.
I have seen labs invest heavily in high-end instruments and then lose results because a technician filled a cryovial past the fill line or skipped a temperature mapping qualification. The instrument was not the problem. The specimen temperature monitoring gap was. No amount of analytical precision recovers a degraded sample.
The labs that consistently produce reliable results share one trait: they treat documentation as part of the test, not as paperwork after the test. Every step is recorded in real time. Every deviation triggers a review. That culture does not happen by accident. It requires deliberate training and leadership that treats a labeling error with the same seriousness as an instrument calibration failure.
Technology helps, but it does not replace discipline. Real-time monitoring systems, barcode labeling, and automated alerts reduce human error. They do not eliminate it. The technician who understands why each step matters will always outperform the one who just follows a checklist without understanding the consequences of skipping a line.
My honest recommendation: audit your current workflow against CLSI guidelines at least once a year. You will find gaps. Every lab does. Finding them yourself is far better than having a failed proficiency test or a regulatory inspection find them for you.
— Justin
Testing supplies that support reliable sample workflows
Labs that follow rigorous collection and processing protocols need supplies that hold up to those same standards.
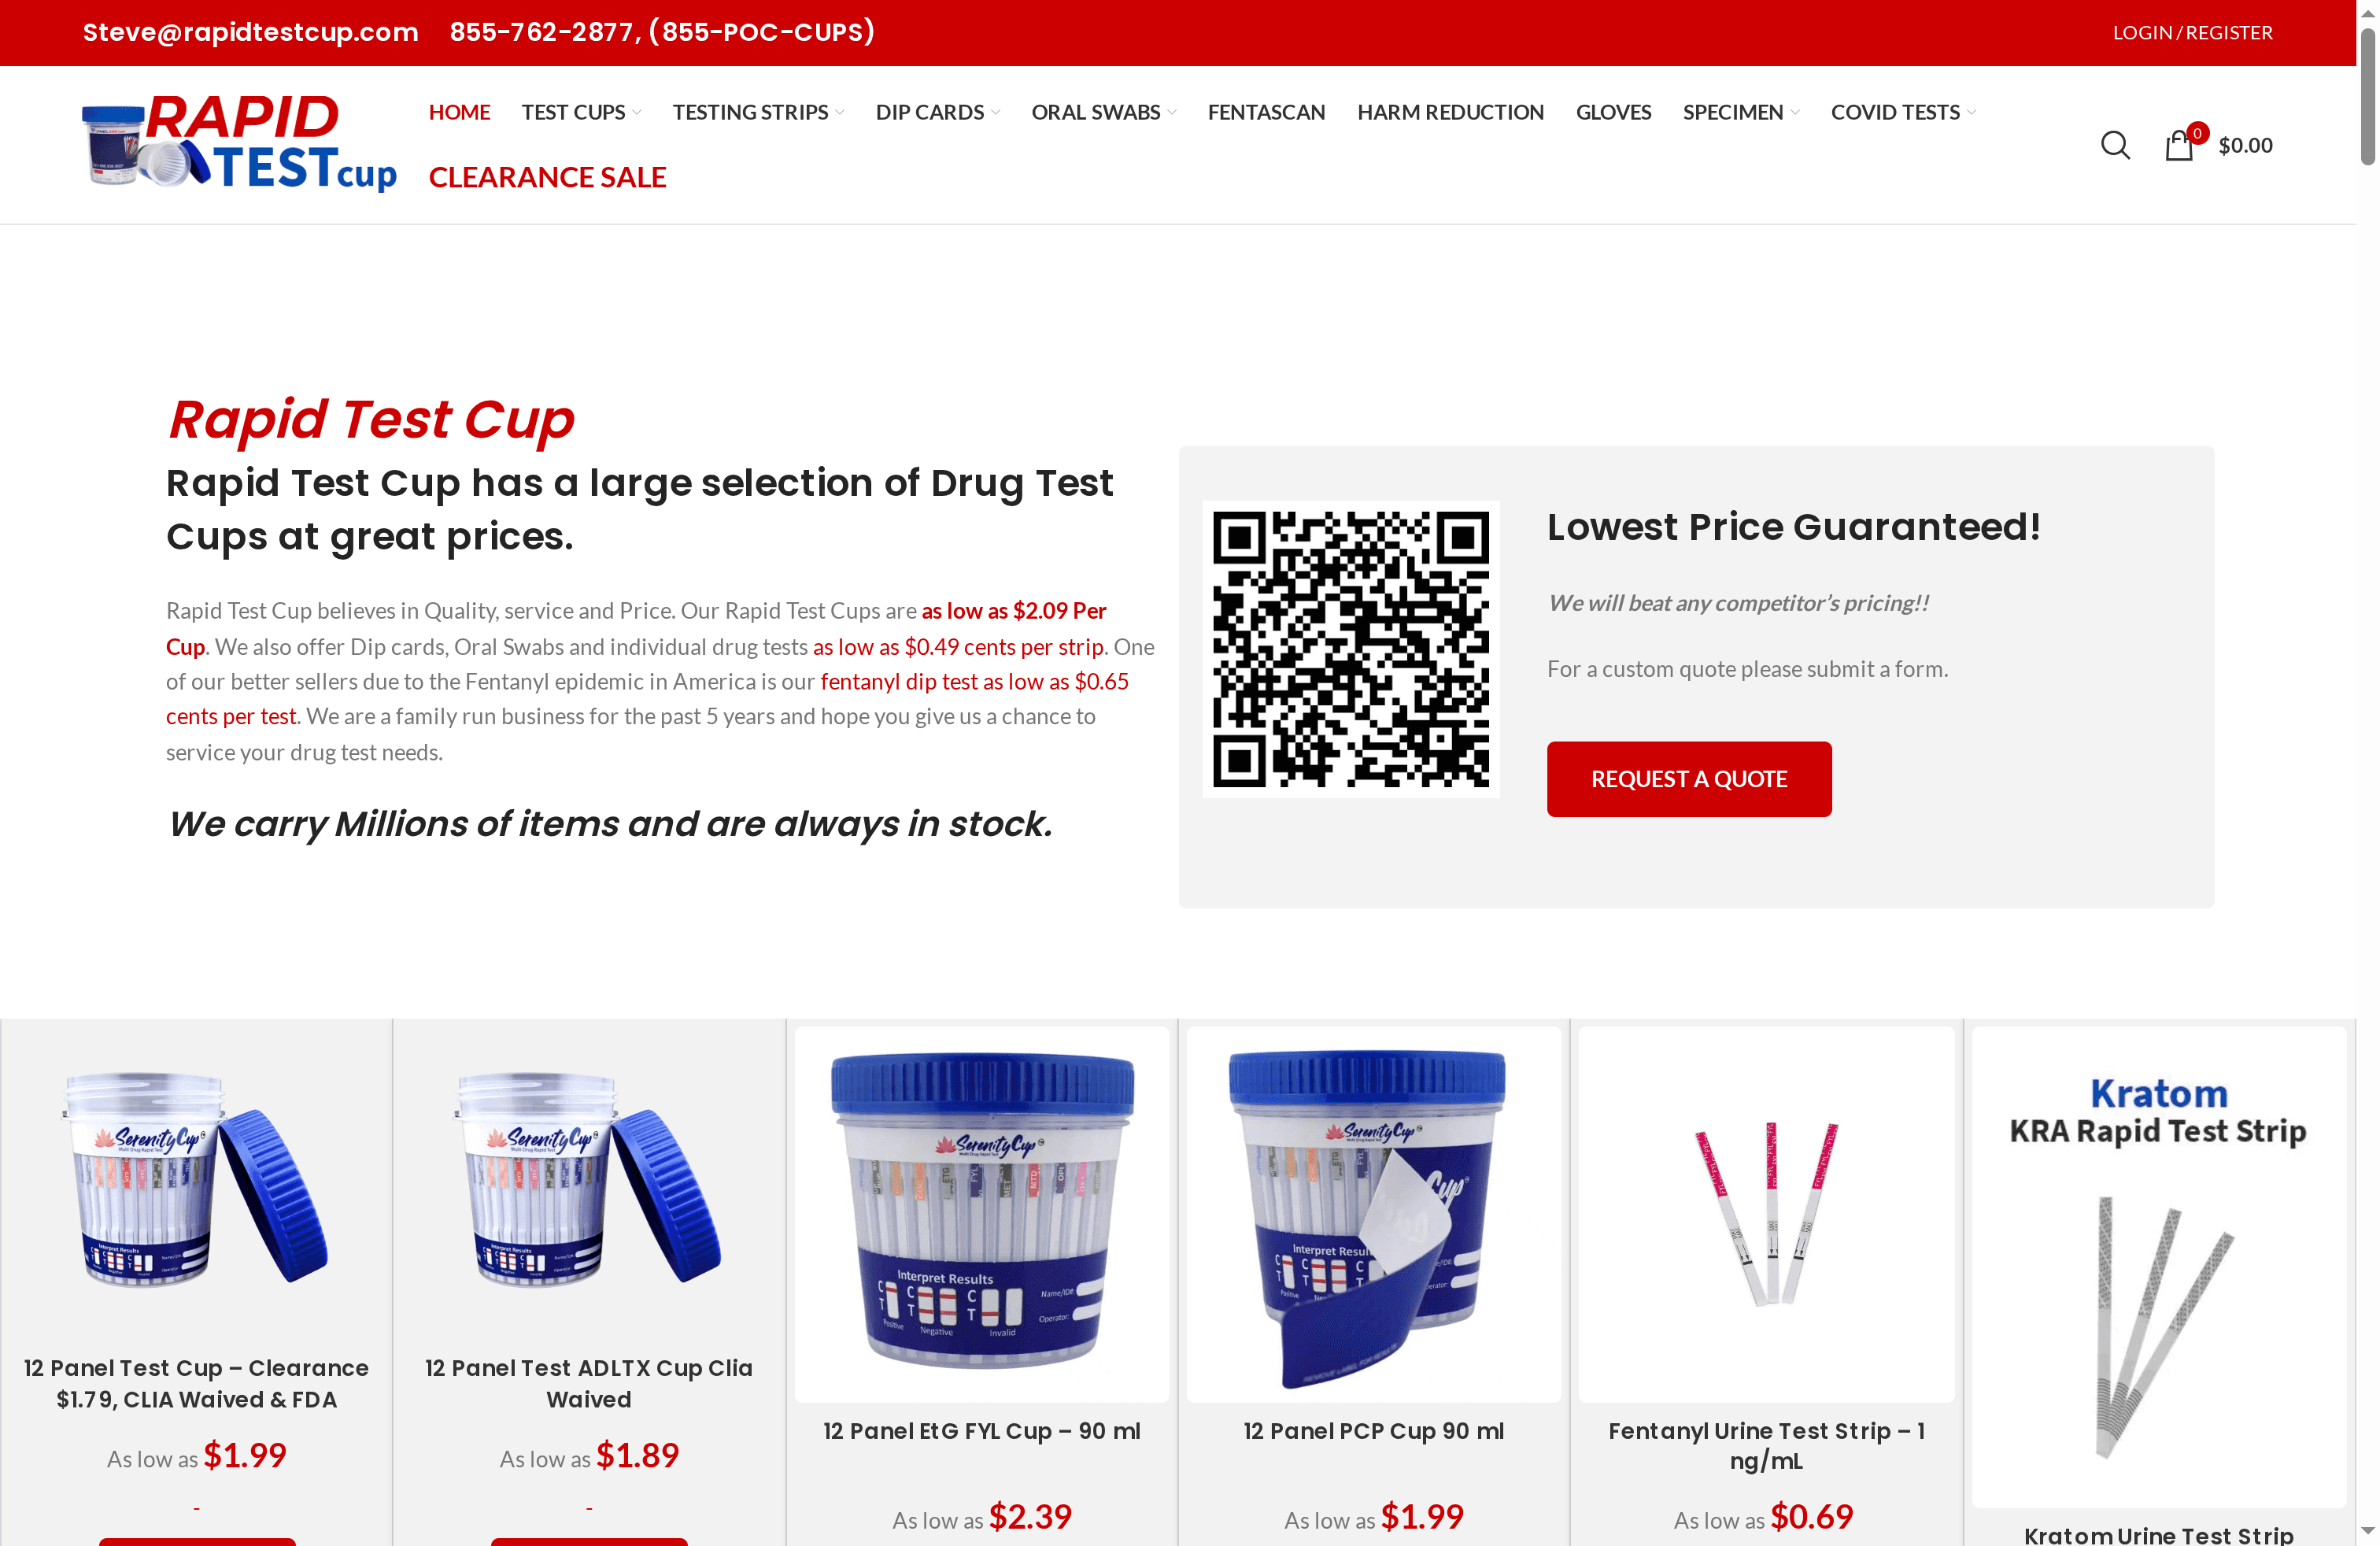
Rapidtestcup carries a full selection of drug testing products for labs designed for professional clinical use, including CLIA waived and FDA-approved test cups, urine collection supplies, and multi-panel screening kits. Every product in the catalog is built for accuracy and contamination control, which means they fit directly into the kind of disciplined workflow this guide describes. Whether your lab runs routine workplace screening or forensic-level analysis, Rapidtestcup offers bulk pricing, fast shipping, and a product range that covers standard panels through advanced adulterant detection. Visit the catalog to find the right kit for your protocol.
FAQ
What are sample handling procedures?
Sample handling procedures are the standardized steps used to collect, label, store, transport, and prepare specimens so they remain stable and uncontaminated for laboratory analysis. They follow guidelines set by bodies such as CLSI and the FDA.
Why does labeling matter so much in lab sample management?
A label is the only link between a specimen and its data. Missing or incorrect labels cause misidentification, data loss, and potential patient harm, which is why labeling must happen at the point of collection with source, date, time, and collector ID included.
How full should centrifuge tubes be when storing frozen samples?
Fill centrifuge tubes to only 70–80% of their capacity. Aqueous samples expand approximately 9% when frozen, and overfilling causes caps and seams to fail, resulting in total sample loss.
What is the correct cooling rate for cryopreserved cell lines?
The standard cooling rate for mammalian cell lines is approximately 1°C per minute, typically achieved using isopropanol-based controlled-rate containers. Faster cooling causes ice crystal damage; slower cooling causes dehydration.
What quality control steps are required before laboratory analysis?
Every analytical batch requires method blanks to confirm the process is contamination-free and matrix-matched spikes to verify the method can detect the target analyte at the expected concentration. Skipping either step leaves systematic errors undetected.