Blog
How to Document Test Results for Drug and Toxicology Tests


Defensible drug and toxicology test documentation requires nine linked data points: specimen ID, donor identifiers, collector name and signature, date/time, kit lot/control data, collection conditions, chain-of-custody transfers, laboratory results with flags, and Medical Review Officer (MRO) verification. Miss one, and the whole record becomes vulnerable to challenge in a grievance hearing, a wrongful-termination suit, or a criminal proceeding.
That’s not an exaggeration. A specimen ID that doesn’t match between the bottle label and the Federal CCF can invalidate an otherwise flawless test. Workplace drug testing carries a legal weight that clinical presumptive testing doesn’t, which is why confirmatory testing and strict chain-of-custody procedures matter so much more here than in a doctor’s office running a quick screen to guide immediate care, according to a StatPearls review.
Here’s the short checklist to build your workflow around:
- Specimen ID printed on the bottle seal, matching the CCF exactly
- Donor identifiers (name plus DOB or employee ID, or a coded unique identifier where state rules require it)
- Collector name, signature, and certification entries at each CCF step
- Date and time of collection, temperature reading, and observed/unobserved status
- Kit lot and control data, including any adulterant strip results
- Chain-of-custody transfers, with who, when, and why for every handoff
- Laboratory results, including analyte concentrations and result flags (positive, negative, adulterated, substituted, invalid)
- MRO verification, donor interview notes, and final determination, retained for at least two years per SAMHSA’s MRO Guidance Manual
Key Takeaways
Defensible drug and toxicology documentation depends on matching specimen IDs, unbroken chain-of-custody entries, and MRO verification retained for at least two years.
| Point | Details |
|---|---|
| Match specimen IDs everywhere | Confirm the bottle label, CCF, and lab report all carry the identical specimen ID number. |
| Log every custody transfer | Record who, when, and why for each handoff from collection through lab accessioning. |
| Complete all five CCF steps | Cover pre-collection ID, temperature check, sealing, collector certification, and donor signature. |
| Retain MRO records for two years minimum | Keep donor interview notes and verification determinations for at least the two-year floor. |
| Stock compliant collection supplies | Rapidtestcup’s CLIA-waived cups and panels align kit lot data with the documentation fields labs and MROs require. |
Table of Contents
- What Do You Document at the Collection Site?
- How Do You Maintain Chain of Custody on the CCF?
- What Does the Lab Record When It Receives a Specimen?
- How Does the MRO Document a Verified Result?
- How Do You Document Split-Specimen and Contested Results?
- How Long Should You Keep Test Records?
- What Templates Should You Keep on Hand?
- How Do You Audit Your Own Documentation?
- Sources
What Do You Document at the Collection Site?
Everything at the collection site maps back to the five steps printed on the Federal CCF. Get familiar with that structure and the paperwork stops being a mystery.
Step 1 covers pre-collection identification: the donor’s name, the employer or program name, and the specimen ID number generated for that collection. Step 2 is where the collector records specimen receipt, checks the temperature strip within four minutes of the donor handing over the cup, and notes whether the reading falls in the acceptable range. Step 3 covers sealing the specimen and both the donor and collector initialing the tamper seal. Step 4 is the collector’s certification, chain-of-custody entry, and signature. Step 5 is the donor’s certification and signature, according to SAMHSA’s CCF completion instructions.
Acceptable donor ID typically includes a government-issued photo ID, an employee badge, or another form your program’s policy names in advance. If a donor refuses to sign Step 5, the collector notes the refusal directly on the form and continues the process. Refusal to sign isn’t the same as refusal to test, and documenting it correctly protects everyone involved.
| Field | What to record | Common source of error |
|---|---|---|
| Specimen ID | Number printed on bottle label and CCF | Transcription mismatch between label and form |
| Temperature | Reading and pass/fail range, checked within 4 minutes | Reading taken too late or not logged |
| Kit lot/control | Lot number and control strip result | Lot number omitted from collector notes |
| Collection type | Observed vs. unobserved, with reason if observed | Reason for observed collection left blank |
| Collector signature | Full name, signature, date/time at Step 4 | Missing timestamp on chain-of-custody line |
Pro Tip: Keep a running log of kit lot numbers separate from the CCF. If a manufacturer issues a recall or a control strip lot is later flagged, you can cross-reference collections in minutes instead of pulling every paper form in storage.
How Do You Maintain Chain of Custody on the CCF?
Chain of custody begins the moment the collector takes possession of the specimen and doesn’t end until the laboratory’s accessioning staff log it in. Every person who touches that specimen, or every location where it sits in storage, needs a documented entry showing who had it, when, and why, per NLCP chain-of-custody guidance.
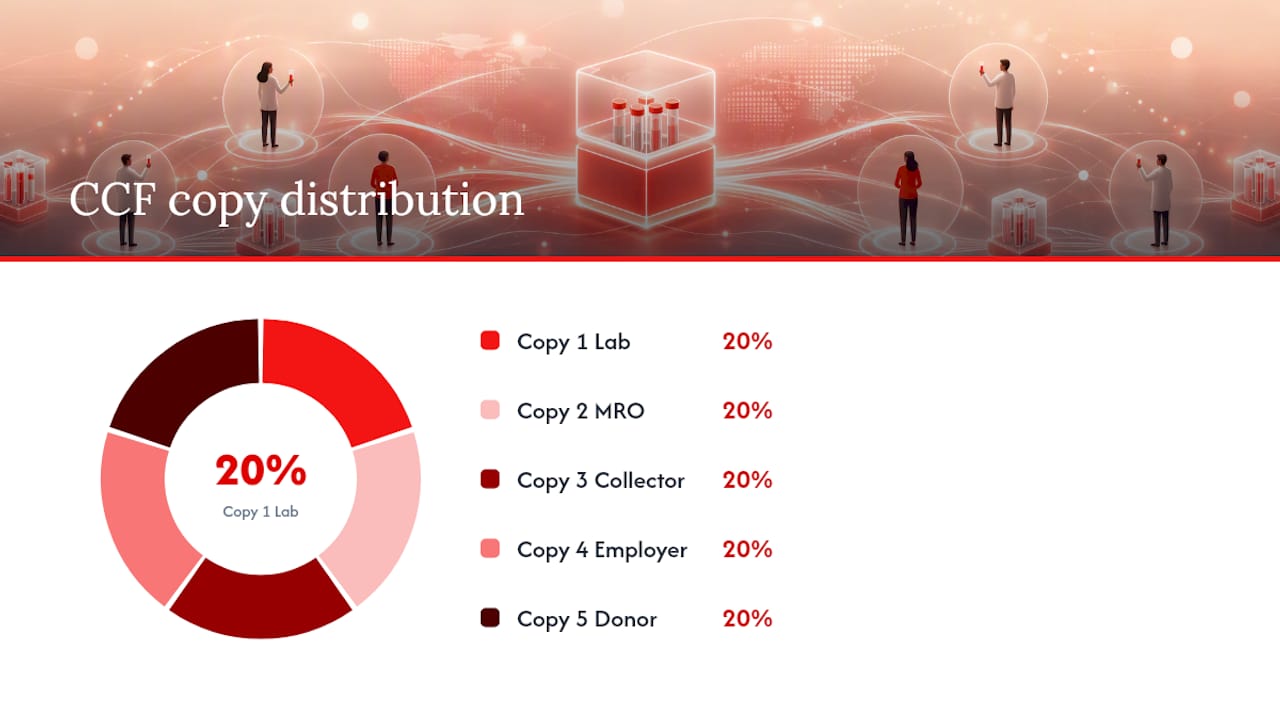
The five-copy CCF distribution makes this traceable across every party involved:
- Copy 1 travels with the specimen to the test facility.
- Copy 2 goes to the MRO for review and verification.
- Copy 3 stays with the collector for site records.
- Copy 4 goes to the employer or ordering party.
- Copy 5 goes to the donor as their personal record.
That distribution structure comes straight from SAMHSA’s 2014 CCF guidance, and it hasn’t changed materially since. Every custody transfer, whether it’s the collector handing specimens to a courier or a lab technician moving a bottle from intake to an instrument, needs a logged entry: name of the person taking possession, date and time, and the reason for the transfer. Internal lab COC forms track movement into freezers, retesting queues, and instrument racks the same way the external CCF tracks movement between organizations.
Electronic CCF (ECCF) systems are permitted, but only when the collection site has SAMHSA approval and the lab accepting the specimen can print an authoritative Copy 1 on demand. If a donor refuses an electronic signature, the fallback procedure kicks in immediately.
- Keep a printed backup copy or an internal QR code inside the specimen package when using ECCF
- Confirm the lab’s accessioning system can pull up the digital record before shipping
- Never ship a specimen with only a verbal assurance that the ECCF “went through”
Pro Tip: If your ECCF platform generates a digital record but the lab’s accessioning desk can’t access it fast enough, include a printed Copy 1 or duplicate QR label inside the shipping container. Labs reject specimens they can’t link to a record, and that rejection costs you a re-collection.
What Does the Lab Record When It Receives a Specimen?
Accessioning is where the lab’s own documentation trail starts, separate from the collector’s chain-of-custody entries. The analyst logs the lab accession number, the specimen ID from the bottle, the date and time of receipt, the condition of the tamper seals, and the kit or control lot numbers tied to any point-of-care device used before shipment.
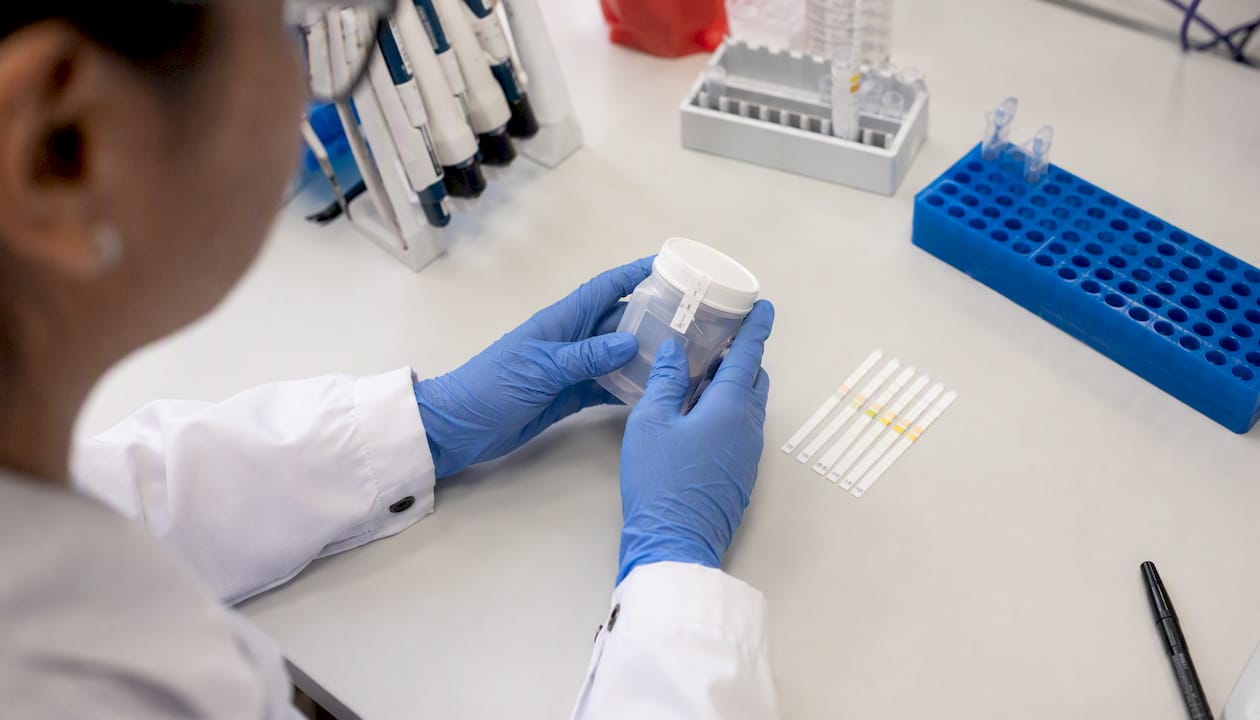
Results get recorded against both the primary (A) bottle and, where split-specimen testing applies, the secondary (B) bottle. Multiple flags can appear on Copy 1 for a single specimen: positive, adulterated, substituted, or invalid, each with its own analyte concentration field and cutoff reference.
| Lab field | Example entry |
|---|---|
| Accession number | LAB-2026-004821 |
| Specimen ID | 0138245719 |
| Date/time received | 03/14/2026, 09:12 AM |
| Seal condition | Intact, no discrepancies noted |
| Result flag | Positive, THC-COOH |
| Analyte concentration | 62 ng/mL (cutoff 50 ng/mL) |
| Analyst initials | J.R. |
Labs typically transmit results to the MRO by fax, secure electronic report, or courier. There’s one notable exception: negative or negative-dilute urine results can be reported electronically without the same physical-copy requirement, as long as the electronic report carries the fields needed to associate it with the MRO’s paper copy, per the MRO Guidance Manual.
How Does the MRO Document a Verified Result?
The MRO’s review is where a laboratory number becomes a legally defensible determination. That review has to touch the lab report, the CCF copy, and, when the result is non-negative, a conversation with the donor.
- Confirm the lab report matches the Copy 2 CCF specimen ID exactly
- Interview the donor and document a summary of their explanation
- Review any prescriptions, medical records, or supporting documentation the donor provides
- Record the final determination: verified negative, verified positive, refusal to test, adulterated, substituted, or invalid
- Report the verified result to the employer and file the determination with donor interview notes attached
MROs are licensed physicians, and their documentation carries independent weight precisely because they’re not employed by the testing lab or the employer ordering the test.
Two years is the minimum retention period MROs must apply to verification records, including donor interview notes and supporting medical documentation, according to the MRO Guidance Manual. Many programs keep records longer given the statute of limitations on employment disputes, but two years is the compliance floor, not a target.
How Do You Document Split-Specimen and Contested Results?
A donor who disputes a positive result has the right to request testing of the split (B) specimen at a different HHS-certified lab. Your documentation needs to track that request as carefully as the original collection.
- Log the date and time the donor or MRO requested split-specimen testing.
- Complete the transmittal or Supplemental CCF that accompanies Bottle B to the second laboratory.
- Record the courier or transport method and the tracking or waybill number.
- Note the receiving lab’s accession entry and reporting timeline back to the MRO.
- File the split-specimen laboratory’s report alongside the original CCF and MRO determination.
A sample contested-case log entry might read: “03/18/2026, 2:40 PM: Donor requested split-specimen confirmation via MRO. Bottle B shipped via courier tracking #48213, received by Second Lab 03/19/2026, 8:05 AM. Result: confirmed positive, THC-COOH 58 ng/mL. MRO notified 03/20/2026.”
- Keep the original CCF, the split-specimen report, and the MRO’s final determination together in one file
- Never separate the courier tracking record from the specimen’s chain-of-custody log
- Document any delay in transport, since gaps in the timeline are exactly what a challenge will target
How Long Should You Keep Test Records?
Retention periods aren’t uniform across every role in the process, and that’s a common source of confusion. MROs face a two-year floor for verification records. Many employers and clinics extend that window for their own files, particularly in safety-sensitive industries where litigation risk runs longer.
| Record type | Minimum retention | Storage consideration |
|---|---|---|
| MRO verification records | 2 years | Includes donor interview notes and medical documentation |
| Collector CCF copies | Per program policy | Secure storage, limited access |
| Lab accessioning records | Per lab accreditation requirements | LIMS with audit trail |
| ECCF digital records | Per retention policy, plus printable Copy 1 | Must remain retrievable in original format |
Before a lab accepts electronic CCFs at all, the collection site’s ECCF system needs authentication controls, an audit trail showing every access and edit, role-based access controls, and the ability to produce a printed, authoritative Copy 1 whenever a lab or MRO needs one. Skip any of those controls and the electronic record loses its standing.
- Restrict CCF and lab record access to staff with a documented need to know
- Log every access to donor-identifiable records, not just edits
- Convert paper to secure electronic storage only after confirming the digital copy meets ECCF technical standards
- Never discard the original paper copy until the electronic version has passed a retrieval test
Pro Tip: Run a quarterly retrieval test on your electronic records. Pull a random specimen ID from six months ago and confirm you can produce a complete, printable Copy 1 in under five minutes. If you can’t, your ECCF system has a gap worth fixing before an auditor finds it for you.
What Templates Should You Keep on Hand?
Three templates cover most of what a collection site, lab, or MRO office needs day to day.
Collector checklist template, mapped to CCF Steps 1 through 5, with fields for specimen ID, donor ID type, temperature reading, kit lot number, and collector signature. Sample entry: “Specimen 0138245719, temp 92°F within range, donor ID verified via state license, collector J. Alvarez, signed 03/14/2026 08:47 AM.”
Lab result template, with accession number, analyte panel, concentrations, result flags, and certifying scientist initials, as shown in the lab reporting section above.
Donor interview note template, for MRO use, with fields for interview date, donor’s stated explanation, supporting documentation reviewed, and final determination. Sample entry: “Interview 03/20/2026: donor cites valid prescription for hydrocodone, prescription verified with pharmacy, determination: verified negative.”
| Template | Where stored | Version control |
|---|---|---|
| Collector checklist | Collection site records | Update when CCF form revision changes |
| Lab result | Lab LIMS | Tied to LIMS software version |
| Donor interview note | MRO files | Dated and initialed by MRO on each revision |
Store all three where the responsible party can retrieve them fast, and update them whenever SAMHSA revises the underlying CCF instructions.
How Do You Audit Your Own Documentation?
Periodic self-audits catch the small errors before a lawyer or an accreditation body catches them for you. Pull a sample of files each month, not just the ones tied to a positive result.
- Verify specimen ID matches across the bottle label, CCF, and lab report
- Confirm every timestamp is present and internally consistent
- Check that every copy carries the required signatures
- Flag any ECCF record missing a printable Copy 1 or audit trail entry
- Have a supervisor or QA lead sign off on the sample reviewed
Common errors worth tracking: mismatched specimen IDs, missing time stamps at Step 2 or Step 4, unsigned donor certifications, and ECCF records the lab can’t reconcile against a physical package. Each of these has a fix. Mismatched IDs get caught by a second-person check before shipping. Missing timestamps get caught by a same-day review, not a monthly one.
| Error type | Frequency tracked | Corrective action |
|---|---|---|
| Specimen ID mismatch | Per collection | Second-person verification before shipment |
| Missing timestamp | Per collection | Same-day supervisor review |
| Unsigned donor copy | Per collection | Note refusal reason, escalate to MRO |
| ECCF not linked at lab | Per shipment | Confirm printable Copy 1 before shipping |
Why precise documentation matters
I’ve spent enough time looking at how these disputes play out to notice a pattern: the cases that resolve fastest, in either direction, are the ones with clean paperwork. A specimen ID that matches on every copy, a collector signature with a legible timestamp, an MRO note that shows the donor interview actually happened. Those aren’t bureaucratic nice-to-haves. They’re what turns a contested result into a settled one instead of a drawn-out fight. Rapidtestcup builds its collection supplies and template guidance around exactly this standard, because a compliant kit only matters if the paperwork around it holds up too.
If you need compliant collection supplies and templates
Rapidtestcup sells the specimen collection supplies that make the checklist above easier to execute correctly the first time, not after a re-collection. Multi-panel cups with built-in temperature strips, adulterant detection panels, and CLIA-waived kits are built to match the collector documentation fields covered in this guide, so your kit lot numbers and control data line up with what your CCF actually asks for.
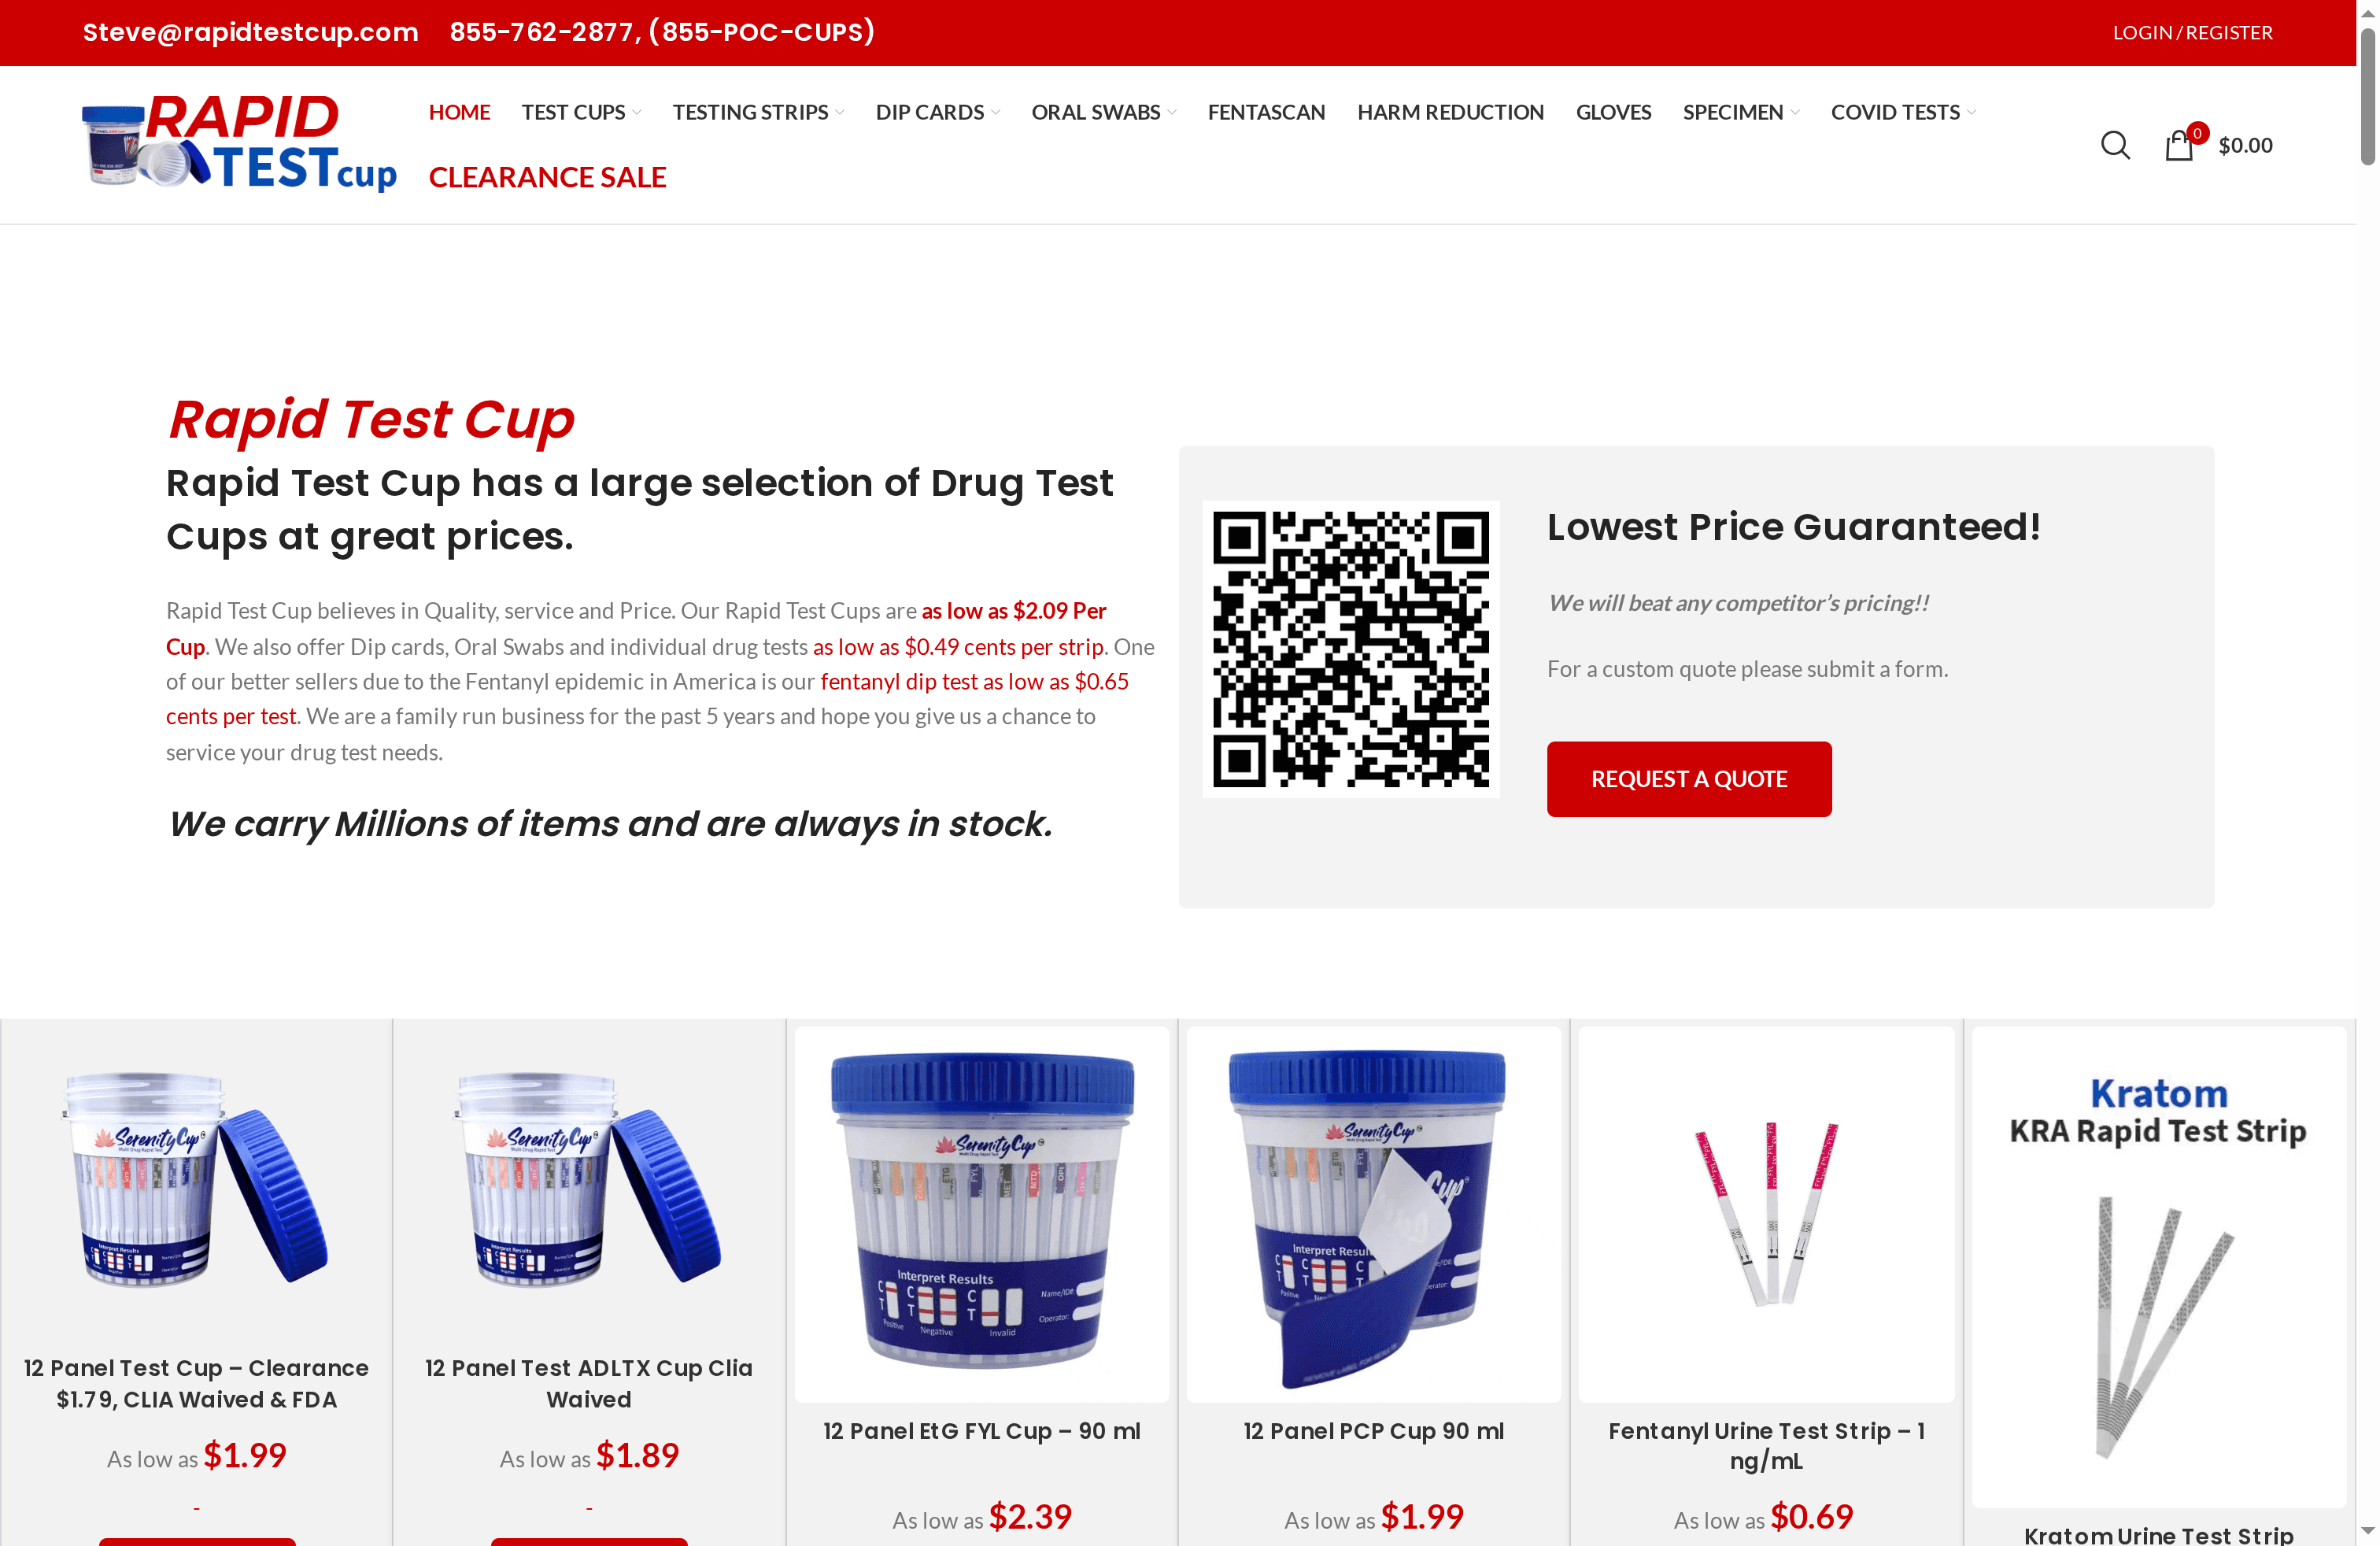
Labs and employers running high volume can review the top drug testing products for labs to compare panel options and bulk pricing, or check the 12-panel ADLTX cup for a collection kit that covers common analytes plus adulterant checks in one device. Request a custom quote if your program needs volume pricing across multiple panel types.
Sources
Consult the SAMHSA site directly for current ECCF-approved vendor lists and MRO training and certification requirements before adopting a new collection or verification system.
This article is general information, not a substitute for advice from a qualified doctor. Consult a qualified healthcare professional about your own circumstances before acting on anything here.