

Blog
Why Specimen Collection Procedure Matters in the Lab


TL;DR:
- Proper specimen collection is essential for accurate test results and patient safety, as errors at this stage dominate laboratory mistakes.
- Standardizing patient identification, container choice, and collection timing, along with tracking rejection rates, improves quality and reduces costs.
Correct specimen collection procedure is the single most critical preanalytical factor for accurate test results and patient safety. Get it wrong, and no amount of analytical sophistication downstream can fix it. The analyzer can only work with what you give it.
TL;DR:
- Poor collection causes delayed reporting, unnecessary redraws, misdiagnosis, inappropriate treatment, and measurable cost increases.
- The highest-priority action: standardize patient identification, container selection, and collection timing before anything else.
- The one metric to track first: your laboratory’s specimen rejection and redraw rate. If you don’t know it, that’s your starting point.
Who needs to act? Phlebotomists, nurses, point-of-care collectors, and clinical lab managers all share responsibility. Where to start: verify two patient identifiers, confirm the correct container and required volume, and check transport conditions before the specimen leaves the collection site.
Table of Contents
- 1. Why poor specimen collection creates real clinical harm
- 2. Core pre-analytical principles every collector must follow
- 3. What changes by specimen type: a practical reference
- 4. How labeling, transport, and chain-of-custody protect your specimen
- 5. Infection control and staff safety at the point of collection
- 6. The most common pre-analytical errors and how to prevent them
- 7. Who owns what: roles, training, and QA metrics
- 8. A one-page SOP template and on-shift checklist
- Key Takeaways
- The part of specimen collection most labs still underestimate
- Where to source validated collection supplies for your lab
- Useful sources and authoritative references
1. Why poor specimen collection creates real clinical harm
Improper specimen collection links directly to delayed reporting, unnecessary redraws, increased costs, incorrect diagnosis, improper treatment, and in severe cases, patient injury or death. Those aren’t edge cases. They’re the predictable downstream effects of skipping steps that take less than two minutes to complete correctly.
The numbers make the case plainly. Preanalytical errors account for a large share of total laboratory errors, and the majority of those errors originate at the point of collection, not in the laboratory. A separate review published in PMC found that preanalytical issues including hemolysis, microclotting, and insufficient volume account for a substantial portion of laboratory errors and frequently trace back to improper blood collection technique.
Statistic callout: Preanalytical errors represent a large proportion of all laboratory errors. Most originate at the point of collection, not in the analyzer.
The operational consequences are just as concrete:
- Delayed reporting: A rejected specimen means the ordering clinician waits hours longer for results, sometimes past a treatment decision window.
- Redraws (QNS): Quantity Not Sufficient is one of the most common rejection reasons. Every redraw is another needle stick, another patient interaction, and another cost.
- Misdiagnosis: A hemolyzed potassium sample reads falsely elevated. A culture collected after antibiotics may show no growth despite active infection. The clinician acts on the number, not the artifact.
- Inappropriate treatment: A false-positive or false-negative result from a contaminated or mislabeled specimen can trigger unnecessary antibiotics, missed sepsis workups, or incorrect drug dosing.
- Measurable cost: Each redraw carries collection labor, supply, and processing costs. Multiply that by a facility’s monthly rejection volume and the figure becomes a budget line worth managing.
From a KPI standpoint, the metrics that matter most are rejection rate, redraw frequency, hemolysis rate, and turnaround-time delays attributable to preanalytical failures. If your lab isn’t tracking these, you’re managing quality by anecdote.
2. Core pre-analytical principles every collector must follow
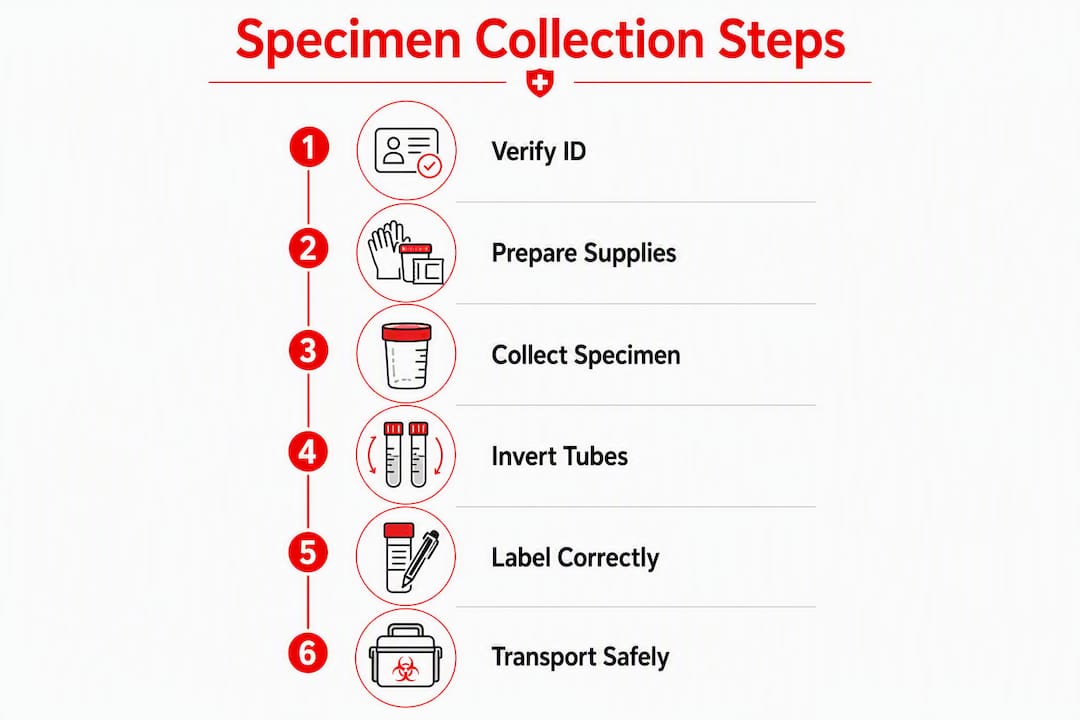
The importance of specimen collection procedure comes down to a short list of non-negotiable steps. Follow all of them, every time. Skipping one, even under time pressure, is where errors enter.
- Verify patient identity in the patient’s presence. Use at least two unique identifiers, typically full name and date of birth. Room numbers are not acceptable identifiers and are a persistent root cause of mislabeling events.
- Select the correct container and additive. Each test has a specified tube type, swab medium, or collection cup. Using the wrong container can cause clotting, analyte degradation, or additive interference that invalidates the result.
- Collect the required volume. Underfilling an additive tube alters the blood-to-additive ratio and can cause microclotting or anticoagulant excess. Overfilling causes similar problems. Fill to the tube’s indicated line, not by eye.
- Time the collection correctly. For blood cultures, collect before antibiotics whenever possible. For fasting glucose or lipid panels, confirm the patient has fasted the required hours. For diurnal hormones like cortisol, note the collection time on the label.
- Use aseptic technique. Correct device selection, correct volume, optimal timing for cultures before antibiotics, and aseptic technique are the core variables that prevent contamination and QNS reports. Skin prep, sterile equipment, and a no-touch technique for swabs are not optional.
- Label immediately at the bedside. Label the specimen container in the patient’s presence, the moment collection is complete. Pre-labeling tubes before collection is a known root cause of misidentification.
- Document collection details. Record the date, time, source site, and collector initials at the time of collection. This information supports chain-of-custody and enables troubleshooting if a result is questioned.
- Instruct the patient clearly for self-collected specimens. Patient education and return demonstrations improve compliance and specimen quality, especially for self-collected specimens. A patient who understands why midstream catch matters will produce a better urine sample than one handed a cup with no explanation.
Pro Tip: For additive tubes (EDTA, citrate, heparin), invert the tube immediately after collection using the number of inversions specified by the manufacturer, typically 8–10 for EDTA and 3–4 for citrate. Shaking instead of inverting causes hemolysis. Skipping inversions causes microclots. Both result in rejection.
3. What changes by specimen type: a practical reference
Consult the test’s Directory of Services or Instructions for Use (IFU) before collection. The variables that determine specimen quality differ significantly by specimen type, and a rule that applies to venous blood does not necessarily apply to a nasopharyngeal swab or a CSF sample.
| Specimen Type | Container / Additive | Volume / Fill Guidance | Timing Considerations | Transport Temperature | Immediate Processing |
|---|---|---|---|---|---|
| Venous blood (chemistry) | SST (gold/red-gray) | Fill to indicated line | Fasting per test requirements | Room temp (20–25°C) | Allow to clot 30 min; centrifuge |
| Venous blood (hematology) | EDTA (lavender) | Fill to line; invert 8–10× | No fasting typically required | Room temp | Process within 4–6 hours |
| Venous blood (coagulation) | Sodium citrate (blue) | Exact 9:1 blood-to-additive ratio | Collect before anticoagulant therapy when possible | Room temp | Process within 1–4 hours |
| Blood culture | Aerobic + anaerobic bottles | 8–10 mL per bottle (adult) | Before antibiotics whenever possible | Room temp; incubate promptly | Do not refrigerate; incubate immediately |
| Urine (urinalysis) | Sterile cup | Minimum 10 mL | Midstream clean-catch; first morning preferred | Refrigerate at 4°C if not tested within 1 hour | Unacceptable after 24 hours |
| Urine (drug testing) | Tamper-evident cup | 30 mL minimum | Per protocol; document time | Room temp; test promptly | Check temperature strip; document |
| Nasopharyngeal swab | Viral transport medium (VTM) | Swab both nares; full insertion depth | Collect early in illness | Refrigerate 2–8°C | Process promptly per IFU |
| Wound / throat swab | Appropriate transport swab | Rotate swab on lesion surface | Before antibiotics for cultures | Room temp or refrigerated per IFU | Process within 2 hours if possible |
| CSF | Numbered sterile tubes | Minimum 1–2 mL per tube | Sequential numbering is critical | Room temp; never refrigerate | Process immediately; cell counts degrade rapidly |
| Tissue biopsy | Formalin or per IFU | Adequate representative sample | Per surgical protocol | Per fixative requirements | Fix promptly; do not freeze unless specified |
High-risk specifics worth calling out:
- Blood order of draw: Follow the established order (blood cultures → sodium citrate → SST → heparin → EDTA → fluoride/oxalate) to prevent additive carryover between tubes. A single out-of-order draw can contaminate a coagulation result.
- Urine collection: Midstream clean-catch reduces contamination. Catheter specimens require documentation of collection method. For step-by-step urine collection procedures, consult a validated protocol specific to the test ordered.
- Nasopharyngeal swabs: Insert the swab along the floor of the nasal passage to the nasopharynx, not just the anterior nares. Shallow collection is a leading cause of false-negative respiratory pathogen results.
- CSF: Never refrigerate. Cell lysis begins within minutes at low temperature. Deliver to the lab immediately and communicate urgency to the receiving technologist.
For a broader reference on types of specimen collection and their technical requirements, that resource covers container selection and timing across common specimen categories.
4. How labeling, transport, and chain-of-custody protect your specimen
Label in the patient’s presence, with two unique identifiers, the moment collection ends. That single rule prevents more downstream errors than any other single intervention.
Labeling checklist:
- Patient full name and date of birth (minimum two identifiers)
- Date and time of collection
- Specimen source or site (e.g., “right arm antecubital,” “midstream urine”)
- Collector initials or ID
- Test ordered (if not captured in the LIS barcode)
Packaging and transport:
- Use leak-proof primary containers inside a secondary sealed bag with absorbent material.
- Mark biohazard bags clearly; include the requisition or test order inside the outer pouch, not inside the specimen bag.
- Match transport temperature to the specimen requirement: room temperature (20–25°C) for most blood tubes, refrigerated (2–8°C) for urine and many swabs, frozen (below -20°C) for certain molecular and send-out tests.
- Know your acceptable transit windows. When transport will exceed the recommended time limit, contact the lab before sending. Some specimens can be centrifuged and aliquoted to extend stability; others cannot be salvaged.
For specimens requiring specimen temperature monitoring during transport, document the temperature at dispatch and receipt. A temperature excursion that goes unrecorded cannot be investigated if a result is questioned.
Chain-of-custody for forensic and drug testing:
When a specimen will be used for legal or employment-related purposes, chain-of-custody documentation is not optional. Every transfer of the specimen requires a signature, a timestamp, and a record of who held the specimen and when. Tamper-evident seals must remain intact from collection through analysis. For a detailed walkthrough of forensic collection protocols, the drug specimen collection guide for professionals covers documentation and custody requirements specific to workplace and forensic contexts.
If a specimen arrives at the lab with a broken seal, a missing label, or a temperature excursion outside acceptable limits, reject it and document the reason. Accepting a compromised specimen and reporting a result is worse than rejecting it.
5. Infection control and staff safety at the point of collection
Staff safety and specimen integrity are complementary goals. The same discipline that prevents a needle-stick also prevents contamination of the specimen. Neither is a secondary concern.
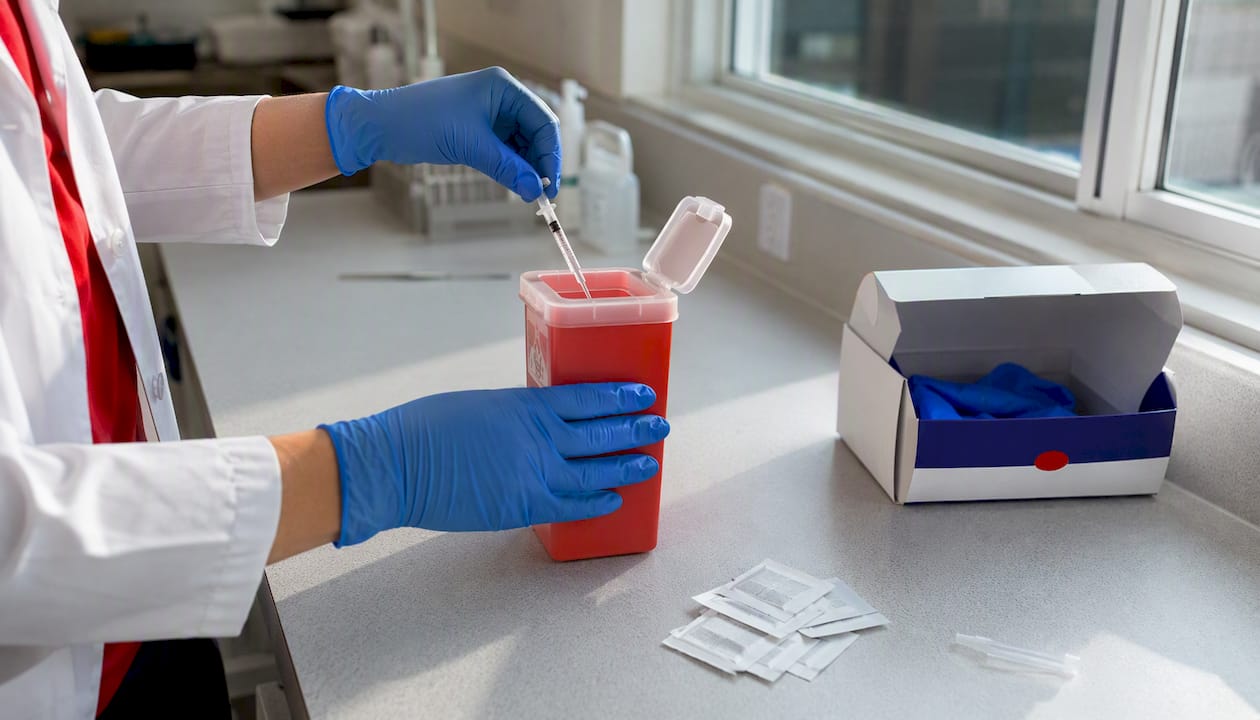
PPE selection: Gloves are the minimum for any specimen collection. Add a mask and eye protection when there is any risk of splash or aerosol, including blood cultures, respiratory specimens, and any collection from a patient on airborne or droplet precautions. Change gloves between patients. Gloves are not a substitute for hand hygiene.
Hand hygiene timing: Wash or use alcohol-based hand rub before donning gloves, immediately after removing gloves, and any time gloves are changed between tasks. The WHO’s five moments for hand hygiene apply directly to specimen collection workflows.
Sharps handling: Never recap a needle by hand. Use a single-handed scoop technique or a safety device if recapping is unavoidable. Dispose of sharps immediately into a puncture-resistant sharps container at the point of use. Never carry an uncapped needle across a room.
Safe transfers: When transferring blood from a syringe to a tube, use a transfer device rather than removing the needle and injecting through the stopper. Needle-stick injuries during transfers are preventable with the right equipment.
Spill response: Know your facility’s spill kit location before you need it. For blood or body fluid spills, contain the spill with absorbent material, apply an appropriate disinfectant per your facility’s policy, and dispose of materials as regulated medical waste. Document the spill and any exposure.
Post-exposure steps: If a needle-stick or mucous membrane exposure occurs, follow your facility’s exposure control plan immediately. Flush the site, report to occupational health, and document the incident. Delay in reporting reduces the window for effective post-exposure prophylaxis.
Pro Tip: Before starting any collection, clear the immediate workspace of unnecessary items and confirm your sharps container is within arm’s reach. Distractions and cluttered surfaces are the two most consistent environmental contributors to needle-stick injuries and specimen contamination at the point of collection.
6. The most common pre-analytical errors and how to prevent them
The top error categories are misidentification, quantity not sufficient (QNS), contamination, wrong container, delayed transport, and hemolysis. Each has a straightforward prevention step that costs almost nothing to implement.
Misidentification
- Ask the patient to state their full name and date of birth; do not read the label and ask them to confirm.
- Show the labeled tube to the patient before collection ends and confirm it matches.
- Never pre-label tubes before entering the patient’s room.
QNS (Quantity Not Sufficient)
- Insufficient specimen volume is a leading cause of rejection and often requires repeat invasive collection. Consult the Directory of Services before collection to confirm the required volume for every test ordered.
- Fill additive tubes to the manufacturer’s indicated line. QNS is frequently avoidable by following fill-line guidance and selecting the correct tube size.
- For pediatric or difficult-draw patients, communicate with the lab before collection to prioritize tests if volume will be limited.
Contamination
- Use aseptic technique consistently: clean the venipuncture site with 70% isopropyl alcohol and allow it to dry before needle insertion.
- For blood cultures, use a two-step skin prep (alcohol followed by chlorhexidine or povidone-iodine) and do not re-palpate the vein after prep.
- For urine cultures, instruct the patient on midstream clean-catch technique before handing them the collection cup.
Wrong container
- Verify the container against the test order before entering the patient’s room, not after.
- Keep a quick-reference container guide at the collection station or in the collector’s pocket.
Delayed transport
- Time-stamp the collection on the label and the requisition.
- Know the stability window for each specimen type and escalate immediately when transport will exceed it.
Hemolysis
- Use the correct gauge needle for the draw; too small a gauge increases shear stress on red cells.
- Invert additive tubes gently using the correct number of inversions; do not shake.
- Avoid drawing from a hematoma or a site with active IV infusion.
Rapid-reference card concept: Labs can adapt the six categories above into a laminated pocket card or wall poster with one prevention action per error type. Format it as a two-column table (Error | Prevention Step) and update it whenever a new rejection trend appears in your QA data. The simpler the card, the more likely it gets used.
7. Who owns what: roles, training, and QA metrics
The lab owns total testing process quality even when someone else collects the specimen. That means the laboratory is responsible for providing standardized collection instructions, validated supplies, and training support to every collector in its network, whether that collector is a staff phlebotomist, a floor nurse, or a patient collecting at home.

Laboratories must define collection instructions, provide appropriate containers and supplies, and verify samples on arrival because the lab bears responsibility for total testing quality regardless of who collects.
| Role | Core Responsibilities | Training Frequency | Key QA Indicators |
|---|---|---|---|
| Phlebotomist / Collector | Patient ID, container selection, volume, aseptic technique, labeling, transport | Initial competency + annual re-assessment; update on procedure changes | Rejection rate, redraw rate, hemolysis rate |
| Bedside Nurse | Collection for stat or specialized draws, urine and swab collection, patient instruction | Unit-based orientation + periodic competency checks | Rejection rate by unit, QNS rate |
| Lab Technician | Specimen receipt, verification, rejection decisions, processing | Initial training + annual competency; update on new test IFUs | Rejection reason codes, turnaround time |
| Lab Manager | SOP development, QA monitoring, corrective action, training oversight | Ongoing; regulatory update cycles (CAP, CLIA, CLSI) | Aggregate rejection rate, redraw cost, corrective action closure rate |
Competency assessment methods that work:
Direct observation during live collection is the gold standard. Pair it with return demonstration for new collectors and periodic proficiency challenges (e.g., simulated difficult-draw scenarios or labeling drills) for experienced staff. Feed results into a corrective-action log. When a collector’s rejection rate exceeds a defined threshold, trigger a targeted re-training rather than a blanket refresher for the whole team.
SOPs, staff training, process automation, computerized order entry, and monitoring of quality indicators can significantly reduce redraws and costs. Automation helps, but the human steps at collection remain the highest-leverage intervention point. No LIS upgrade fixes a mislabeled tube.
For managers, the single most useful starting metric is the specimen rejection rate by collector and by unit. That breakdown tells you exactly where to focus training resources.
8. A one-page SOP template and on-shift checklist
Every collection procedure needs a written SOP. The format matters less than the completeness. A good SOP header includes: scope (which specimen types and collection settings it covers), responsibilities (who performs each step), required supplies (with lot traceability requirements), step-by-step procedure, documentation requirements, and exception handling (what to do when a step cannot be completed as written).
SOP template structure:
- Collection procedure: — Numbered steps from ID verification through labeling and packaging
On-shift collector checklist:
| Step | Action | Initials / Time |
|---|---|---|
| 1 | Verify two patient identifiers in patient’s presence | |
| 2 | Confirm correct container and additive for test ordered | |
| 3 | Confirm required volume; select correct tube size | |
| 4 | Confirm timing requirements (fasting, pre-antibiotic, diurnal) | |
| 5 | Perform hand hygiene; don PPE | |
| 6 | Prepare site using aseptic technique | |
| 7 | Collect specimen; fill to indicated line | |
| 8 | Invert additive tubes per manufacturer specification | |
| 9 | Label in patient’s presence with two identifiers, date, time, site, initials | |
| 10 | Package in leak-proof container; apply biohazard label | |
| — | Document collection time and transport conditions | |
| — | Deliver within stability window; note temperature if required |
Pro Tip: Tailor each SOP to a specific test or specimen type and link it directly to the corresponding IFU or Directory of Services entry. A generic “specimen collection SOP” that covers everything covers nothing well. When a collector needs to look something up mid-shift, a test-specific one-pager gets used; a 40-page general manual does not.
Key Takeaways
Correct specimen collection procedure, applied consistently at the point of collection, is the highest-leverage intervention for reducing laboratory errors, protecting patients, and controlling operational costs.
| Point | Details |
|---|---|
| Preanalytical errors dominate | Preanalytical errors account for 46–68% of total lab errors; most originate at the point of collection. |
| ID and labeling first | Use two unique patient identifiers in the patient’s presence; label immediately after collection, never before. |
| Volume and container are non-negotiable | Fill additive tubes to the indicated line and use the test-specified container to prevent QNS and additive interference. |
| Track rejection and redraw rates | Monitor rejection rate by collector and unit; use the data to target training where it will have the most impact. |
| Rapidtestcup supplies validated collection devices | Rapidtestcup offers CLIA-waived, FDA-cleared urine cups and collection supplies with IFU documentation for labs building SOP-ready procurement. |
The part of specimen collection most labs still underestimate
The conventional wisdom treats specimen collection as a logistics problem: get the right tube, fill it, label it, send it. That framing is technically correct and practically insufficient.
What gets missed is the cognitive load dimension. Collectors working high-volume draws under time pressure are making a series of small decisions in rapid succession: which tube, which patient, which order, which volume. Each decision is individually simple. The problem is that fatigue, interruption, and environmental noise compress the gap between “I know the right step” and “I actually did the right step.” That gap is where most preanalytical errors live.
The checklist approach in this article is not bureaucratic overhead. It is the same cognitive offloading strategy that aviation and surgery adopted after decades of evidence that expertise alone does not prevent errors under pressure. A phlebotomist with ten years of experience still benefits from a labeled checklist on the cart, not because they don’t know the steps, but because the checklist removes the need to hold all the steps in working memory simultaneously.
The other underestimated variable is patient communication. Patients who receive a clear, professional explanation of why and how a specimen is collected produce higher-quality self-collected samples. A 30-second explanation of midstream clean-catch technique is a quality intervention, not a courtesy. Labs that treat patient instruction as optional are accepting a preventable contamination rate.
The preanalytical phase deserves the same technical rigor as the analytic phase. The analyzer gets calibrated, verified, and quality-controlled daily. The collection procedure should get the same treatment: written SOPs, competency assessment, and rejection-rate monitoring. “Garbage in, garbage out” is a cliché because it is accurate.
Where to source validated collection supplies for your lab
Labs that want to close the gap between a solid SOP and reliable execution need collection devices that match their protocols exactly. That means tamper-evident urine cups with temperature strips, multi-panel test cups with adulterant detection, and swabs or transport media that carry IFU documentation and lot traceability.
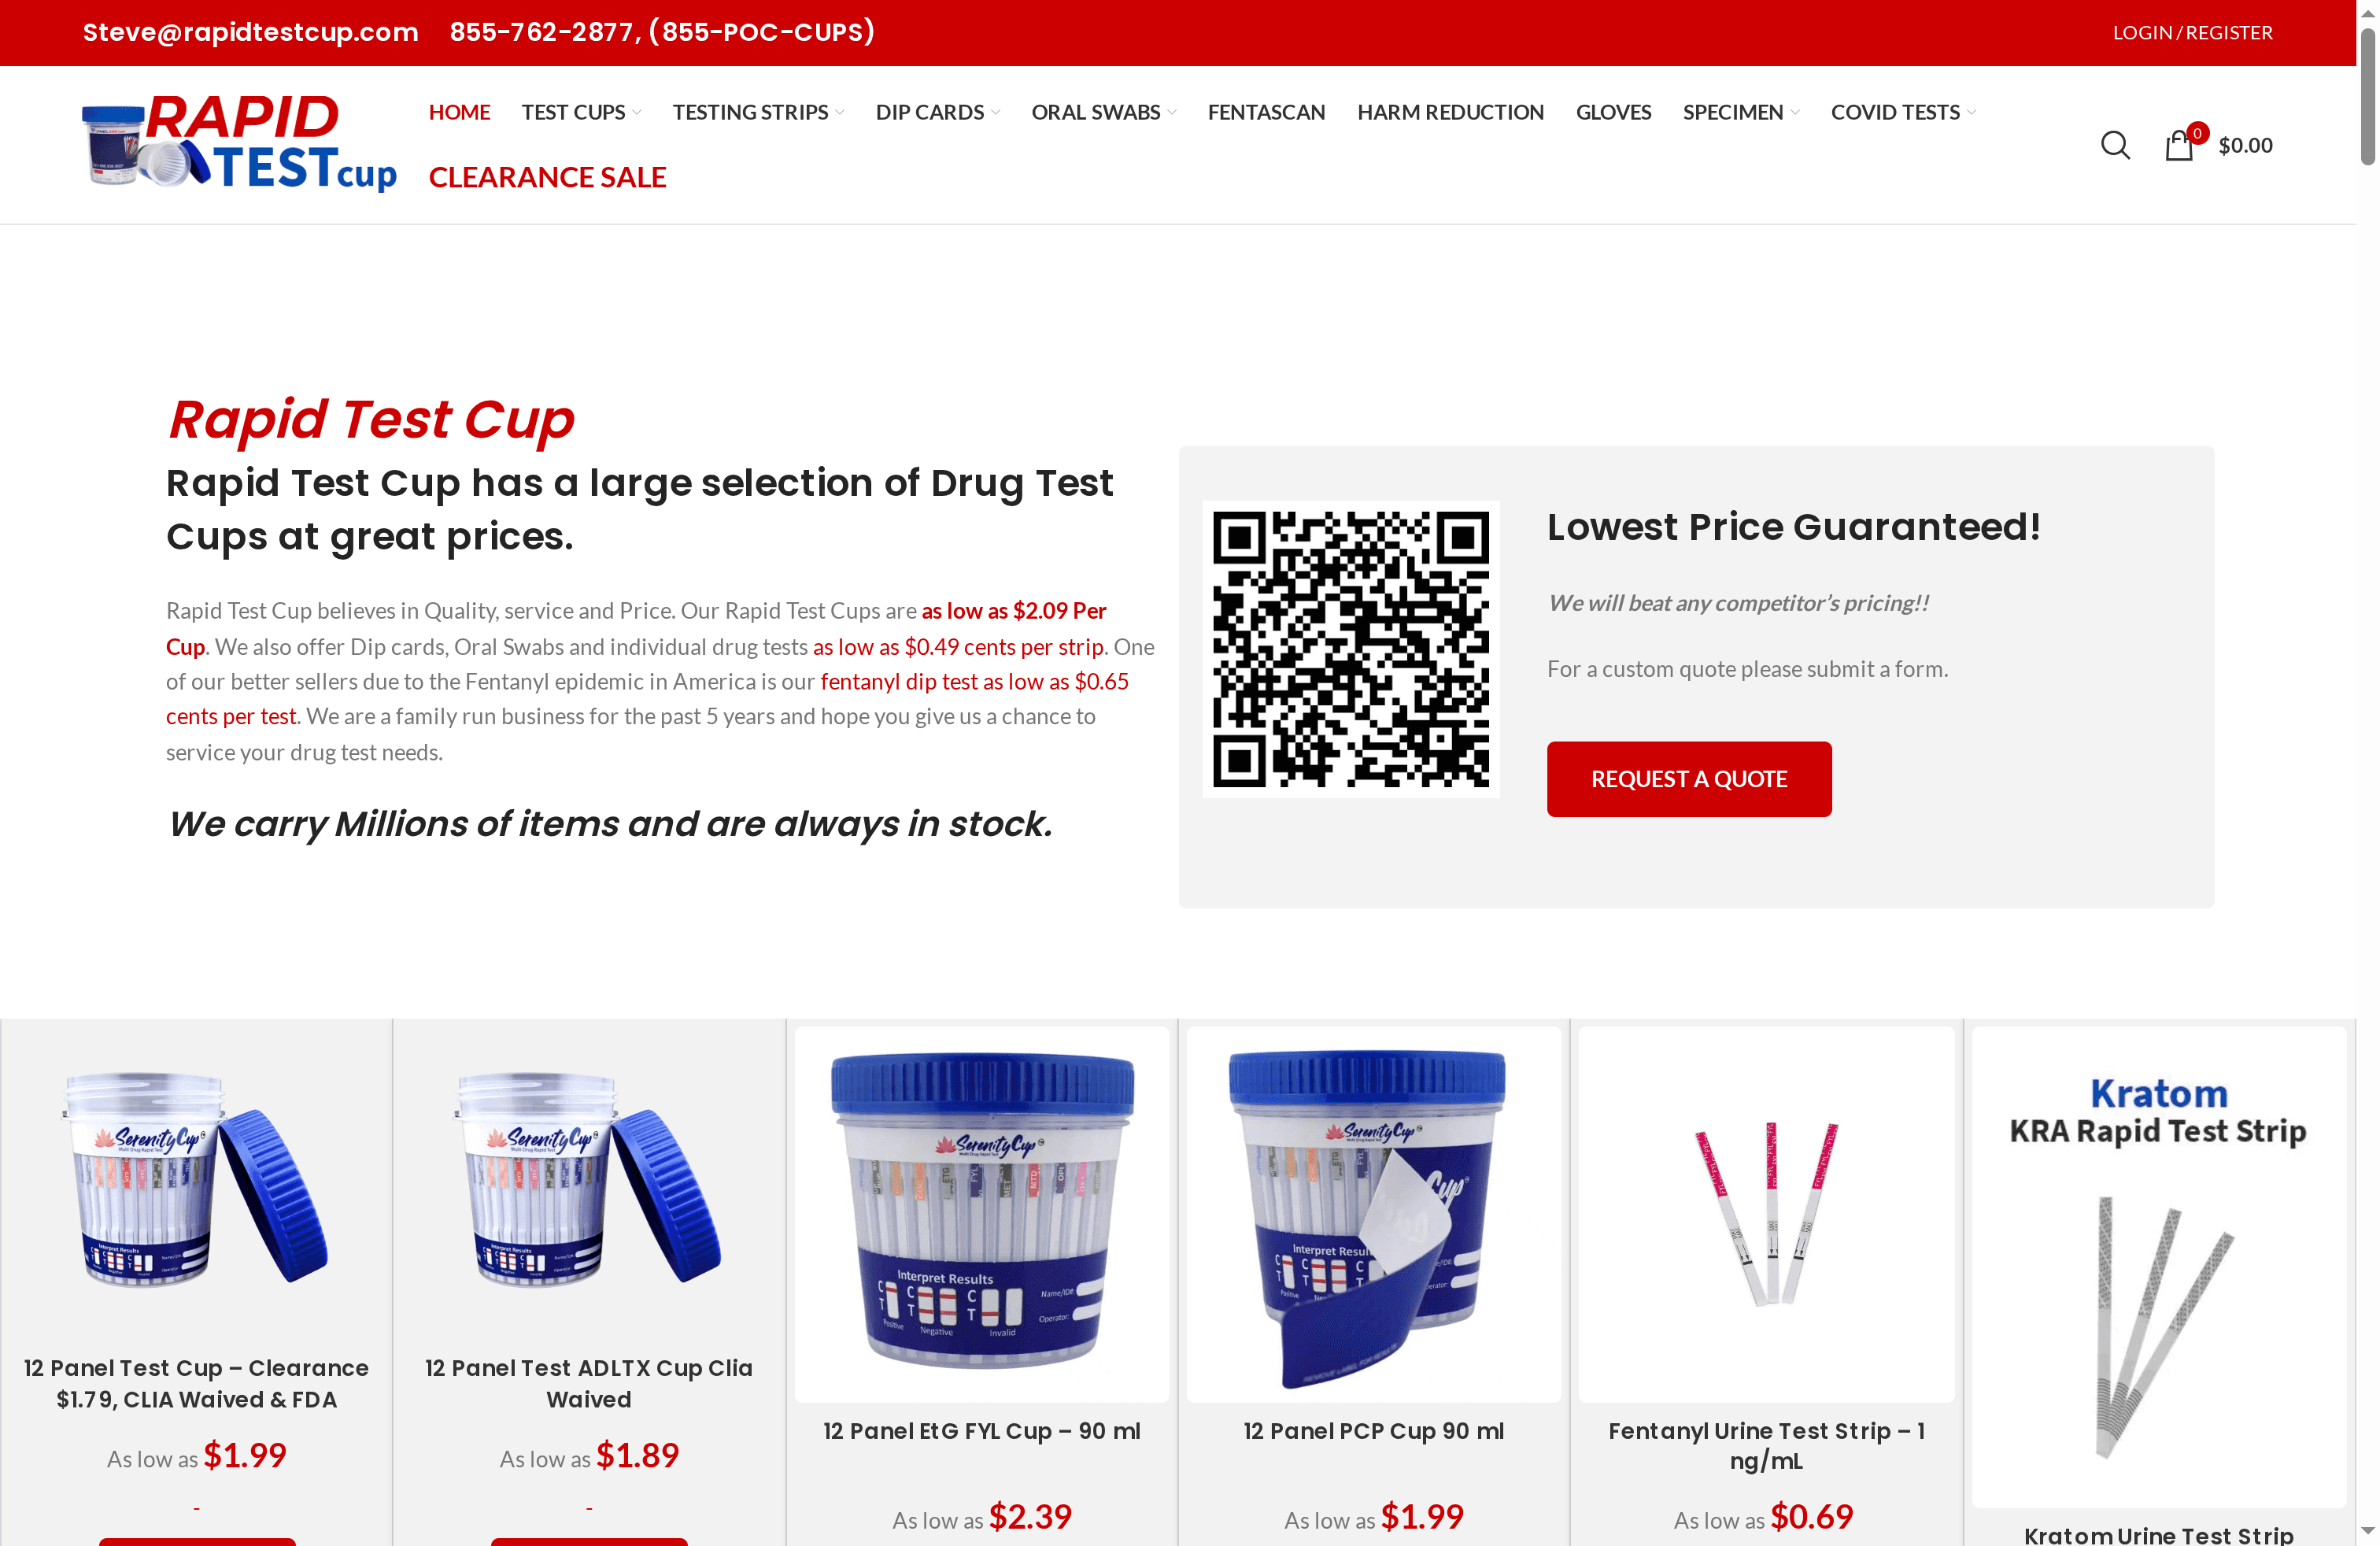
Rapidtestcup stocks CLIA-waived, FDA-cleared collection supplies built for clinical, forensic, and workplace testing programs. The catalog includes drug testing products for labs ranging from multi-panel urine cups with adulterant detection to individual dip cards and test strips, with bulk pricing for high-volume programs. Every product comes with IFU documentation so your team can link it directly to the relevant SOP. For labs building or auditing a supply list, the specimen collection tools guide covers the device categories most commonly needed across urine, swab, and forensic collection workflows. Browse the catalog or request a custom quote at rapidtestcup.com to match your collection volume and panel requirements.
Useful sources and authoritative references
These sources form the clinical and regulatory basis for the best practices described in this article. Link each SOP you develop to the relevant IFU or Directory of Services entry from your reference laboratory.
- ARUP Laboratories: Specimen Collection and Handling Reference — Test-specific container, volume, timing, and transport guidance. Use as a Directory of Services reference when building test-specific SOPs.
- PMC / NIH: Standards and Practice Guidelines for Venous Blood Collection — Peer-reviewed consensus on blood collection standardization, preanalytical error rates, and the evidence base for continuous collector education.
- PMC / NIH: Laboratory Processing of Specimens — Covers specimen processing steps, stability, and handling requirements post-collection.
- CDC: Interim Guidelines for Collecting and Handling Clinical Specimens — CDC guidance on collection technique, PPE, and transport for clinical specimens; applicable beyond the specific disease context for general infection-control principles.