
Blog
How to Train Laboratory Staff: A 12-Week Program Guide


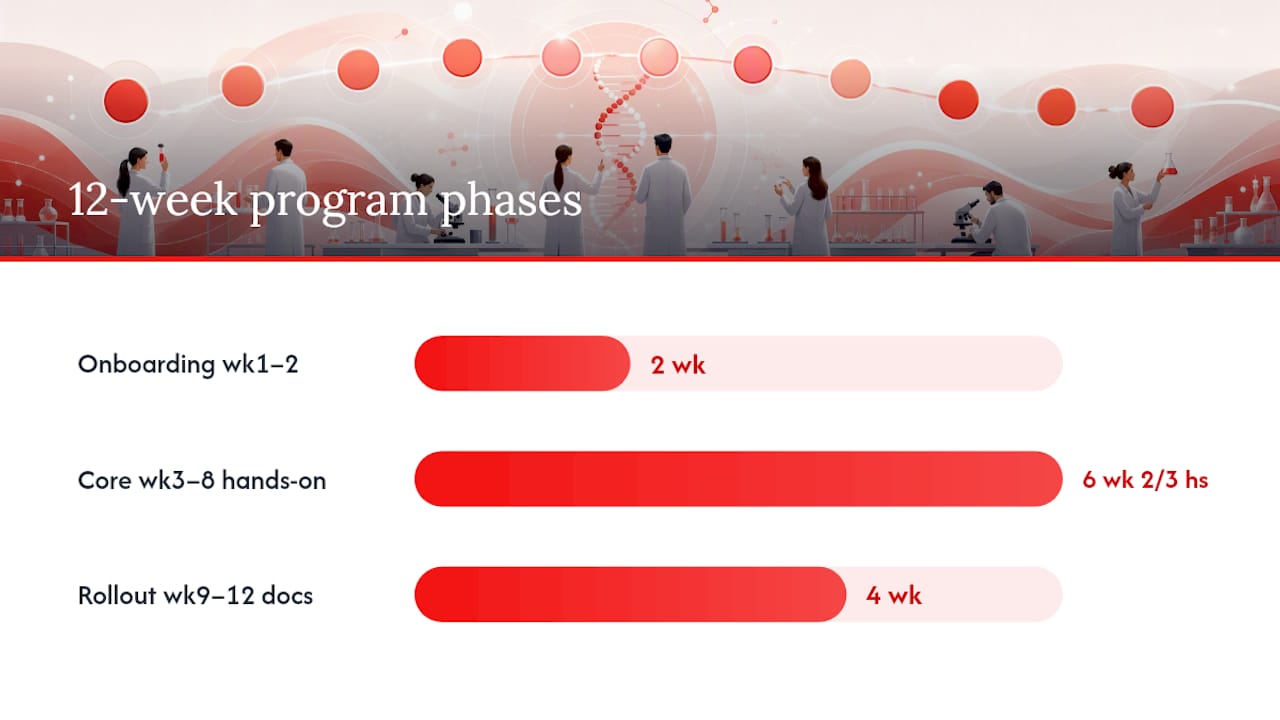
A structured, 12-week phased training program is the most reliable way to train laboratory staff, moving new hires from orientation through documented independent competency. The program divides into four phases: orientation (weeks 1–2), core competence development (weeks 3–8), supervised independent practice (weeks 9–10), and specialization with sign-off (weeks 11–12). Per OSHA guidance, at least two-thirds of total training hours should be hands-on, activity-based work, with lecture and review capped at one-third. Every phase requires documented competency checks before the trainee advances.
Required program elements at a glance:
- Written training goals tied to specific job tasks and SOPs
- Named trainer with documented qualifications
- Competency checklist for each procedure
- Training log and signed proficiency records in the personnel file
- Refresher schedule: every six months in year one, annually after that
12-week timeline:
- Weeks 1–2: Orientation, safety training, lab layout, SOP navigation, shadowing
- Weeks 3–4: Supervised practice on core procedures, QC basics, instrument startup/shutdown
- Weeks 5–6: Guided practice with increasing independence, first competency checkpoint
- Weeks 7–8: Rotation across related procedures, peer coaching, mid-program assessment
- Weeks 9–10: Independent runs under observation, troubleshooting scenarios
- Weeks 11–12: Final competency sign-off, specialization modules, refresher schedule set
Startup checklist for week 1:
- Prepare signed safety acknowledgment form
- Create training log and competency form for each assigned procedure
- Assign a named trainer or mentor
- Set up system access (LIS logins, SOP library)
- Schedule daily 10–15 minute check-in huddles for the first week
- Map initial competency gaps using a skills inventory
Pro Tip: Print the 12-week timeline and post it in the training area. Trainees who can see the full arc of their program ask better questions and hit milestones faster.
Key Takeaways
A structured, documented 12-week program with at least two-thirds of hours in hands-on practice is the most effective way to train laboratory staff to independent competency.
| Point | Details |
|---|---|
| Start with a training folder | Prepare onboarding checklist, competency forms, and trainer sign-off sheets before the new hire’s first day. |
| Assign a qualified trainer | Select trainers based on communication ability and documentation habits, not technical skill alone. |
| Hit the activity ratio | Keep hands-on practice at or above two-thirds of total training hours from week 3 onward. |
| Document every checkpoint | Sign and date competency forms at each assessment; store them in the personnel file for CLIA/COLA compliance. |
| Schedule refreshers proactively | Reassess competency every six months in year one, annually after that, and after any QA failure or process change. |
Table of Contents
- 1. What to cover in weeks 1–2: orientation and onboarding
- 2. How to build core competence in weeks 3–8
- 3. Which training methods actually work in a lab setting
- 4. How to document training and assess competency
- 5. Who should train, and what trainees are responsible for
- 6. How to design a training program using ADDIE and BOPPPS
- 7. Safety and regulatory training requirements every lab must meet
- 8. Practical templates and checklists you can use today
- 9. A research-backed 12-week program template
- 10. How to avoid the most common training mistakes
- What rollout week actually looks like
- Equip your lab with the right testing tools
- Sources
1. What to cover in weeks 1–2: orientation and onboarding
The first two weeks set the safety floor. A new hire who does not know where the emergency eyewash station is, or who to call after a needle stick, is a liability before they touch a single specimen. Get the basics locked in before any hands-on practice begins.
Day-1 essentials to cover and document:
- Emergency exits, eyewash stations, and fire extinguisher locations
- PPE requirements by work zone (gloves, gowns, face shields)
- Biohazard handling: sharps disposal, spill kits, and decontamination procedures
- Safety Data Sheets (SDS/MSDS) and GHS pictogram recognition
- Incident and near-miss reporting channels
After safety, introduce the quality system. Walk the trainee through SOP navigation in your document control system, explain specimen labeling standards, and cover chain-of-custody basics tied to your LIS. UCSD Blink’s lab-specific training guidance recommends documenting this orientation step-by-step, with the trainee signing off on each module as it is completed.
Onboarding checklist items to document before week 2 ends:
- Signed safety acknowledgment
- System logins confirmed (LIS, SOP library, email)
- Assigned mentor named in training log
- Initial competency map completed (skills the trainee already has vs. gaps)
- First shadowing session logged with date and trainer signature
Learning objectives for weeks 1–2 should be short and measurable: “Trainee can locate and correctly don PPE for the assigned work zone without prompting” or “Trainee can retrieve and navigate any SOP in the document control system within five minutes.” Keep the tasks simple enough that a new hire can succeed early, which builds confidence for the harder work ahead.
Pro Tip: Schedule a 10–15 minute huddle at the end of each day during week 1. Ask two questions: “What was unclear today?” and “Did you see anything that felt unsafe?” You will catch training gaps before they become habits.
2. How to build core competence in weeks 3–8
This is where most of the technical skill development happens, and where most training programs lose structure. The fix is to convert every assigned procedure into a four-step learning flow: read the SOP, observe a qualified trainer perform it, perform it with guidance, then perform it independently. Do not skip steps or compress them under time pressure.
Sample competency checklist items for a core procedure:
- Critical steps performed in correct sequence
- QC performed and results interpreted correctly
- Instrument startup and shutdown completed per SOP
- Specimen labeling and chain-of-custody documentation accurate
- Troubleshooting: trainee identifies and responds correctly to a simulated error
- Documentation completed without prompting
Rotation schedule for cross-training:
- Weeks 3–4: Focus on one primary procedure until the trainee can perform it with guidance
- Week 5: Introduce a second related procedure; rotate daily between the two
- Weeks 6–7: Add a third procedure; weekly rotation across all three
- Week 8: Mid-program competency checkpoint on all procedures covered so far
Peer coaching works well during this phase. Pair the trainee with a senior technician for guided practice, then have the trainee explain the procedure back to the trainer. Teaching a step forces a level of understanding that passive observation never produces. Short micro-assessments, five to ten questions on a specific procedure, can confirm cognitive understanding between hands-on sessions.
For common lab tasks, set measurable performance targets: pipetting accuracy within the instrument’s stated tolerance, specimen receipt logged within a defined time window, QC records completed before results are released. Concrete targets give both trainer and trainee a clear finish line.
3. Which training methods actually work in a lab setting
Not every method fits every skill. Instructor demonstration is the right starting point for any procedure with a safety component or a step sequence that is hard to describe in text. Guided practice follows immediately after. Peer-to-peer coaching is most effective once the trainee has a baseline, because it reinforces both parties’ understanding.
Delivery modes and when to use them:
- Instructor demonstration: Best for new procedures, safety-critical steps, and instrument operation. Trainer performs the task while narrating the decision points.
- Guided practice: Trainee performs the task with the trainer present and correcting in real time. The primary vehicle for skill transfer.
- Peer-to-peer coaching: Effective for reinforcing established skills and building team communication. Works best in weeks 5–8 once the trainee has a foundation.
- Tabletop scenarios and simulations: Use for troubleshooting, QA failures, and spill response. Low-risk way to practice high-stakes decisions.
- Computer-based training (CBT): Appropriate for foundational knowledge (regulatory requirements, SDS review, basic QC theory) and as a refresher tool. Not a substitute for hands-on practice.
OSHA’s training guidance is direct on the ratio: activity-based, hands-on learning should fill at least two-thirds of training hours. Lecture, video, and CBT combined should not exceed one-third. A training program that inverts this ratio, heavy on slides and light on practice, produces staff who can describe a procedure but cannot reliably execute it under pressure.
Activity-based learning should fill at least two-thirds of total training hours. Reserve lecture and CBT for foundational knowledge, not skill transfer.
Pro Tip: Use microlearning, focused 5–15 minute tasks on a single procedural step, between hands-on sessions. A short video of the correct pipetting technique reviewed the morning before a practice session produces better retention than a 45-minute lecture the week before.
4. How to document training and assess competency
Documentation is not paperwork for its own sake. It is the evidence that your lab met its compliance obligations, and it is the record that protects both the trainee and the organization if a QA failure is ever investigated. COLA guidance requires that training programs define objectives, document all training activities, use multiple competency assessment methods, and maintain signed competence records with periodic reassessments.
What a competency assessment must cover:
- Direct observation of the trainee performing the procedure
- Problem-solving: trainee responds to a simulated QC failure or instrument error
- QC handling: correct interpretation and documentation of results
- Instrument maintenance steps completed correctly
- Documentation review: trainee’s own records checked for accuracy and completeness
Sample competency form sections:
- Trainee name and ID
- Procedure name and SOP reference number
- Checklist of critical steps with pass/fail for each
- Assessor name, signature, and date
- Overall pass/fail determination
- Remediation plan if applicable (specific steps, timeline, reassessment date)
Reassessment cadence matters. Evaluate competency every six months during the first year, then annually after that. Trigger an unscheduled reassessment after any QA failure tied to that procedure, after a significant process change, or after the trainee returns from an extended absence. This aligns with CLIA and COLA expectations.
| Evidence Type | How to Collect | Where to Store |
|---|---|---|
| Direct observation | Trainer completes checklist during live performance | Personnel file, signed and dated |
| Proficiency testing | External PT program results | QA records, linked to personnel file |
| QA metrics | Error rates, repeat rates from LIS data | QA log, referenced in competency record |
| Documentation review | Supervisor audits trainee’s own records | Training log, noted in competency form |
Keep signed proficiency checklists in personnel files and link them to the trainee’s performance objectives. An auditor should be able to pull any staff member’s file and see a complete chain: training log, competency form, assessor signature, and reassessment dates. For drug-testing labs specifically, the laboratory compliance guidelines published by Rapidtestcup cover documentation requirements in detail.
5. Who should train, and what trainees are responsible for
Assigning the wrong person as a trainer is one of the most common and costly mistakes in lab training. Technical skill alone does not qualify someone to train others. A trainer who cannot explain why a step matters, or who skips documentation because it feels tedious, will pass those habits to every trainee they work with.
Trainer qualification checklist:
- Demonstrated technical competence on all procedures they will teach (documented in their own personnel file)
- Ability to explain steps clearly and check for understanding, not just demonstrate
- Familiarity with current SOPs and any recent procedure changes
- Experience completing competency assessments and training records
- Willingness to give corrective feedback without creating a punitive atmosphere
Lab Manager’s guidance on building training programs recommends developing internal trainers deliberately, treating trainer selection as a program design decision rather than an afterthought. When no internal candidate meets the bar, contracting an external instructor for specific modules is a legitimate option.
Trainee responsibilities:
- Complete assigned pre-work (SOP reading, CBT modules) before scheduled practice sessions
- Attend all scheduled hands-on sessions and arrive prepared
- Document their own practice attempts in the training log
- Flag any safety concern or quality issue immediately, without waiting to be asked
- Complete all assessments honestly and request help when a step is unclear
Mentor/mentee check-ins should happen at least twice a week during the core competence phase. A 15-minute structured conversation, covering what went well, what was unclear, and what the next session will focus on, is enough. Build an escalation path: if a trainee is not progressing after two remediation cycles, the supervisor (not just the trainer) should be involved in redesigning the approach.
Edmondson’s foundational research on psychological safety shows that teams where members feel safe admitting mistakes produce stronger learning outcomes during supervised practice. A trainee who hides an error to avoid embarrassment is a patient-safety risk. Build a culture where reporting a mistake is the expected behavior, not the brave one.
6. How to design a training program using ADDIE and BOPPPS
Program design is where most lab managers skip steps and pay for it later. A training program built without a needs assessment produces modules that cover the wrong things. One built without measurable objectives cannot be evaluated. The ADDIE model gives you a reproducible five-step process that scales from a single procedure module to a full department program.
Needs assessment checklist:
- Skills inventory: what can each staff member already do, and at what level?
- Gap analysis: which procedures lack a qualified performer or have recent QA failures?
- Volume and turnaround constraints: how much training time is realistically available per week?
- Language and literacy considerations: do any staff need materials in a language other than English, or at a lower reading level?
ADDIE in a lab context:
- Analysis: Identify the gap (e.g., new instrument, new test menu, high error rate on a specific procedure).
- Design: Write measurable learning objectives. Format: action verb + condition + criterion. Example: “Given a patient specimen and the current SOP, the trainee will correctly perform a 12-panel urine drug screen with no critical errors on three consecutive independent runs.”
- Development: Build the SOP training flow, competency checklist, and assessment tools.
- Implementation: Deliver training per the 12-week schedule, with trainer and trainee documentation at each step.
- Evaluation: Measure outcomes: QC error rates, repeat rates, trainee confidence scores, and direct observation results.
BOPPPS adds structure at the individual session level. A cluster randomized trial published in BMC Medical Education found that a BOPPPS-driven learning plan significantly improved experimental performance and self-regulated learning compared with traditional instruction in preventive medicine laboratory education. The six elements map cleanly to a lab training session:
- Bridge-in: Connect the day’s task to something the trainee already knows (“You’ve done specimen receipt; today we add the QC step that follows it”).
- Objective: State exactly what the trainee will be able to do by the end of the session.
- Pre-assessment: Quick check of what the trainee already understands before you start.
- Participatory learning: The hands-on practice block, at least two-thirds of session time.
- Post-assessment: Brief check that the objective was met (direct observation, two or three targeted questions).
- Summary: Trainee summarizes what they learned; trainer confirms and previews the next session.
Sample learning objectives for a urine drug screen procedure:
- “Given a labeled specimen and the current SOP, the trainee will correctly document chain of custody with no omissions.”
- “The trainee will identify and correctly respond to a positive QC failure on the first attempt.”
- “The trainee will complete instrument startup per SOP within the defined time window on three consecutive days.”
7. Safety and regulatory training requirements every lab must meet
Safety training is not optional and it is not a one-time event. OSHA, ANSI/ASSP Z490.1, and CDC OneLab each provide frameworks that U.S. lab managers should align with, and each has documentation expectations that survive an inspection.
Mandatory safety topics to cover and document:
- Bloodborne pathogens standard (OSHA 29 CFR 1910.1030): annual training required for all staff with occupational exposure
- Hazard communication (GHS/SDS): recognition of pictograms, SDS location and use, labeling requirements
- PPE selection, donning, doffing, and disposal
- Regulated medical waste handling and disposal procedures
- Fire response: pull, aim, squeeze, sweep (PASS) and evacuation routes
- Chemical spill response: spill kit location, containment steps, reporting
- Specimen transport: packaging, labeling, and temperature requirements
OSHA’s training resource covers needs assessment, instructional design principles including ANSI/ASSP Z490.1, trainer qualifications, and evaluation practices. ANSI/ASSP Z490.1 is the recognized U.S. standard for criteria in accepted practices in safety, health, and environmental training. CDC OneLab provides centralized training resources and capacity-building tools designed to standardize and sustain laboratory workforce competency across public health labs.
Integrate safety modules into the 12-week plan without front-loading everything into week 1. Bloodborne pathogens and PPE belong in day 1. Spill response and waste handling can follow in week 2 after the trainee has seen the lab layout. Chemical-specific hazard training should be tied to the first time the trainee works with that chemical, not delivered as a bulk lecture weeks earlier.
Regulatory note: All safety training must be documented, accessible for inspection, and delivered in a language and at a literacy level the trainee can understand. A training record that shows a date and a signature but no content description will not satisfy an OSHA inspector.
8. Practical templates and checklists you can use today
The fastest way to start is to build a training folder before the new hire arrives. Every document in that folder should have a version number, a date, and a place for signatures.
Training folder contents:
- Onboarding checklist (day 1 through week 2, with sign-off lines)
- Competency form for each assigned procedure
- Trainer sign-off sheet (trainer name, qualifications, date of each session)
- Remedial training plan template (triggered when a trainee does not pass a competency check)
- Refresher training calendar (annual required topics, six-month competency checks, retraining triggers)
A new lab worker training checklist from Tennessee Tech’s safety office provides a practical starting point that many labs adapt for their own procedures. For drug-testing labs, Rapidtestcup’s drug testing training checklist covers the specific workflow steps that belong in onboarding and competency forms.
5S starter checklist for labs:
- Sort: Remove all items from the work area that are not needed for current procedures. Tag and quarantine expired reagents.
- Set in order: Assign a fixed location to every item. Label shelves, drawers, and instrument positions.
- Shine: Clean the work area and instruments at the end of each shift. Document in the cleaning log.
- Standardize: Write a brief SOP for the 5S routine itself. Post it at the workstation.
- Sustain: Include 5S compliance in the monthly competency audit. Assign a rotation for weekly checks.
Use 5S during training, not after. A trainee who learns to work in an organized space from day one builds habits that are far harder to establish later.
Sample refresher schedule:
| Trigger | Topic | Cadence |
|---|---|---|
| Annual requirement | Bloodborne pathogens, hazard communication, PPE | Every 12 months |
| First-year competency check | All assigned procedures | Every 6 months, year 1 |
| QA failure | Procedure linked to the failure | Within 30 days of event |
| New equipment or process change | Affected procedures only | Before independent use |
| Extended absence (30+ days) | All assigned procedures | Before return to independent work |
9. A research-backed 12-week program template
This template follows the four-phase structure described at the top of this article. Adapt the weekly agendas to your lab’s test menu and staffing, but keep the activity ratio and assessment checkpoints intact.
Full 12-week program:
- Week 1: Lab orientation, safety training (bloodborne pathogens, PPE, emergency procedures), SOP navigation, shadowing on two core procedures. Assessment: signed safety acknowledgment, SOP navigation test.
- Week 2: Chain-of-custody and specimen labeling, LIS basics, instrument familiarization (startup/shutdown only). Assessment: direct observation of specimen labeling; trainer sign-off.
- Week 3: Guided practice on procedure 1 (read → observe → perform with guidance). QC basics introduced. Assessment: trainer observation checklist, first attempt logged.
- Week 4: Continued guided practice on procedure 1; introduce procedure 2. Micro-assessment on QC interpretation. Assessment: QC written check, trainer observation.
- Week 5: Guided practice on procedure 2; daily rotation between procedures 1 and 2. Peer coaching begins. Assessment: peer coaching log, trainer spot-check.
- Week 6: First formal competency checkpoint on procedure 1. Trainee performs independently under observation. Assessment: completed competency form, pass/fail recorded.
- Week 7: Introduce procedure 3; rotation across all three procedures. Tabletop troubleshooting scenario. Assessment: scenario debrief notes, trainer sign-off.
- Week 8: Mid-program competency checkpoint on procedures 1 and 2. Remediation plan issued if needed. Assessment: competency forms for both procedures.
- Week 9: Independent runs on procedures 1 and 2 with trainer available but not directing. QA metrics review. Assessment: QA error rate, direct observation.
- Week 10: Independent runs on procedure 3. Instrument maintenance SOP completed. Assessment: maintenance log, direct observation.
- Week 11: Specialization module (e.g., adulterant detection, advanced QC, LIS reporting). Assessment: written mini-test or OSCE-style practical.
- Week 12: Final competency sign-off on all assigned procedures. Refresher schedule set. Assessment: all competency forms complete, personnel file updated.
Recommended activity allocation per week:
Weeks 1–2 carry more lecture because safety and regulatory content requires it. From week 3 onward, the ratio shifts decisively toward hands-on practice, meeting and exceeding the OSHA-recommended two-thirds threshold for activity-based learning.
Adapting for lab size: In a small lab with one or two trainers, compress the rotation schedule and extend each procedure’s guided practice phase by a week. In a high-throughput lab, assign a dedicated trainer per procedure module and run parallel tracks for multiple trainees. The assessment checkpoints and documentation requirements stay the same regardless of size.
10. How to avoid the most common training mistakes
Most lab training programs fail in one of three ways: too much lecture, too little documentation, or a trainer who is technically excellent but has no time to train. Each is fixable.
Common pitfalls and their fixes:
- Over-reliance on CBT and lecture: Split practice into micro-sessions. A 20-minute hands-on block every morning beats a two-hour lecture once a week.
- Unclear assessment criteria: Write pass/fail criteria before training starts, not after. “Trainee performs correctly” is not a criterion. “Trainee completes all critical steps in sequence with no prompting on three consecutive runs” is.
- Trainer overload: Rotate trainers across trainees. Designate super-users (senior staff with documented trainer qualifications) to share the load. Protect training time on the schedule the same way you protect instrument maintenance time.
- Missing documentation: Assign one person to audit training folders weekly during the 12-week program. A missing signature is easier to fix in week 3 than during an inspection.
- Neglecting psychological safety: Edmondson’s research is clear: trainees who feel safe admitting mistakes form stronger habits under supervision. Make “I’m not sure” a normal and expected phrase in your training environment.
Scaling tips for busy labs:
- Build modular training blocks (one SOP, one instrument, one QC concept per module) so you can assign them independently and track completion separately.
- Run fast competency audits quarterly: pull five random training records and check for complete signatures, dates, and assessment results. Gaps surface early.
- Tie training completion to performance plans. Staff who see training as connected to their own professional development engage more consistently.
Pro Tip: When a trainee fails a competency check, resist the instinct to repeat the same training. Diagnose first: was it a knowledge gap, a practice gap, or a confidence gap? Each needs a different fix.
What rollout week actually looks like
The gap between a training plan on paper and a training program that runs is almost always a logistics problem, not a content problem. Trainers are not available when scheduled. Training folders are incomplete. The first competency observation gets pushed back because the lab is busy.
Manager checklist for rollout week:
- Confirm trainer availability for the full first two weeks before the new hire starts
- Verify training folders are complete: onboarding checklist, competency forms, trainer sign-off sheets
- Run the first competency observation yourself in week 2, even if you have assigned a trainer. It sets the standard.
- Gather trainee feedback at the end of week 1 with two direct questions: what was unclear, and what felt unsafe?
Early signals that the program is working: QC error rates on trained procedures drop within the first month, trainees ask procedural questions rather than guessing, and trainers report that check-ins are getting shorter because fewer issues are surfacing. Those are the metrics worth watching in the first 90 days.
Budget time for documentation follow-up. The most common audit finding in lab training is not that training did not happen. It is that training happened but was not recorded. Block 30 minutes at the end of each week to review and complete training logs before the next week starts.
Equip your lab with the right testing tools
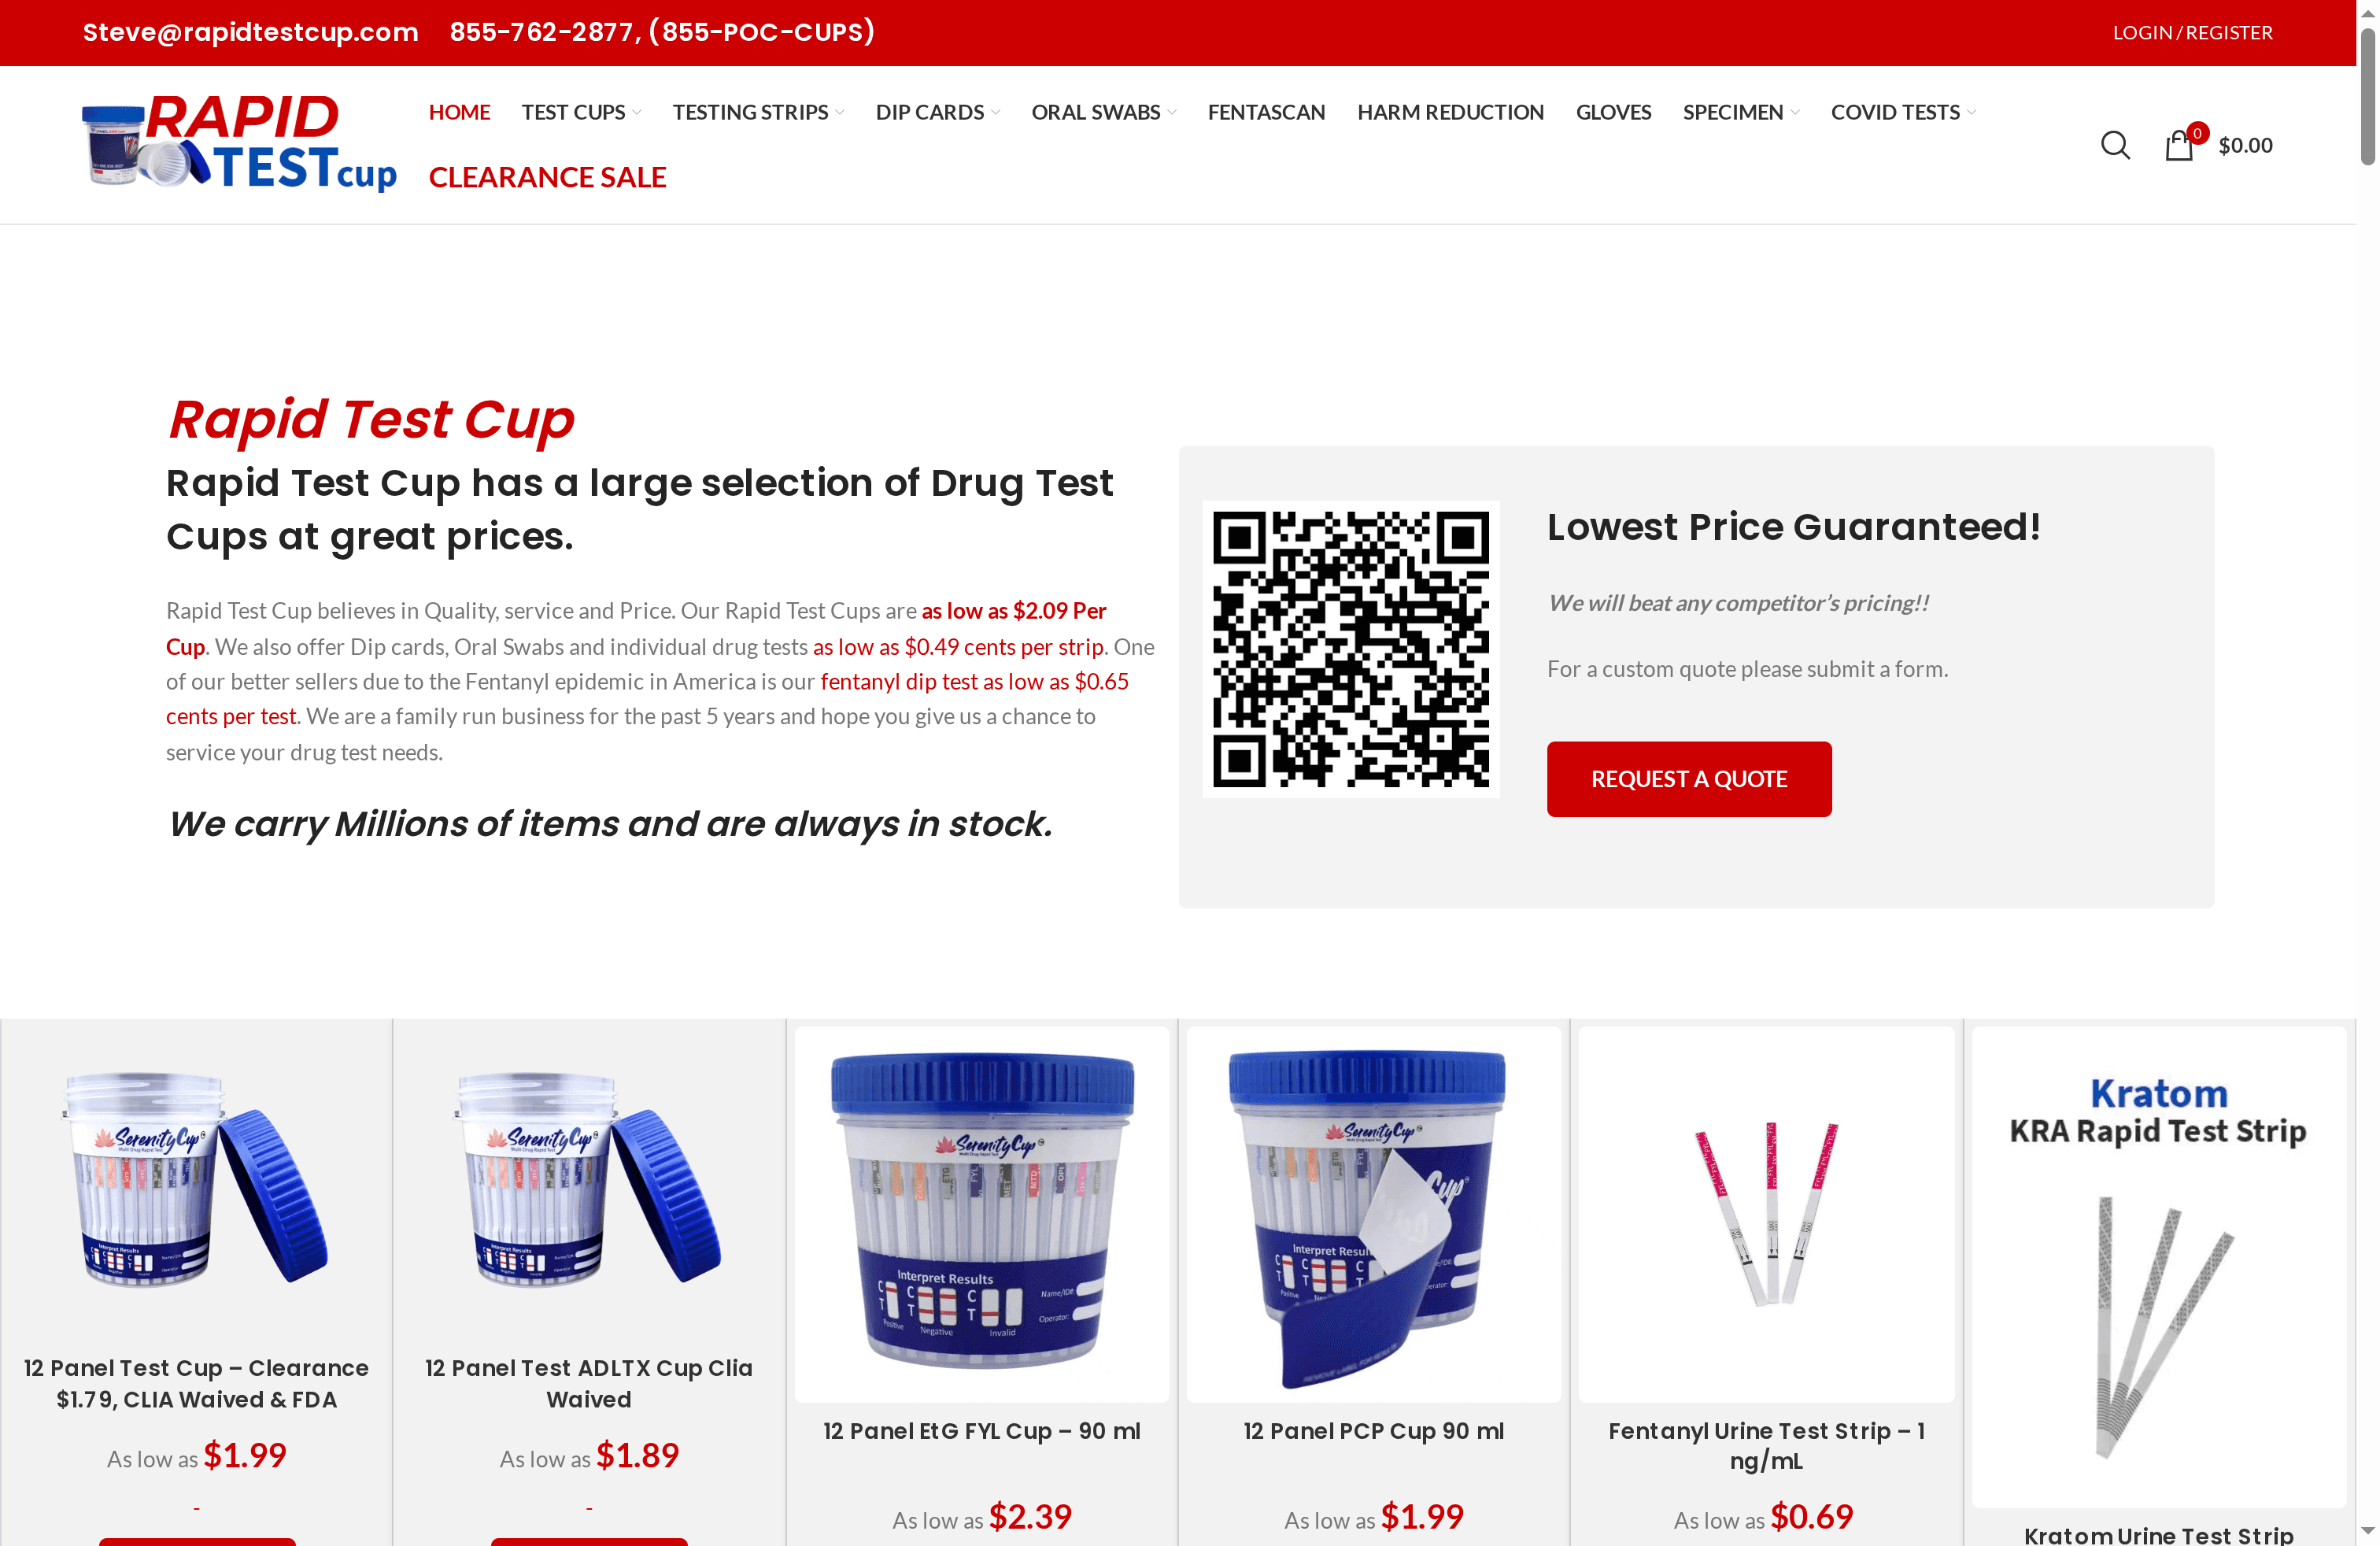
A well-trained team needs reliable tools to practice with. Rapidtestcup supplies CLIA-waived, FDA-approved drug testing products used in labs, clinics, and substance abuse programs across the United States. From multi-panel urine test cups to adulterant detection kits, the catalog covers the full range of specimens your staff will handle during training and in production.
The 22-panel drug test with adulterants and Zaza is a practical choice for hands-on training sessions focused on adulterant detection and validity checks. For labs building out their standard workflow training, the top drug testing products for labs page is the fastest way to find the right cup or strip for your test menu. Bulk pricing and custom quotes are available for programs training multiple staff at once.
Sources
These are the primary references lab managers should consult when building or auditing a training program.
- Resource for Development and Delivery of Training to Workers (OSHA)
- About OneLabTM | Lab Training – CDC
- Laboratory-Specific Training – UCSD Blink
- Psychological safety and learning in teams (Edmondson 1999)
For drug-testing labs specifically, Rapidtestcup’s sample handling procedures guide and laboratory drug testing checklist provide procedure-specific content you can drop directly into onboarding modules and competency forms.