Blog
Occupational Health Testing Tips for Employers: 2026 Guide


Run effective occupational health testing by following this sequence: map job demands first, schedule all medical exams after a conditional job offer (per EEOC guidance), tailor each test to the role’s physical and exposure requirements, maintain strict chain-of-custody for every drug screen, communicate clearly with candidates before and after testing, and measure program impact using the CDC Worksite Health ScoreCard. HIPAA governs how you store and share results. Here is the short checklist to keep at your desk:
- Map job demands before selecting any test. Physical, sensory, cognitive, and exposure requirements drive test selection.
- Schedule after the conditional offer. Medical exams before an offer create ADA/EEOC liability.
- Tailor tests to the role. A warehouse picker needs a lift test; a lab tech needs a titer review. One-size-fits-all screening wastes money and invites discrimination claims.
- Use chain-of-custody documentation for every drug screen. A single procedural gap can void a result.
- Communicate with candidates before the appointment. Fasting instructions, ID requirements, and a point of contact reduce no-shows and repeat visits.
- Measure what you run. Track participation rates, abnormal-result referral rates, and time-to-clearance. Use the CDC ScoreCard to benchmark annually.
Key Takeaways
A defensible, cost-effective occupational health testing program requires job-demand mapping, post-offer timing, strict chain-of-custody for drug screens, and annual measurement against the CDC Worksite Health ScoreCard.
| Point | Details |
|---|---|
| Map job demands first | Match every test to a documented physical, sensory, or exposure requirement before scheduling any exam. |
| Schedule after the conditional offer | Per EEOC guidance, medical exams before a conditional offer create ADA liability for the employer. |
| Chain-of-custody is non-negotiable | DOT/ODAPC guidance confirms that a single procedural gap in specimen handling can void a drug test result. |
| Communicate before the appointment | Written prep instructions covering fasting, ID, and what to wear prevent no-shows and invalid samples. |
| Measure with the CDC ScoreCard | The 154-question, 18-module ScoreCard benchmarks your program and maps gaps to specific screening actions. |
| Rapidtestcup for in-house programs | CLIA-waived, FDA-approved multi-panel test cups with adulterant detection and bulk pricing for employer programs. |
Table of Contents
- What are the best occupational health testing tips for program planning?
- When should you schedule tests, and what U.S. laws apply?
- What tests does an occupational health program typically include?
- How do you run a defensible drug test? Chain-of-custody and specimen best practices
- On-site events vs. clinic testing: how to choose and what to set up
- How should you communicate with candidates before and after testing?
- What do you do when a result comes back abnormal?
- How do you choose a testing administrator or lab partner?
- How do you measure whether your screening program is actually working?
- Copy-ready checklists and day-of templates you can use now
- What most occupational health programs get wrong
- Professional-grade drug testing supplies for employers who test in-house
- Sources
What are the best occupational health testing tips for program planning?
The single biggest mistake employers make is choosing tests before they understand the job. Occupational health screening, the formal term for what many HR teams call a “pre-employment physical” or “fitness-for-duty exam,” is only defensible when each test traces back to a documented job demand. The American College of Occupational and Environmental Medicine (ACOEM) is explicit on this: tailor requirements to job categories rather than applying a blanket panel to every hire.
Job-demand mapping is the process of reviewing a role’s essential functions and translating them into test triggers. Pull the job description, walk the work site if possible, and ask the direct supervisor three questions: What physical tasks can’t be delegated? What hazardous exposures exist? What sensory or cognitive demands are non-negotiable for safe performance?
A short demand checklist for each role:
- Physical demands: lifting weight and frequency, sustained posture, repetitive motion, climbing
- Sensory demands: near/far vision acuity, color discrimination, hearing thresholds
- Cognitive demands: reaction time, alertness requirements, shift work
- Exposure risks: noise above 85 dBA, respiratory hazards, bloodborne pathogens, chemicals
From those answers, test triggers follow naturally. Noise above 85 dBA triggers a baseline audiogram. Respiratory hazard exposure triggers a respirator medical clearance questionnaire and fit test. Bloodborne pathogen exposure triggers a hepatitis B titer. A commercial driver role triggers a DOT physical. A warehouse role with regular overhead lifting triggers a functional capacity or strength test.
Three example mappings:
- Warehouse associate: lift test (up to 50 lbs), vision screen, drug screen, back/musculoskeletal history review
- Clinical/healthcare worker: TB test or IGRA, immunization/titer review (hepatitis B, MMR, varicella), drug screen, vision
- Commercial driver (CDL): DOT physical (FMCSA-certified medical examiner required), drug and alcohol screen per 49 CFR Part 40
Pro Tip: Focus testing on safety-critical tasks only. If a test result would not change your hiring decision or accommodation analysis for a given role, that test probably does not belong in the panel. Over-testing costs money and creates discrimination risk if the same panel is not applied uniformly across comparable roles.
Involving employees and supervisors early in the assessment process also pays off. CDC workplace health model guidance recommends using both formal and informal assessment methods, including supervisor input, to shape program design. That input catches job demands that never make it into a written job description.
When should you schedule tests, and what U.S. laws apply?
Timing is where most employers get into legal trouble. Under the ADA, as clarified in EEOC enforcement guidance, medical exams and disability-related inquiries are generally permitted only after a conditional job offer has been extended. Asking a candidate about medical history or requiring a physical before the offer is made can expose the organization to an ADA claim, regardless of intent.
The post-offer exam must also meet two additional tests: it must be job-related and consistent with business necessity. Applying it uniformly to all candidates in the same job category is the clearest way to demonstrate both. For occupational health compliance, document that requirement in writing before the first exam is scheduled.
Legal checklist for HR:
Pre-offer (permitted):
- Ask whether the candidate can perform the essential functions of the job, with or without accommodation
- Conduct non-medical background checks (criminal, reference, credential verification)
- Do NOT ask about medical history, disabilities, prescription medications, or prior workers’ comp claims
Post-offer (permitted, with conditions):
- Require a medical exam if it is job-related and applied uniformly to all candidates in that role
- Require a drug screen (drug testing is generally not considered a “medical exam” under the ADA, but state law varies)
- Document the exam scope, who administered it, and the result in a segregated medical file
Documentation and file management:
- Keep medical records in a file separate from the general personnel file
- Limit access to supervisors who need to know about work restrictions, first-aid/safety personnel, and government officials as required by law
- Retain records per applicable OSHA standards (e.g., OSHA 1910.1020 requires 30-year retention for exposure records)
GINA (Genetic Information Nondiscrimination Act) prohibits requesting or using genetic information in employment decisions. That includes family medical history. If your health questionnaire asks about family history of heart disease or cancer, remove those questions.
State law adds another layer. Drug testing laws vary significantly by state: some require written policies, some limit when and how testing can occur, and a growing number have restrictions tied to cannabis legalization. Always confirm your state’s current rules before finalizing a drug testing policy.
Pro Tip: For any situation involving a complex medical history, a safety-sensitive role, or a potential accommodation request, loop in employment counsel before the exam is scheduled, not after a problem surfaces.
What tests does an occupational health program typically include?
The right panel depends entirely on the role. The table below maps common occupational tests to their purpose and the job conditions that justify including them.
| Test | Purpose / What It Screens For | When to Include It |
|---|---|---|
| Pre-employment physical | General fitness for duty; musculoskeletal, cardiovascular, neurological review | Most roles with physical demands or safety-critical tasks |
| Audiogram (hearing test) | Baseline and periodic hearing thresholds | Noise exposure at or above 85 dBA |
| Vision test | Near/far acuity, color vision, depth perception | Driving, equipment operation, clinical work, quality inspection |
| Respirator medical clearance + fit test | Pulmonary fitness for respirator use; mask seal | Any role requiring a respirator |
| TB test (TST or IGRA) | Latent tuberculosis infection | Healthcare, corrections, congregate settings |
| Immunization/titer review | Immunity to hepatitis B, MMR, varicella, flu | Healthcare workers, lab staff, childcare, food handling |
| Drug screen (urine or oral fluid) | Presence of controlled substances | Safety-sensitive roles, DOT-regulated positions, policy-driven programs |
| Strength/functional capacity test | Ability to perform specific physical tasks (lift, push, carry) | Warehouse, construction, physical therapy, first responder roles |
| Spirometry | Lung function baseline and periodic monitoring | Respiratory hazard exposure (dust, fumes, chemicals) |
| Biometric checks (BP, lipids, glucose, BMI) | Cardiovascular and metabolic risk factors | Wellness programs, periodic health assessments, HRA follow-up |
A few practical notes on specific tests:
- Fasting blood work (lipids, glucose) requires candidates to fast for 8–12 hours before the draw. Schedule morning appointments and confirm fasting instructions in writing. AHA guidance addresses fasting versus nonfasting samples and their clinical implications for workplace screening.
- DOT physicals for commercial drivers must be performed by an FMCSA-certified medical examiner listed on the National Registry. A standard pre-employment physical does not satisfy this requirement.
- Oral fluid drug tests are increasingly common for observed collection scenarios because they are harder to adulterate and require no restroom privacy, though detection windows are shorter than urine for most substances.
- Cotinine testing (tobacco/nicotine) requires a precise definition of what counts as tobacco use. AHA workplace screening guidance recommends employers define tobacco use carefully and pair any cotinine screen with cessation resources to avoid discrimination concerns. Rapidtestcup carries cotinine urine test strips for employers running in-house tobacco screening.
How do you run a defensible drug test? Chain-of-custody and specimen best practices
A drug test result is only as good as the documentation behind it. DOT/ODAPC guidance makes this explicit: procedural lapses in chain-of-custody or specimen handling can invalidate results and create legal exposure. That standard applies beyond DOT-regulated programs. Any employer who expects to act on a positive result needs the same rigor.
Chain-of-custody checklist:
- Use a federal chain-of-custody form (CCF) or an equivalent documented form for every specimen
- Record the collector’s name, collection site, date, time, and specimen ID number
- Seal the specimen in a tamper-evident bag in the donor’s presence
- Have the donor initial the tamper-evident seal
- Document every transfer of custody from collection to laboratory
- Retain completed CCF copies at the collection site and laboratory
Step-by-step specimen collection:
- Verify identity. Check government-issued photo ID before collection begins. Record the ID type and number on the CCF.
- Prepare the collection area. Secure the restroom (blue dye in toilet water, no access to water sources) to deter adulteration.
- Provide the collection cup. Use a sealed, labeled specimen cup. For urine, the standard volume is at least 30 mL.
- Check temperature immediately. Urine temperature must read 90°F–100°F within four minutes of collection. Out-of-range temperature is grounds for a direct observation re-collection.
- Inspect for adulteration. Use a cup with built-in adulterant strips or a separate adulteration test to check pH, creatinine, specific gravity, and oxidants. Rapidtestcup’s multi-panel test cups with adulterant detection cover these checks in a single step.
- Label and seal. Apply specimen labels in the donor’s presence. Seal the primary specimen and, if a split specimen is used, the split as well.
- Complete the CCF. Both collector and donor sign. Provide the donor with their copy.
- Secure transport. Place sealed specimens in a biohazard bag and ship to a SAMHSA-certified laboratory for non-negative confirmation.
Confirmatory testing: A non-negative rapid screen result is not a final positive. Always send non-negatives to a SAMHSA-certified lab for GC-MS or LC-MS/MS confirmation before taking any employment action. A Medical Review Officer (MRO) should review confirmed positives and contact the donor to rule out legitimate medical explanations.
Pro Tip: Standardize your collection supplies and train every collector on the same procedure. The most common reasons results get invalidated are temperature failures, incomplete CCF documentation, and broken tamper-evident seals. A one-page laminated checklist at the collection station costs nothing and prevents all three. See Rapidtestcup’s drug specimen collection guide for a practical supplies list.

On-site events vs. clinic testing: how to choose and what to set up
Neither model is universally better. The right choice depends on your workforce size, testing frequency, and the types of tests required.
On-site screening events:
- Pros: Lower per-employee cost at scale, higher participation rates, convenient for large cohorts, good for biometric screenings and flu shots
- Cons: Requires CLIA-waived equipment for point-of-care tests, limited privacy for sensitive tests, harder to maintain chain-of-custody rigor without trained staff, not suitable for DOT-regulated testing without a certified collector on site
Clinic-based testing:
- Pros: Full chain-of-custody infrastructure already in place, access to a broader test menu (phlebotomy, spirometry, audiometry), easier to document and report, better for individual pre-employment exams
- Cons: Higher per-test cost, candidate travel time, scheduling friction, potential delays if the clinic is backlogged
Logistics checklist for either model:
- Confirm whether tests require CLIA-waived or non-waived status. Point-of-care drug screens used for employment decisions should be CLIA-waived; confirmatory lab testing is non-waived and requires a certified laboratory.
- Send candidates written instructions at least 48 hours before the appointment: fasting requirements, what ID to bring, what to wear (loose clothing for physical exams), and estimated time commitment.
- Prepare an authorization packet: signed consent form, job description or essential functions summary, and the specific test panel ordered.
- Confirm turnaround time (TAT) with the provider before scheduling. Hiring timelines depend on it.
SLA questions to ask any provider:
- What is your standard TAT for a negative result? For a non-negative requiring confirmation?
- How do you deliver results: paper, fax, secure portal, or EMR integration?
- What is your process for a split specimen dispute?
- How do you handle a temperature failure or adulteration flag on the day of collection?
- What is your HIPAA-compliant data transfer protocol?
A provider who cannot answer the last two questions clearly is a red flag. For a deeper look at drug screening workflow and SLA templates, Rapidtestcup’s compliance resources cover the operational side in detail.
How should you communicate with candidates before and after testing?
Candidate anxiety is a real operational problem. A nervous candidate who does not understand why a test is required, who sees the results, or what happens if something is flagged is more likely to no-show, refuse consent, or provide an invalid sample. Transparent communication prevents all of that.
Pre-visit communication checklist:
- State clearly that the exam follows a conditional job offer and is required for all candidates in this role
- List every test in the panel (physical, drug screen, vision, etc.)
- Explain who administers the test and who receives results
- Provide fasting instructions if blood work is included
- Specify what to bring: government-issued photo ID, insurance card if applicable, any relevant medical records
- Give a point of contact for questions (name, phone, email)
- Confirm whether the employer covers the cost (it should, for post-offer exams)
Consent documentation:
- Use a written consent form that names each test in the panel.
- Explain how results are stored, who has access, and the retention period.
- Include a HIPAA Notice of Privacy Practices or reference to it.
- Have the candidate sign and date before any exam begins.
- Provide the candidate with a copy.
Sample pre-visit email subject lines:
- “Your next step: occupational health appointment details”
- “Pre-employment health screening — what to expect and how to prepare”
- “Action required: schedule your post-offer health exam”
Keep the body of that email to five bullet points or fewer. Candidates do not read long HR emails. The goal is: date, location, what to bring, fasting yes/no, and a contact name. That is it.
What do you do when a result comes back abnormal?
An abnormal result is not the end of the process. It is the beginning of a structured workflow that protects both the employee and the organization.
Post-result workflow:
- Verify the result. Confirm the specimen was handled correctly and the test was performed within its validated range. For drug screens, send non-negatives for GC-MS/LC-MS confirmation before any action.
- MRO review (drug tests). A Medical Review Officer contacts the donor, reviews legitimate medical explanations, and issues a final verified result.
- Clinical referral. For abnormal biometrics (elevated BP, high glucose, abnormal spirometry), refer the individual to their primary care provider or an occupational medicine specialist. Do not make clinical diagnoses internally.
- Accommodation assessment. If the result indicates a potential disability, initiate the ADA interactive process. Ask what, if any, reasonable accommodation would allow the person to perform the essential functions of the role.
- Final fitness decision. Document the decision in writing, including the basis for it. If the decision is adverse, confirm it is job-related and consistent with business necessity.
Recordkeeping:
- Store all medical records in a file physically and electronically separate from the general personnel file.
- Limit access strictly: supervisors may know only about work restrictions, not diagnoses.
- Follow OSHA 1910.1020 retention requirements for exposure-related records (30 years for exposure records; duration of employment plus 30 years for medical records tied to toxic substance exposure).
Return-to-work and restricted duty:
- Define restricted duty options in writing before an employee returns from leave or injury.
- Set a follow-up interval for re-evaluation (typically 30, 60, or 90 days depending on the condition).
- Document every step of the interactive accommodation process, including offers made and the employee’s response.
Pro Tip: Never communicate a specific diagnosis or test value to a supervisor. The only information a supervisor needs is whether the employee can perform the essential functions of the role, with or without accommodation, and what restrictions apply. Anything more creates HIPAA and ADA exposure.
How do you choose a testing administrator or lab partner?
The wrong partner creates delays, compliance gaps, and results that cannot hold up to scrutiny. Vet every provider against a short but non-negotiable list of credentials and capabilities.
Required credentials to verify:
- CLIA certificate (Clinical Laboratory Improvement Amendments) for any lab performing non-waived testing
- SAMHSA certification for labs processing federally mandated drug tests
- DOT/ODAPC compliance for any program covering safety-sensitive transportation employees
- HIPAA Business Associate Agreement (BAA) in place before any PHI is shared
- Occupational medicine board certification or equivalent for physicians signing fitness-for-duty reports
Vendor question checklist:
- What is your standard TAT for negative results? For confirmed positives?
- Do you use a Medical Review Officer for all non-negative drug results?
- What chain-of-custody form do you use, and how is it stored?
- Can you provide electronic results via a HIPAA-compliant secure portal?
- What is your process if a specimen is flagged for adulteration or substitution?
- Do you carry errors and omissions (E&O) insurance?
- Can you provide references from employers in our industry?
Red flags:
- No written chain-of-custody procedure
- Vague or inconsistent answers about HIPAA data handling
- No MRO on staff or on contract
- Results delivered via unencrypted email
- Inability to provide a CLIA certificate or SAMHSA certification on request
- No written SLA for turnaround times
SLA template minimums to negotiate:
- Negative result TAT: 24–48 hours from specimen receipt
- Confirmed positive TAT: 3–5 business days from collection
- Reporting format: electronic, HIPAA-compliant, with audit trail
- Dispute resolution: written process with defined response window
For employers running any portion of testing in-house, the workplace drug testing compliance guide from Rapidtestcup covers the operational requirements in detail.
How do you measure whether your screening program is actually working?
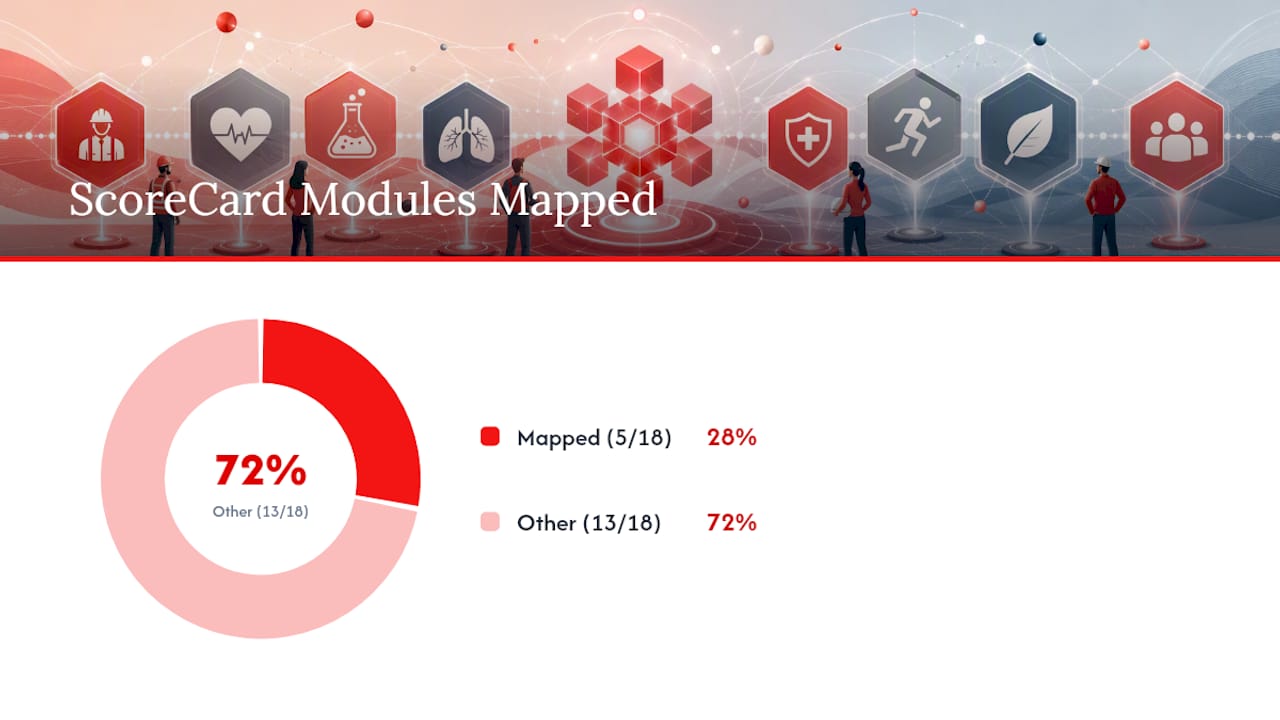
Most employers run screenings and never look back. That is a missed opportunity. OPM guidance recommends linking screening results to follow-up care and using aggregate data to inform program design. The CDC Worksite Health ScoreCard is the most practical tool for doing that systematically. It is a 154-question self-assessment organized into 18 modules that employers can use to benchmark their programs and prioritize interventions.
AHA research finds that biometric workplace screening can detect risk factors for chronic disease and may deliver positive ROI when integrated with follow-up programs. The key phrase is “integrated with follow-up.” A blood pressure reading that goes nowhere does not reduce cardiovascular events or costs.
Sample metrics to track:
- Participation rate (% of eligible employees screened)
- Abnormal-result referral completion rate (% referred who actually followed up with a provider)
- Time-to-clearance (days from exam to fitness-for-duty decision)
- Cost per screen (total program cost divided by number of employees screened)
- Re-screen rate for employees with initially abnormal results
CDC ScoreCard modules mapped to testing and wellness actions:
| ScoreCard Module | Corresponding Screening or Wellness Action |
|---|---|
| High Blood Pressure | BP biometric screen + referral pathway to primary care |
| Diabetes | Fasting glucose or HbA1c screen + lifestyle program referral |
| Tobacco Use | Cotinine screen + cessation program enrollment |
| Physical Activity | Functional capacity assessment + activity program |
| Occupational Safety and Health | Audiogram, spirometry, respirator fit + OSHA compliance review |
Implementation steps:
- Complete the CDC ScoreCard at program launch to establish a baseline score.
- Identify the two or three modules with the lowest scores and align your next screening cycle to those gaps.
- Link every biometric abnormality to a specific follow-up resource: a referral form, a wellness program enrollment, or a return appointment.
- Re-score annually to track improvement.
CDC workplace health promotion guidance recommends using HRAs alongside biometric screenings to capture self-reported risk factors that blood draws alone will not detect. A short HRA administered before the biometric appointment gives clinicians context and gives HR aggregate data on workforce health trends.
Copy-ready checklists and day-of templates you can use now
These are designed to be handed directly to your HR coordinator or occupational health vendor.
Pre-screen checklist (send to candidate 48 hours before appointment):
- Bring a government-issued photo ID (driver’s license, passport, or state ID).
- Bring your appointment confirmation and any forms HR has sent you.
- If blood work is included, fast for 8–12 hours before your appointment (water is fine).
- Wear comfortable, loose-fitting clothing if a physical exam is included.
- Arrive 10 minutes early to complete any remaining paperwork.
- The exam is paid for by [Company Name]. You will not be billed.
- Questions? Contact [Name] at [email/phone].
Day-of checklist (for the clinic or on-site collector):
- Signed authorization form from HR with the specific test panel listed
- Copy of the candidate’s job description or essential functions summary
- Government-issued ID verified and recorded on the CCF
- Specimen labels printed and ready
- Chain-of-custody form (CCF) completed before collection begins
- Tamper-evident bags and seals available at the collection station
- Temperature strip or thermometer ready for urine specimen check
- Adulterant test strips available (or integrated into the collection cup)
- Secure transport packaging for specimens going to the lab
Post-results checklist:
- Non-negative drug screen? Send to SAMHSA-certified lab for GC-MS confirmation before any action.
- Confirmed positive? Route to MRO for review before notifying HR.
- Abnormal biometric (BP, glucose, lipids)? Issue a referral letter to the candidate’s primary care provider.
- Fitness-for-duty concern? Initiate the ADA interactive process and document every step.
- All results stored in a segregated medical file? Confirm access is restricted.
- Retention schedule confirmed? Set a calendar reminder for the applicable OSHA or state retention deadline.
Short email templates:
- Scheduling: “Your post-offer health screening has been scheduled for [date] at [location]. Please review the attached preparation instructions.”
- Result notification (clear): “Your occupational health screening is complete. No restrictions have been identified. We look forward to your start date of [date].”
- Result notification (follow-up needed): “Your screening identified a finding that requires follow-up. Please contact [Name] at [phone/email] to discuss next steps.”
What most occupational health programs get wrong
The programs that run into trouble share a pattern: they were designed once, never updated, and no one owns them day-to-day. A job description changes, a new chemical gets introduced to the floor, a state updates its drug testing statute, and the screening panel stays exactly the same as it was three years ago.
The second most common failure is paperwork that looks complete but is not. A chain-of-custody form with a missing signature, a consent form that does not list all the tests in the panel, an authorization letter that names the wrong job title. These are not catastrophic errors in isolation, but they compound. When a result is challenged, the first thing an attorney looks at is the documentation trail.
The quick wins are unglamorous: a laminated one-page checklist at the collection station, a standard authorization template that HR fills out for every hire, and a 30-minute annual review of the test panel against current job descriptions. One employer I know of reduced their re-collection rate significantly just by adding a single line to their candidate prep email: “Do not use the restroom for at least two hours before your appointment.” That instruction costs nothing and prevents one of the most common collection failures.
The programs that hold up over time are the ones where someone in HR or occupational health owns the process, reviews it annually, and treats the SLA with the testing vendor as a living document rather than a one-time negotiation.
Professional-grade drug testing supplies for employers who test in-house
Running your own drug screening program means the quality of your collection supplies directly affects the defensibility of your results. Rapidtestcup offers CLIA-waived, FDA-approved multi-panel drug test cups designed for workplace and occupational health programs, with built-in adulterant detection, tamper-evident seals, and results in minutes.
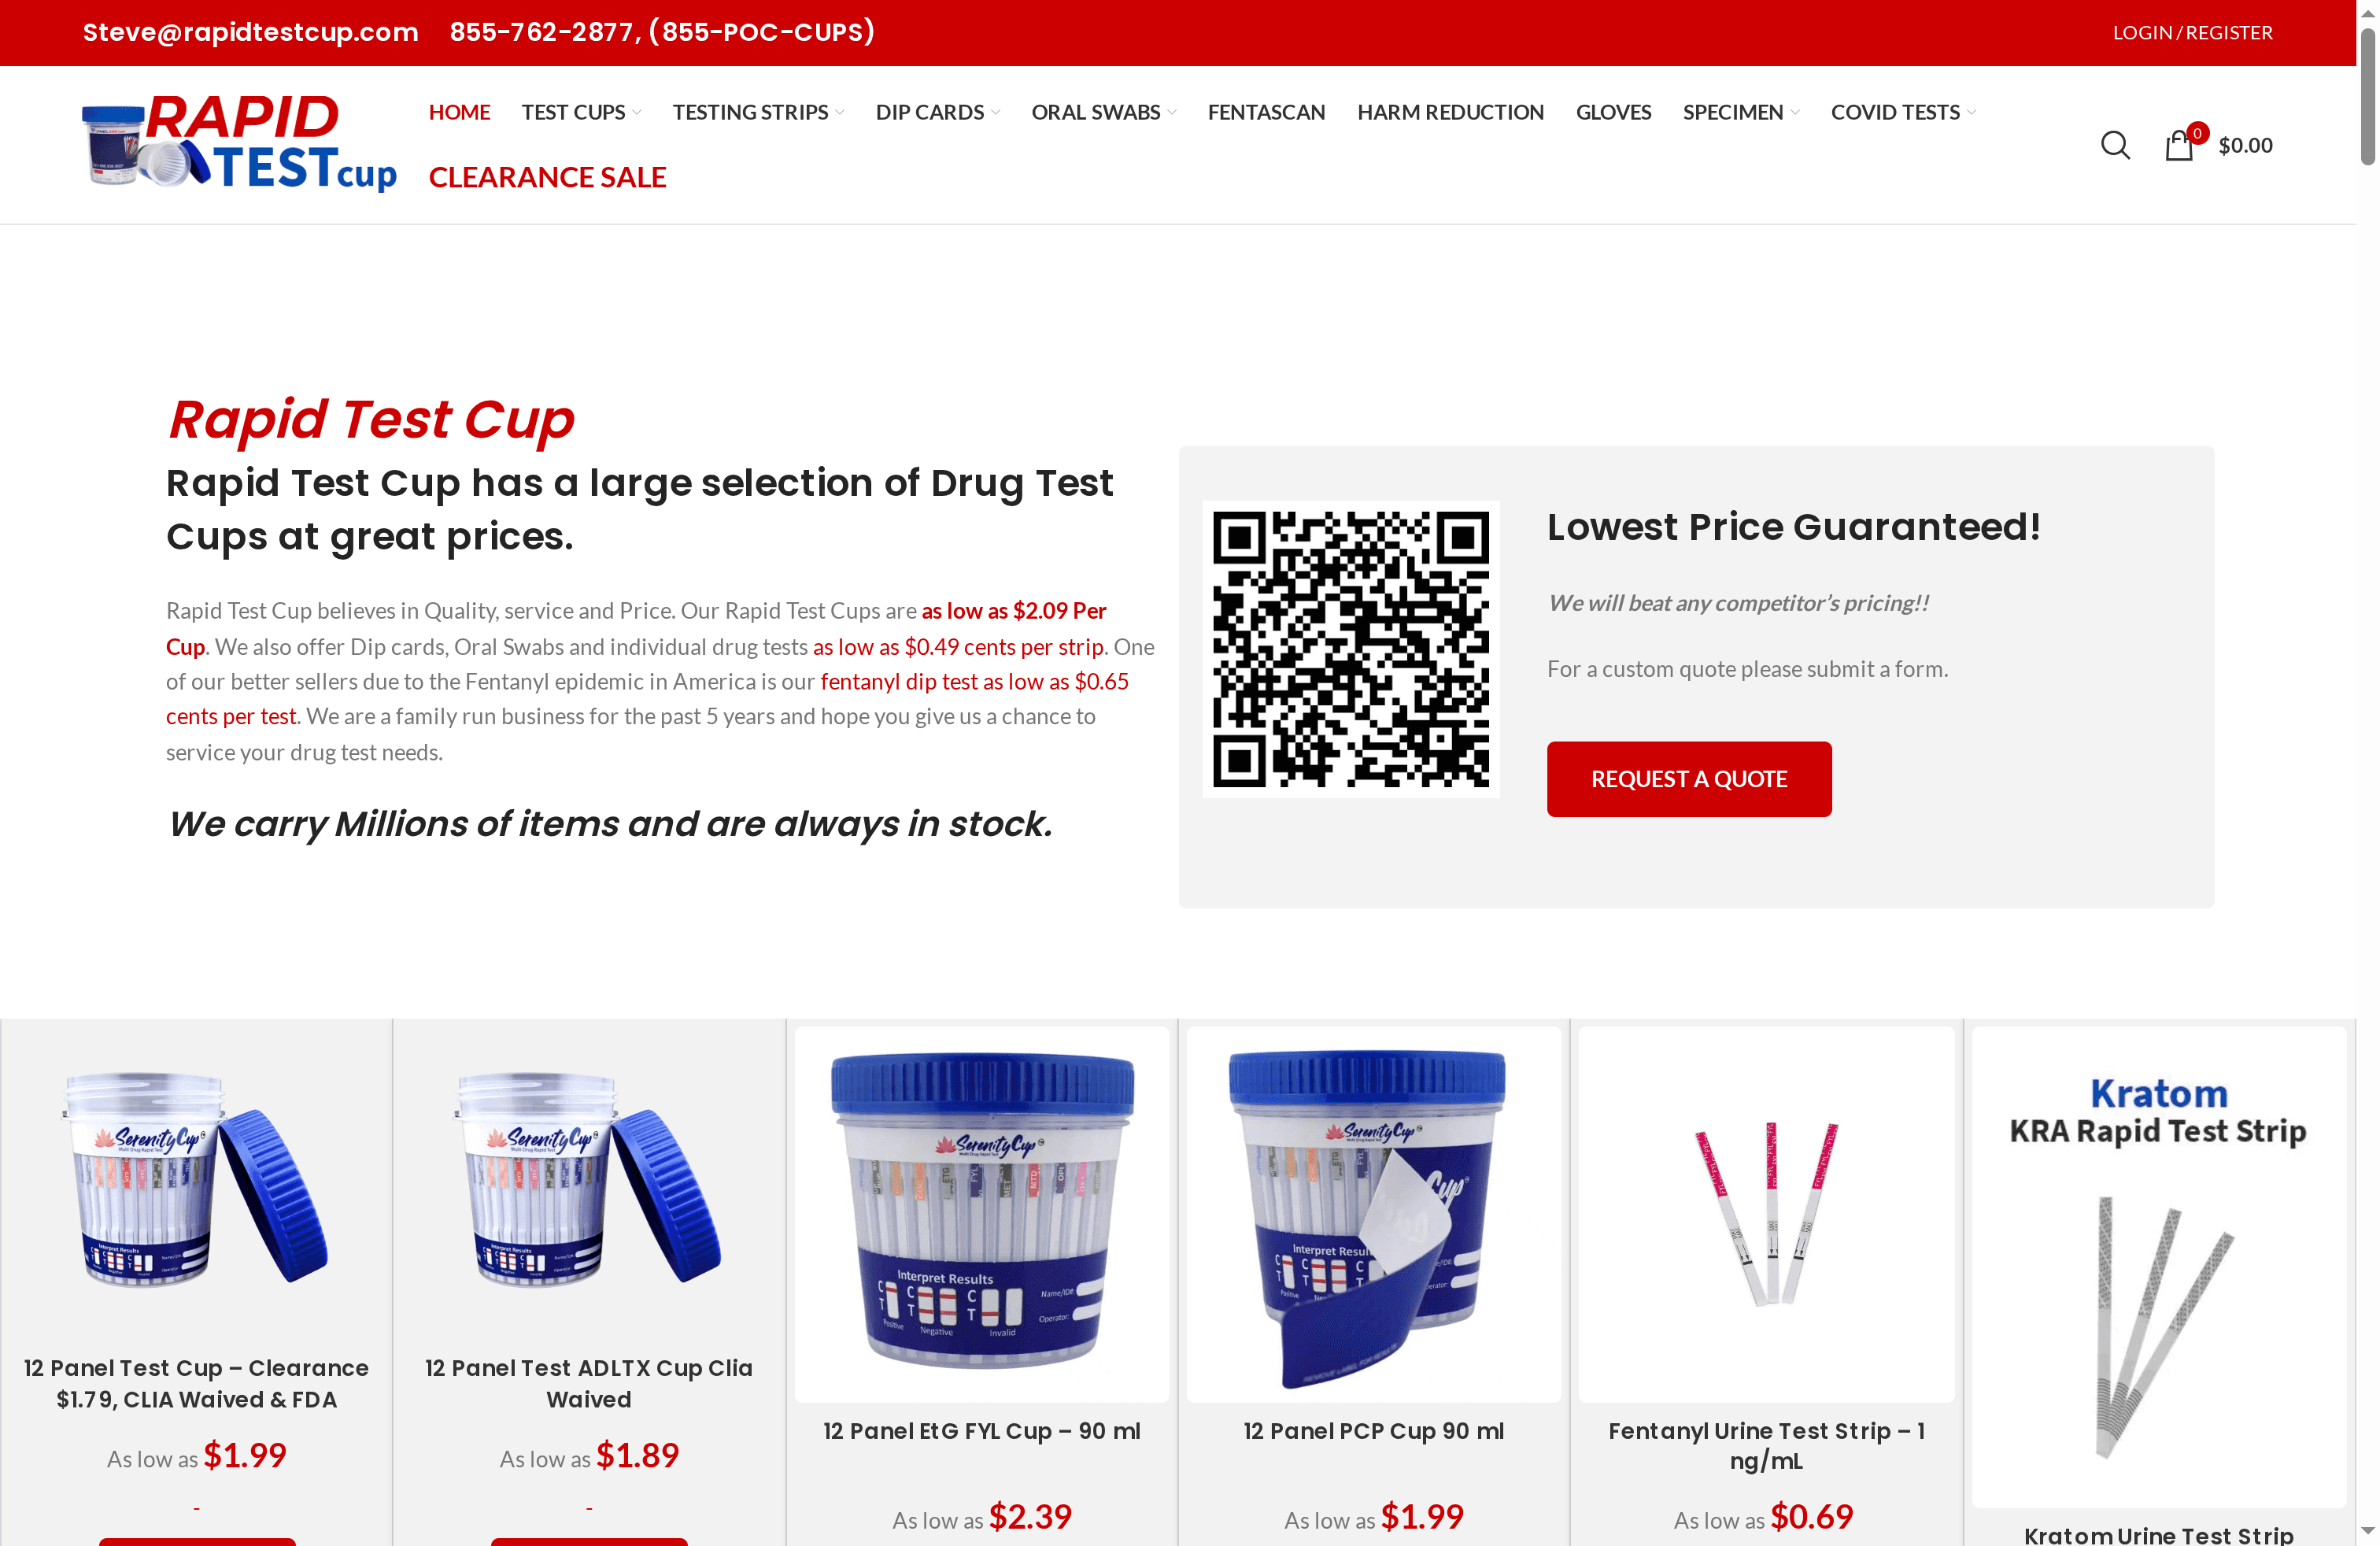
Whether you need a standard 12-panel cup for a pre-employment screen or a broader panel that includes fentanyl, ETG, and adulterant checks for safety-sensitive roles, Rapidtestcup stocks professional-grade options with bulk pricing for high-volume programs. Every cup ships fast, and the catalog includes specimen collection accessories, chain-of-custody supplies, and dip cards for programs that need flexibility across test types. Browse the full catalog or request a custom quote at Rapidtestcup.
Sources
These are the primary U.S. sources to consult when building, updating, or auditing an occupational health screening program:
- CDC Worksite Health ScoreCard Manual (Updated Feb 2025)
- AHA workplace screening review (Circulation DOI)
- EEOC: Enforcement Guidance on Disability-Related Inquiries and Medical Examinations of Employees
- U.S. Department of Transportation Office of Drug & Alcohol Policy and Compliance (ODAPC)
- OPM Workplace health screenings fact sheet
This article is general information, not a substitute for advice from a qualified doctor. Consult a qualified healthcare professional about your own circumstances before acting on anything here.